Post-checkout surveys are a simple way to communicate with customers directly, identify potential places for improvement, and increase customer retention. With Digioh, you can implement a post-checkout survey by following the steps in this document.
Watch this video for a walkthrough, or follow the steps below to start implementing your survey:
1. Install Digioh on Your Shopify Site
If you have not already, install Digioh on your Checkout Page.
The steps for completing this can be found in this document: How to Add Digioh to Shopify Checkout Page
2. Create Your Post-Checkout Survey in Digioh
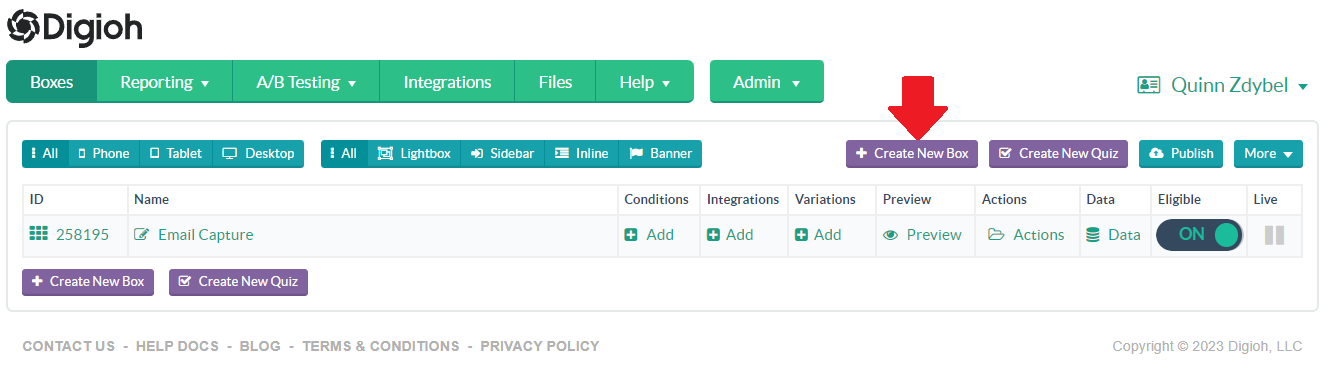
1. Select “Create New Campaign” in your account
2. Select the “Get Feedback (Survey)” Type of campaign.
3. Choose a placement for your survey. For a post-checkout survey, we recommend either:
- Lightbox: this pop-up will take over the screen on your Shopify checkout confirmation page a set number of seconds after page load.
- Inline: this will be embedded on your Shopify checkout confirmation page.
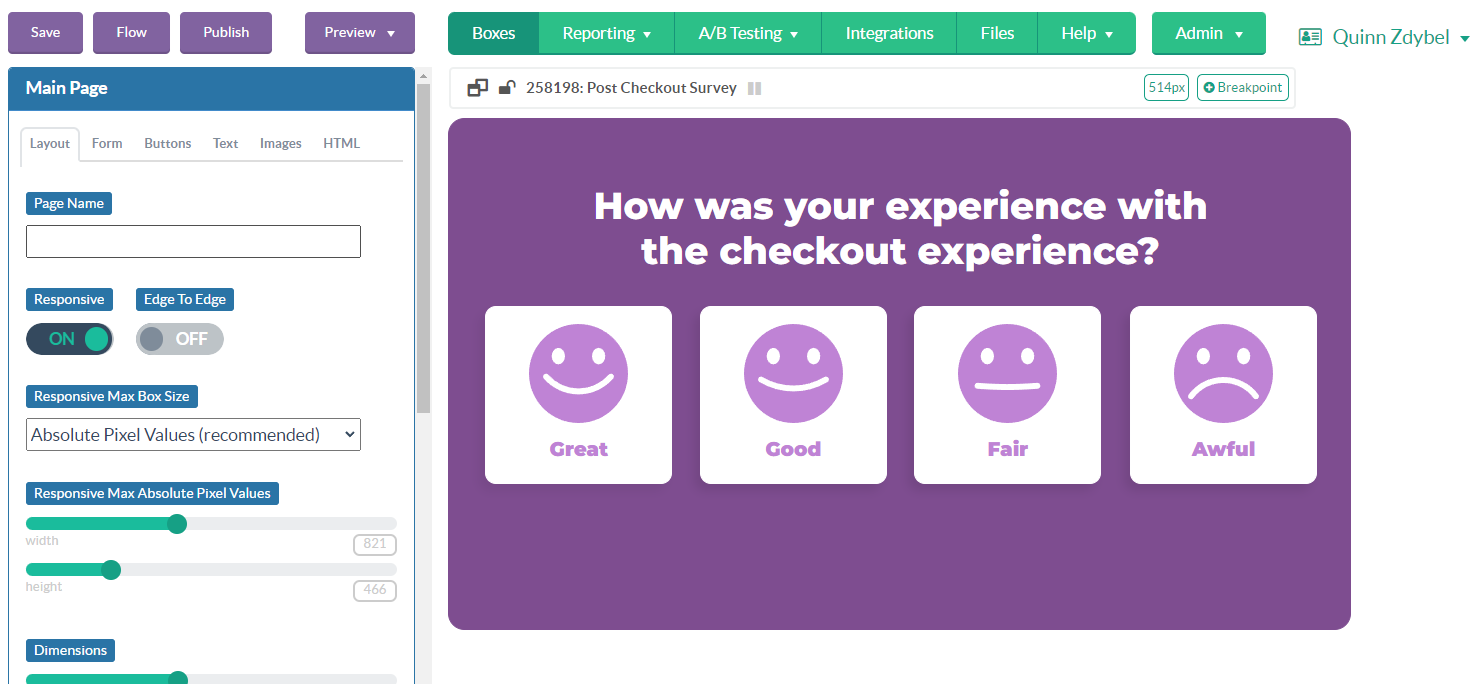
4. Choose a theme for your survey.
- For this survey example, we will use a checkout experience theme with 4 facial feature icons as the feedback options
- The steps below will be the same whether you use this same theme or choose a theme more appropriate for your Shopify site and customers.
- You will be asked to confirm your theme choice before continuing.

5. Rename your survey campaign.
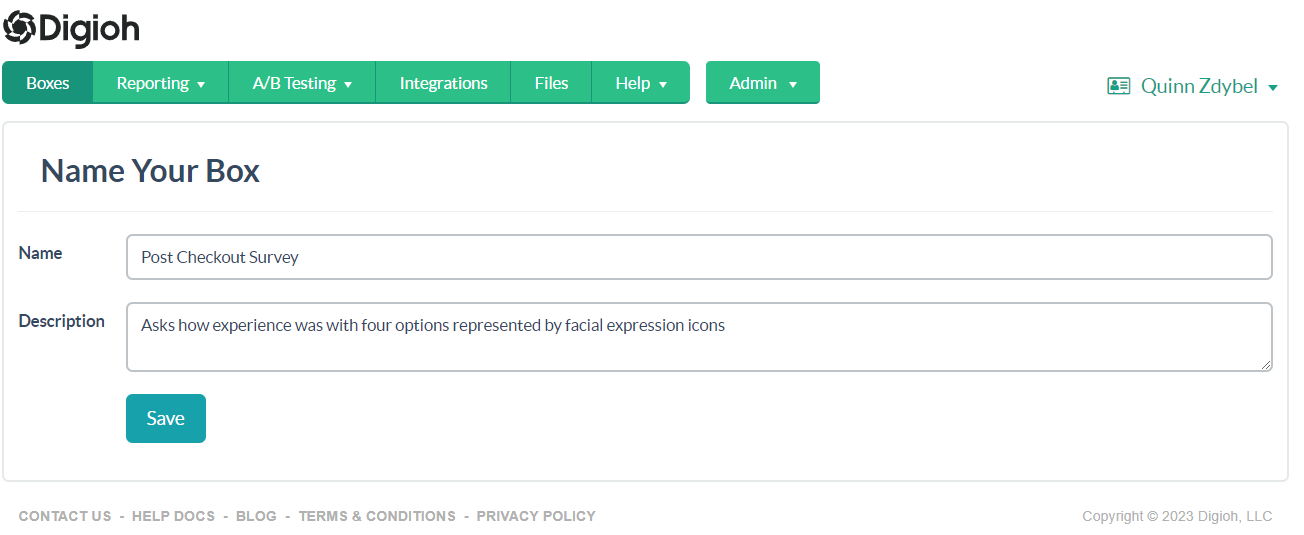
6. Click “save” to see your post-checkout survey in the Digioh editor.
3. Configure Your Survey Buttons
Customer responses must be configured to send survey data to your CRM, ESP, or other marketing platform. To send the customer responses, the value associated with each answer must be set in the editor. These values are stored in a unique custom field and can be sent to the integrated platform upon submission.
- Click the button you wish to map.
- Navigate to the “Button Data Action” section on the left side of the editor.
- Choose a custom field to store the survey response (we recommend starting with Custom 1). For one question (e.g. “How was your checkout experience?”), all customer responses for that question should be stored in the same custom field
- Add the label for that answer. These labels are sent to your CMS, so set it to what you’ll expect to see when viewing your survey responses.
- Repeat these steps for each customer response button.
- Save your quiz
For surveys with multiple pages, be sure to:
- Navigate to each page in the menu.
- Map the customer response buttons on those pages with a custom field unique to that particular feedback question.
- Save your quiz after each page to ensure no work is lost.

4. Configure the Survey Submission Button
To send survey responses to the appropriate platform, you must set up a button so customers can submit their chosen responses.
This can be a separate “Submit Feedback” button, or you can configure your survey response button to automatically submit feedback on click.
To configure a customer response button to submit the chosen response:
- Click a customer response button to configure for submission (this should be done for each response button on the page).
- On the left side of the Editor, under “Click Action”, note what page the button directs to.
- Navigate to the “Form” tab. Under “After Form Submit”, choose to show the page that the response button is going to. Under “Override Campaign Integrations”, choose “Submit form and run all Campaign Integrations.”
- Navigate back to the button you are working on. Update “Click Action” to “Submit Form,” then update “Override Form Submit Action” to “Do Not Override (Default)”
- Repeat these steps for each response button on your survey.
- Save your quiz.
To configure a separate submission button:
- Click the submission button to set up. This could be a button that says “Okay”, “Done”, “Next”, “Submit”, etc.
- On the left side of the Editor, under “Click Action”, note what page the button is going to.
- Navigate to the “Form” tab. Under “After Form Submit”, choose to show the page the submission button redirects to. Under “Override Campaign Integrations,” choose “Submit form and run all Campaign Integrations”
- Navigate back to the button you are working on. Update “Click Action” to “Submit Form,” and update “Override Form Submit Action” to be “Do Not Override (Default)”
- Save your quiz
5. Set up Your Post-Purchase Survey Conditions
For a survey to show after checkout, you must set the conditions in the editor.
- Navigate to your Shopify store checkout confirmation page.
- In the URL, copy the URL page path after your store site name. For example, yourstore.com/us/pages/checkout_confirmation_page would have a page path of “/us/pages/checkout_confirmationpage”
- Use this page path to set the conditions of your survey.
For a post-checkout survey, we recommend using one of the following configurations:
- Lightbox – Show after 10 seconds on your Shopify checkout confirmation page.
- Current URL Path contains the path copied above within Step 6 – Set up Conditions on Survey
- Total Seconds on Page is 10
- Current URL Query String contains force test block (ex: “FORCE_BOXID#“)
- This is text you can add to test showing your survey on your site without it being live
- This will be removed when the survey is launched
- To view your survey with this test block:
- Navigate to your Shopify store checkout confirmation page
- Add ‘?yourtestblockquerystring‘ to the end of the URL
- Wait 10 seconds!
- Inline
- Current URL Path contains the path copied above within Step 6 – Set up Conditions on Survey
- Current URL Query String contains force test block (ex: “FORCE_BOXID#“)
- This is text you can add to test showing your survey on your site without it being live
- This will be removed when the Survey is launched
- To view your survey with this test block:
- Navigate to your Shopify store checkout confirmation page
- Add ‘?yourtestblockquerystring‘ to the end of the URL
See the example display conditions below. This example shows the conditions outlined in the Lightbox instructions above.
Help on setting up your conditions can be found here:
- Digioh Conditions Overview
- What does each rule do?
- Digoh’s JQuery Selector Generator: The Visual Way to Personalize your Website
- How to embed Digioh forms on your site using JQuery selector
6. Add Smart Tag to Shopify Checkout Confirmation Page (Inline)
If you choose to create an inline survey on your checkout page, you must add a Smart Tag to the Checkout Confirmation page’s HTML for the survey to display. To do this, complete the following steps:
- View your Survey in the Digioh Editor to get your Survey’s Smart Tag HTML:
- Scroll to the “Widget” section and open the accordion menu by clicking on the “Widget” title
- Copy the code in the “Smart Tag HTML” textbox
- Navigate to your Shopify store to place the Smart Tag HTML on the Checkout Confirmation page
- Find the “Admin” panel
- Go to the “Online Store” section
- Select “Themes”
- Navigate to the “Current Theme” section
- Click the “Actions” dropdown
- Select “Edit Code”
- Choose “Checkout”
- In the Checkout confirmation page’s HTML, add the Smart Tag wherever you would like the survey to show on the page
- Save your theme!
7. Configure your Google Analytics to Track Survey Responses
To see your user’s responses in Google Analytics, link your Digioh account to your Google Analytics by following these steps:
1. Give Google Analytics access to analytics@digioh.com by following this linked documentation here.
2. Link your GA4 account to Digioh from inside your Digioh Account.
- Click the top-right account name menu
- Navigate to “GA Integration”
- Select “Connect Account” to complete your GA Connection
3. Set up custom dimensions in GA4 using these steps.
4. Create reports (help document linked here) and track your data!
If you need assistance creating reports, share your GA instance access with analytics@digioh.com after creating your custom dimensions, then reach out to us with details, and we can create the necessary report for you
For more information, please review our GA4 documentation linked here.
Using a platform different from GA4?
To send responses to other platforms, please see these documents:
8. Set Your Post-Checkout Survey Live on your Site
To see your survey on your live site, you need to:
- Remove any test blocks in the conditions of your quiz in the editor.
- Set your survey campaign live in the editor (example below).
- Test a checkout on your site to see your campaign (if you can navigate directly to your checkout confirmation page, you can also test it there).