Digioh Connect – Pipeline Quick Start
Steps for Creating a Pipeline to create Leads in Salesforce
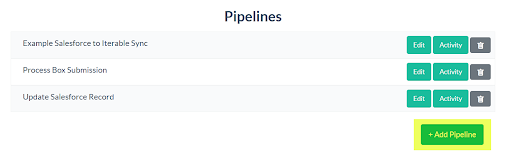
- Navigate to the Connectors are of the Digioh Portal

- Click on add new Pipeline as shown below
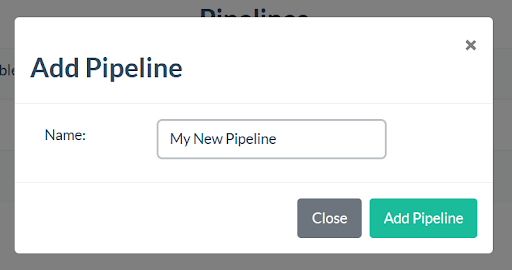
- Enter Pipeline name
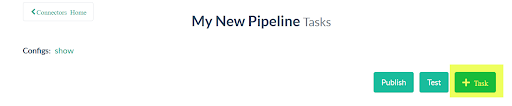
- Click Edit next to the pipeline name to navigate to the Pipeline Edit Page where you can add the tasks
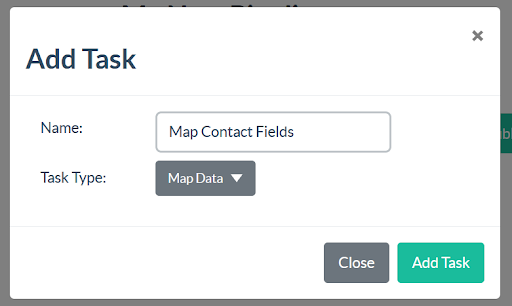
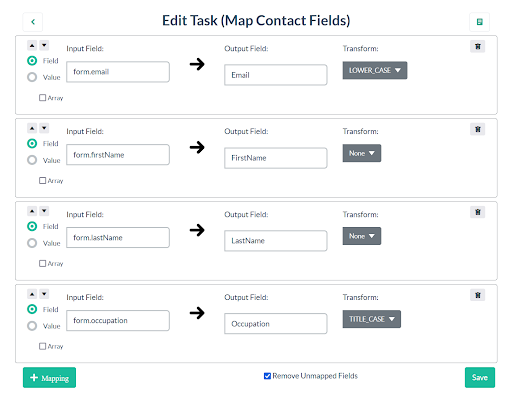
- For this example, we will create a Map Data task.
- Click Edit on the newly created task

- Add desired mappings, you can add new mappings with the
 button
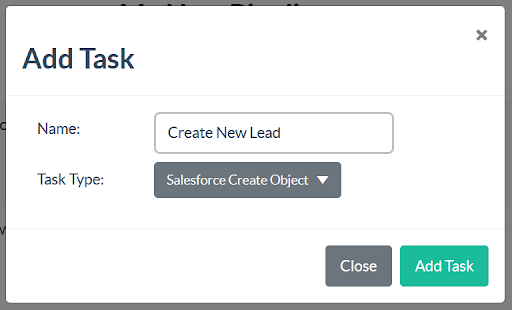
- Next let’s add a task to create a new Lead in Salesforce CRM
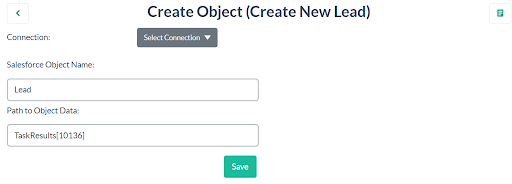
- Configure the Create Object task with the appropriate object name, and the path to the data to use. TaskResults refers to the output of prior tasks, and 10136 refers to the ID of the Map Contact Fields task we created earlier.
- Now your pipeline looks like this, let’s test it!
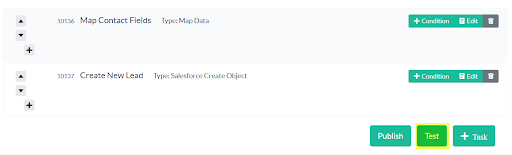
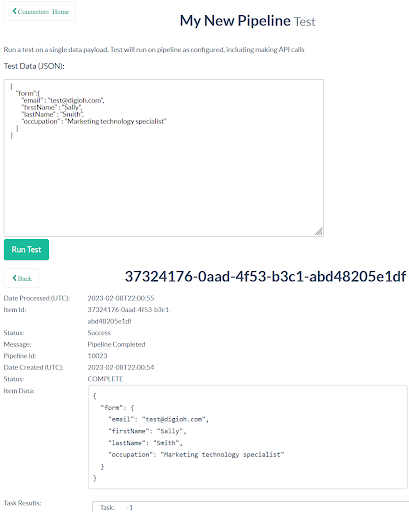
- Enter test data in JSON format into the test input and hit “Run Test”. You can see the results of your test below:
- You now have a working pipeline! Congratulations! Next, let’s add some basic conditions to your pipeline
- Click “+ Condition” on the Creat New Lead pipeline task

Conditions are logic statements that result in true or false and control whether a task will run or not. Add a couple conditions, you can click “+ AND” or “+ OR” to create groups of conditions to be evaluated. Choose the left side as either a field, or a value, then the operator, then the right side as either a field or value.
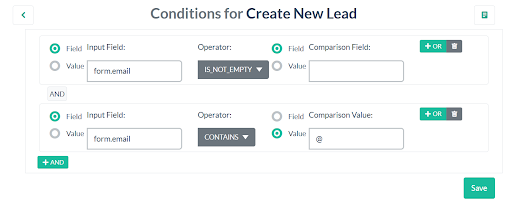
These conditions ensure that a lead is created with an email. More complex email validation could be added with more conditions, or by using a regular expression matching condition.