GetResponse‘s complete online marketing software helps you grow your audience, engage with customers, and boost online sales.
Digioh’s GetResponse integration allows you to capture leads with Digioh-powered campaigns (pop-ups, surveys, quizzes, etc.), then pass that data as a contact to GetResponse in real-time.
If you are setting up a Digioh integration by yourself, we first recommend reading about Digioh Integration Basics.
Follow these instructions to set up a GetResponse integration.
Prerequisites
• A GetResponse account
• An active API key created in GetResponse
• A Digioh campaign already created that includes a form to capture leads
Steps
1: Go to Integrations, search for GetResponse, and click Create.
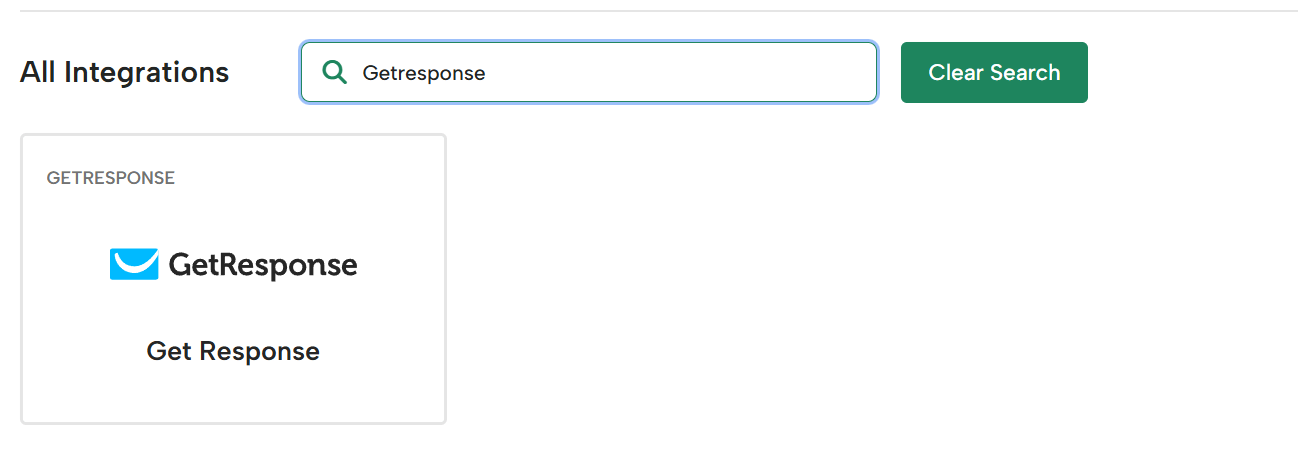
2: Set a friendly name in the Friendly Name field.
![Screenshot of the Digioh Add New Integration page showing “Get Response” entered as the Friendly Name, “Get Response” selected in the Integration dropdown, an optional Campaign dropdown set to [None], and a green “Create Integration” button.](https://help.digioh.com/wp-content/uploads/2026/02/getresponse-integration-name-1.png)
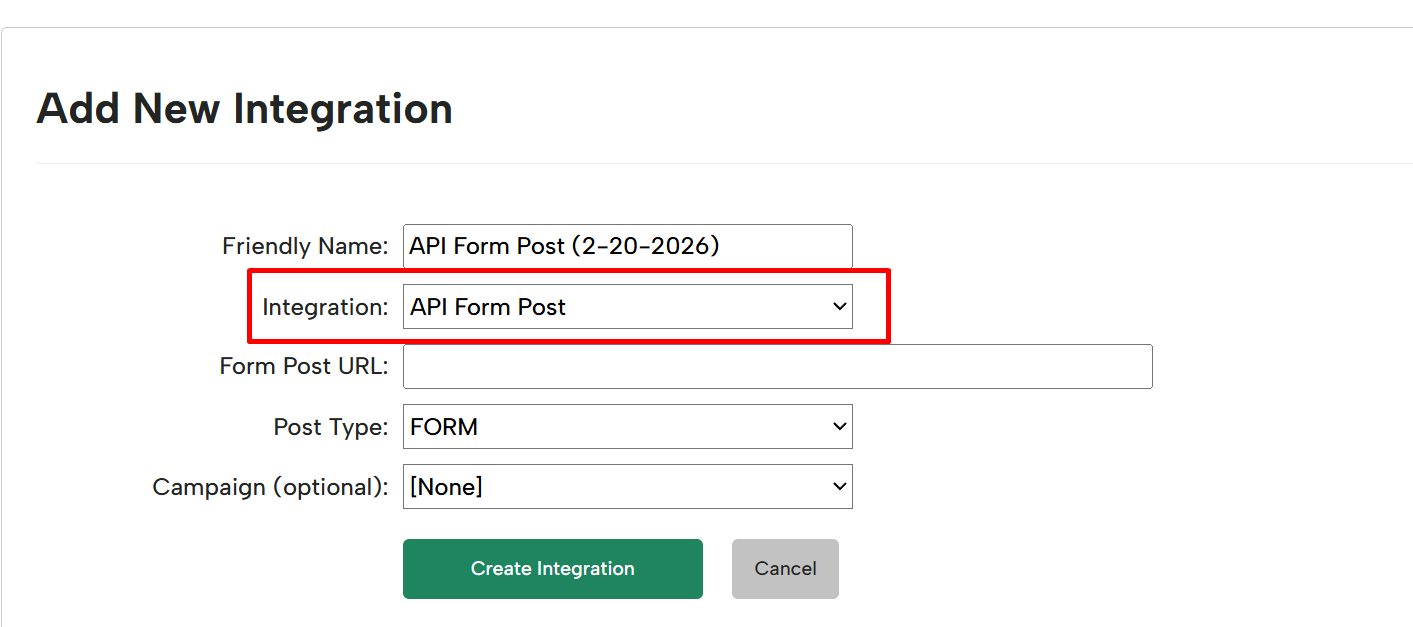
3: Select API Form Post in Integration options
4: Form Post URL
Enter the GetResponse Contact API Endpoint. https://api.getresponse.com/v3/contacts
![Screenshot of the Digioh Add New Integration page showing “API Form Post” selected, the Form Post URL field filled with https://api.getresponse.com/v3/contacts (highlighted in red), Post Type set to “JSON Raw,” Campaign set to [None], and a green “Create Integration” button.](https://help.digioh.com/wp-content/uploads/2026/02/form-post-url.png)
Step 5: Select JSON Raw in Post Type.

Step 6: Select Campaign
Select the campaign and click Create Integration.
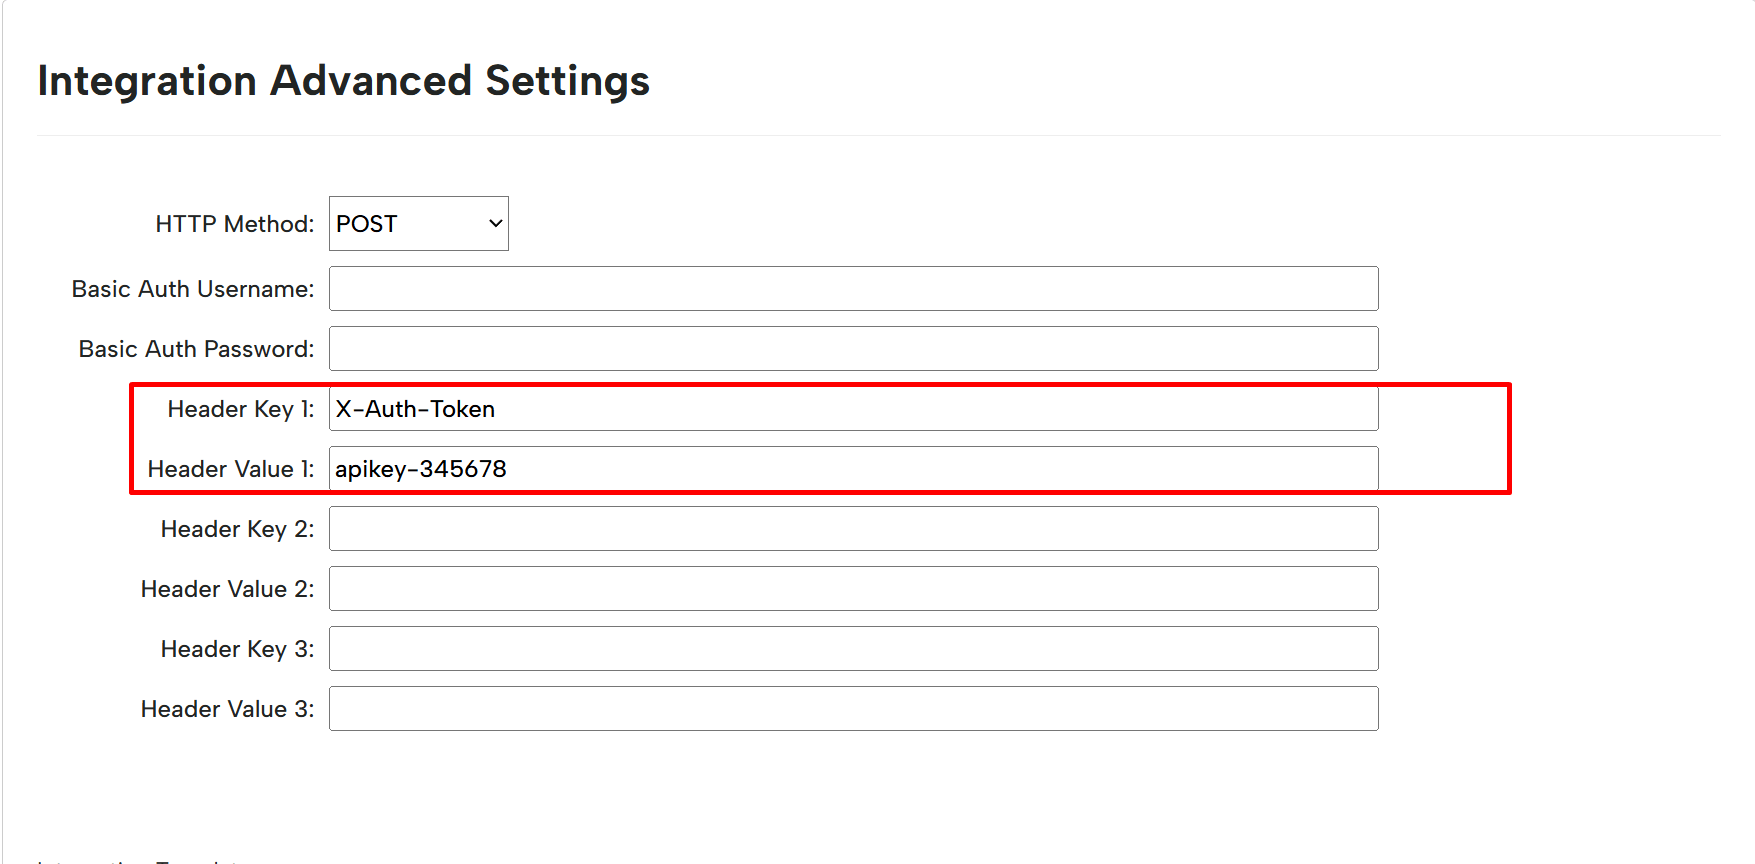
Step 7: Configure Advanced Integration Settings
On the advanced integration page, set the HTTP method to POST, then enter the Header 1 key and value like the below image.
The X-Auth-Token will be placed in Header 1 Key, and the GetResponse API key will be placed in the Header 1 Value.
For the GetResponse API key please check GetResponse Documentation
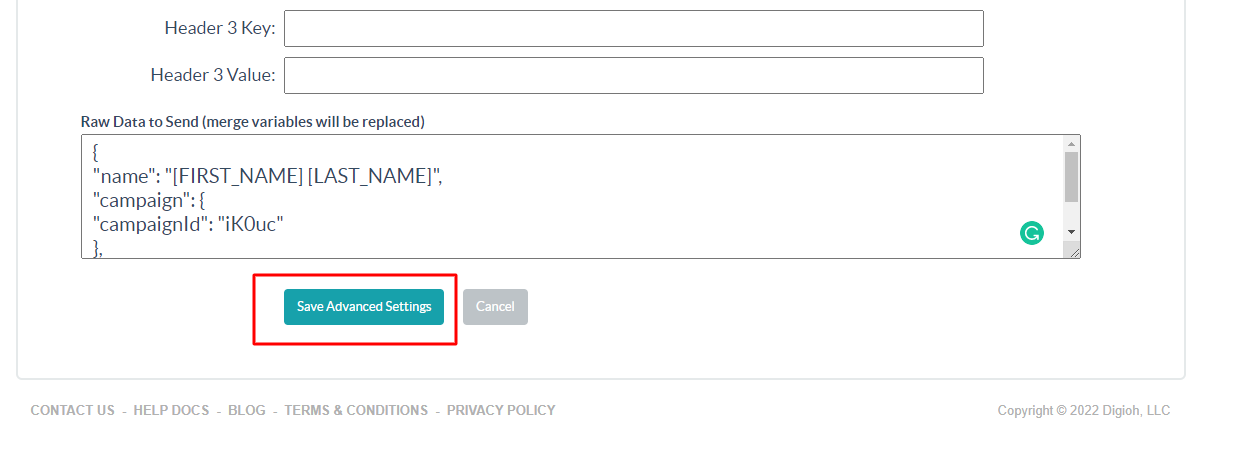
Set up the following payload in the Raw Data to Send section.
{
   "name": "[FIRST_NAME] [LAST_NAME]",
   "campaign": {
     "campaignId": "iK0uc"
   },
   "email": "[EMAIL]"
}
Note: Email and campaignId fields are required. Modify the properties as needed.
You can also pass custom fields like Customer City, Region, Country, Country Code, etc to GetResponse. First, create the custom field in GetResponse, or choose from existing predefined custom fields (see GetResponse custom properties documentation for creating the custom field in GetResponse). Copy the field ID, then add the field ID and its merge tag value to the raw JSON section. Check the example payload below.
{
"name": "[NAME]",
"campaign": {
"campaignId": "iyPgk"
},
"email": "[EMAIL]",
"ipAddress": "[IP_ADDRESS]",
"customFieldValues": [
{
    "customFieldId": "pZLjhB",
        "value": [
        "hello"
    ]
}
]
}
Note: In the above payload we are passing GetResponse country (Predefined field) value “customFieldId”: “pZLjhB”. pZLjhB is the custom field Id.
For additional Campaign metadata fields, see this list
After adding the JSON payload, click Save Advanced Settings.
That’s all. Your GetResponse integration is ready to go!
Related Reading: