Overview
Digioh Passport for Klaviyo connects your Digioh on-site campaigns with your Klaviyo customer data. Once enabled, Digioh can automatically identify visitors who already exist in Klaviyo, recover their identity after Safari’s Intelligent Tracking Prevention (ITP) clears the Klaviyo cookie, and use Klaviyo profile data to control which on-site experiences appear – all without requiring additional forms or custom development.
Once enabled, Digioh can:
- Identify visitors who are known to Klaviyo (via prior form submission, email click, or SDK)
- Recover the Klaviyo identity after it is cleared by Safari’s 24-hour ITP window
- Use Klaviyo lists, segments, and profile attributes to target or suppress Digioh campaigns
- Personalize campaign content with Klaviyo profile field data using merge tags
- Track page view and campaign interaction events back to Klaviyo
- Attribute more Add to Cart and Checkout events to known Klaviyo profiles
Prerequisites
Before setting up Passport, ensure the following are in place:
- A Klaviyo “Postback” integration (OAuth) configured in Digioh Connect. This is required for Passport to function.
- Google Analytics authenticated in your Digioh account (recommended, for revenue reporting in the ID Grid dashboard).
- The Digioh script installed on your website.
Setup Instructions
- In Digioh, select Integrations in the top nav bar
- In the list of all integrations, select the Klaviyo card
- On the Klaviyo landing page, select New Connection
- Provide a name for your connection and click install, you will be prompted to log into Klaviyo and grant Digioh access
That’s it – Digioh will automatically install and configure the necessary extensions and account metadata for you!
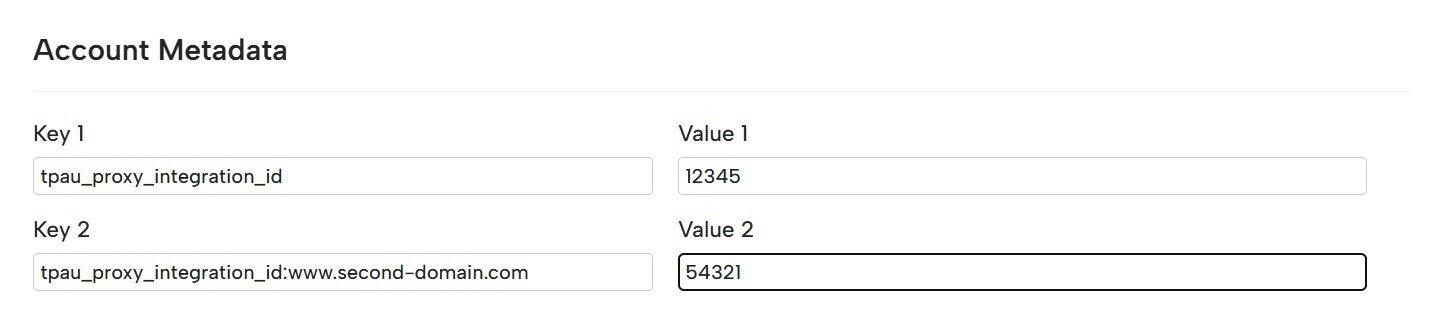
If you manage multiple sites out of a single Digioh account, or have a sandbox environment that should point to a different Klaviyo integration, you can add site-specific overrides using the key format:
tpau_proxy_integration_id:<hostname>
Example: tpau_proxy_integration_id:www.second-domain.com : Value: 54321
Maximizing Identity Coverage
Digioh will automatically retain and use the email identity of visitors who submit a Digioh campaign form. To expand identification coverage to your broader subscriber base, we recommend the following:
Email Click-Through Identification
Update your Klaviyo email templates so that links back to your site include the subscriber’s email or user ID on the query string:
?email={{ email|urlencode }}
?userId={{ person.id }}
We recommend userId where possible as it is more secure. At a minimum, add these parameters to your welcome email and double opt-in confirmation links, as these are the highest-traffic messages in your list.
Klaviyo JavaScript SDK
If you have the Klaviyo JavaScript SDK installed on your site, Digioh will automatically read the user’s identity from it when available, with no additional configuration required.
JavaScript Variable
If your site exposes a logged-in user’s email or ID in a JavaScript variable (e.g. from a login session or a data layer), add the following to Account Metadata:
Key: tpau_userid_source_var
Value: window.yourDataLayer.customer_id (or whichever JS path exposes the ID)
Using Passport in Digioh Campaigns
Targeting Based on Klaviyo Data
Once passport is installed, Klaviyo-specific targeting rules become available in the campaign Display Rules editor. Digioh automatically pulls your active Klaviyo lists and segments, so you can target based on:
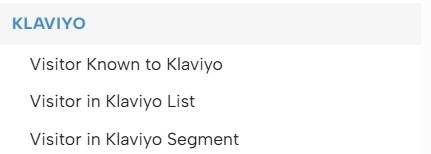
- Visitor Known to Klaviyo – whether the current visitor has a known Klaviyo profile
- Visitor in Klaviyo List – target or suppress campaigns based on specific list membership
- Visitor in Klaviyo Segment – target based on dynamic segment membership
Common use cases:
- Suppress your email opt-in pop-up for visitors who are already subscribed (to avoid annoying existing subscribers)
- Show a VIP offer pop-up only to customers on your “High Value Customers” list
- Show a re-engagement discount to lapsed customers who are members of a “Winback” segment
Important: Klaviyo automatically deletes unused segments after 45 days. If you create a segment specifically for Digioh targeting (not used in email flows), star it in Klaviyo to keep it active.
Note: When a visitor is not known, list and segment rules evaluate to false. This prevents campaigns from incorrectly targeting unknown visitors as though they are not on a list.
Targeting Profile Properties (Advanced)
In addition to lists and segments, you can target specific Klaviyo profile attributes using a JavaScript Variable condition. Klaviyo user attributes are exposed via the tpau object:
tpau.attributeName
Example: to show a campaign only to visitors whose favoriteColor attribute equals “green”:
JavaScript Variable | Equals | tpau.favoriteColor | green

When anti-targeting based on a profile attribute, always also check that the user is known – otherwise the campaign would also show to all unknown users (for whom the attribute is undefined, not equal to the value):
Klaviyo Identity | true
JavaScript Variable | Does NOT equal | tpau.favoriteColor | green

Personalizing Campaign Content
You can personalize the text within Digioh campaigns using Klaviyo profile data. Install the Universal Merge Tags extension in addition to Passport, then use the following merge tag syntax in your campaign text:
[KLAVIYO_FIELD|fieldName|default_value]
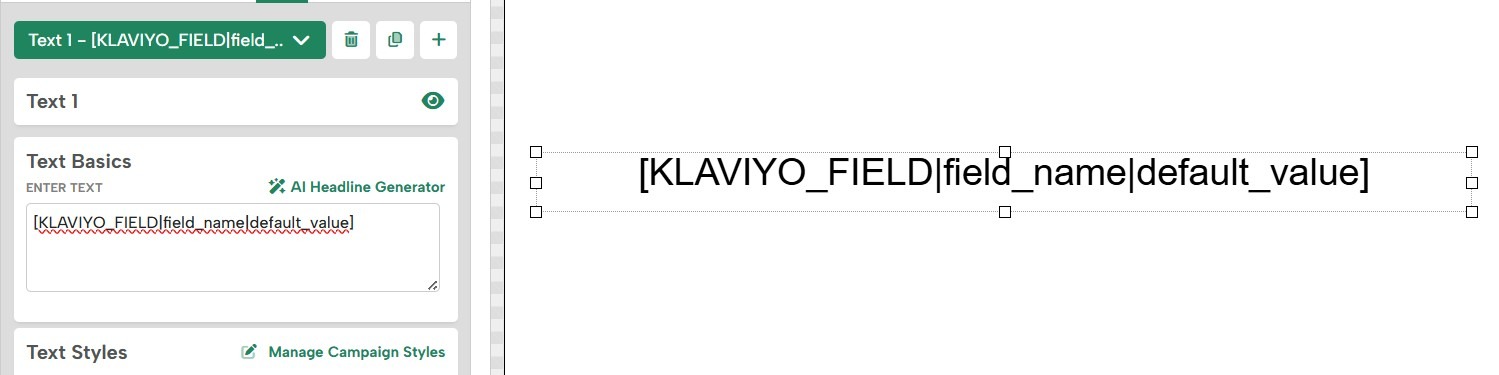
Example: [KLAVIYO_FIELD|first_name|there] would display the visitor’s first name, or “there” if the field is blank or the visitor is unknown.
We recommend conditioning any campaign that uses merge tags on tpau.known = true, so that personalized content only appears for identified visitors.
Tracking Events to Klaviyo
The Passport extension can be configured to track page view and campaign events back to Klaviyo. This is configured using Account Metadata keys at the account, campaign, or campaign-page level.
Available Metadata Keys
- tpau_pageview_event: Name of the Klaviyo event to send on every page view. Must be set in Account Metadata.
- tpau_pageview_json: JSON payload for the page view event, supporting UMT merge tags. Example: {“page_path”:”[PAGE_PATH]”, “ip_address”:”[IP_ADDRESS]”}
- tpau_box_event: Name of the event to send when a campaign page is viewed.
- tpau_box_json: JSON payload for the campaign event, supporting UMT merge tags. Example: {“box_id”:”[BOX_ID]”, “box_name”:”[BOX_NAME]”, “page_name”:”[BOX_PAGE]”}
The extension tracks the most specific level configured. If both campaign-page-level and campaign-level event config exist, only the campaign-page event is tracked.
Getting Started Checklist
- Klaviyo account set up and configured
- Klaviyo connection created in Digioh
- Passport extension installed and published
- Targeting and personalization rules created for relevant campaigns
- Test completed using ?boxqamode on your site
For questions or assistance, contact the Digioh support team at support@digioh.com.