You can use a Digioh web form to capture your users’ emails and send them to Iterable.
Digioh offers many ways to serve users a web form:
- Pop Up (forms that open up at the middle of the screen)
- Sidebars (forms that float in from the side of the screen – can float in from any side)
- Inline (forms that can be embedded on your site, like in the footer or on a specific page)
- Banners (forms that take over the top or bottom of the screen)
Any of our web forms can be integrated with Iterable in different ways:
- Subscribe to an Iterable Static List
- Add/Update an Iterable Profile
- Subscribe to an Iterable Message Type
- Subscribe to an Iterable Channel
- Trigger an Iterable Tracking event
With the above integrations, you can use any combination of them on a Digioh campaign. For example, submitting one form can add / update a profile, subscribe the user to a list, and fire off a tracking event simultaneously.
Creating a Digioh Campaign that Integrates with Iterable
Creating the Campaign
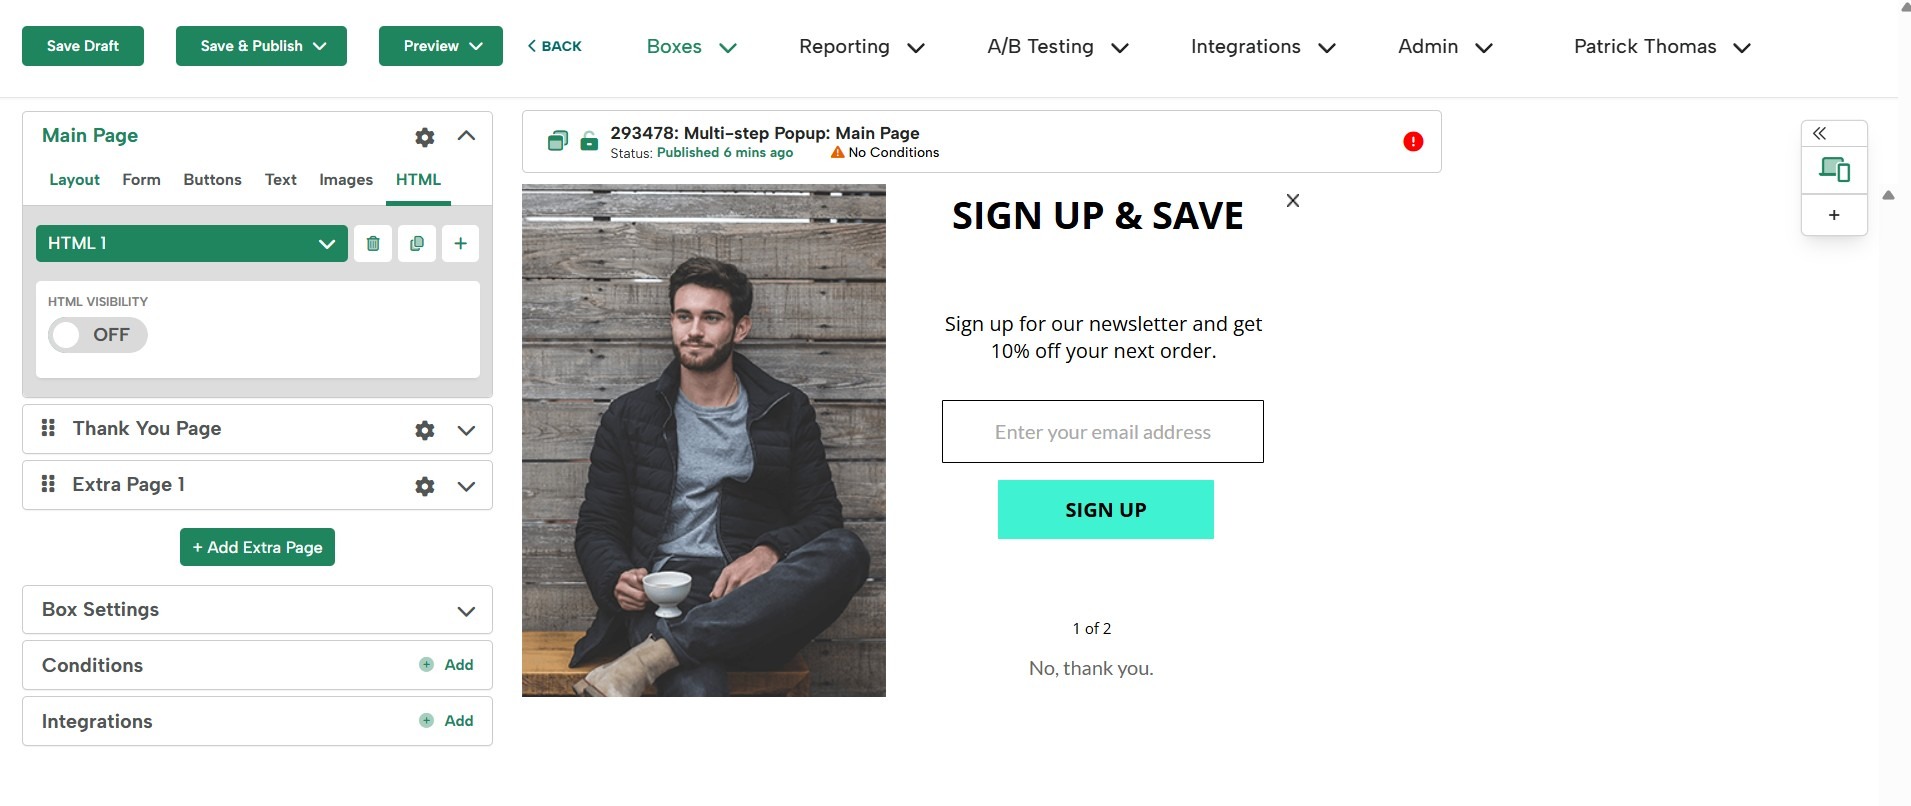
When creating a new campaign, we have a variety of themes that you can choose from to help get started! You can create a new campaign by selecting ‘Create New Campaign’ from the Campaign List page or from the Campaigns dropdown. You can also use Digioh’s Quick Start Themes to quickly create new campaigns that come pre-built with conditions already!

Once your campaign is created, you can update the design to match your site’s styling. Check out our Design Training Video, to understand the ins and outs of the Design Editor. The Design Editor is Drag and Drop and every element can be modified as needed. You can easily make any updates need at anytime, and then hit “Publish” to push them live.
Conditioning the Campaign
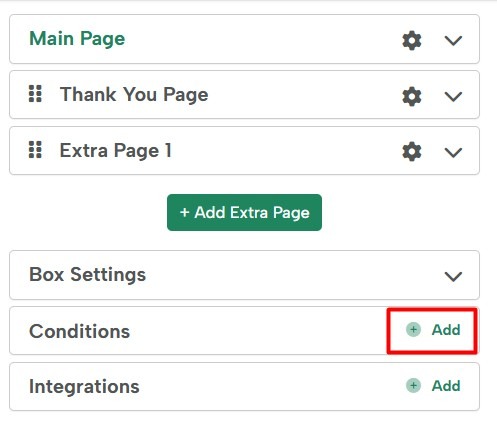
Once your design is ready, it’s time to add some conditions to the lightbox to determine when, where, and for whom it will appear. You can configure the conditions by selecting ‘Add’ on the conditions widget in the left side panel:
Digioh offers a wide array of conditions you can use on your campaigns. Watch our training video that goes over all our logic rules. Below are a few examples of setups you might want to use for email capture pop-ups.
A Welcome Pop Up
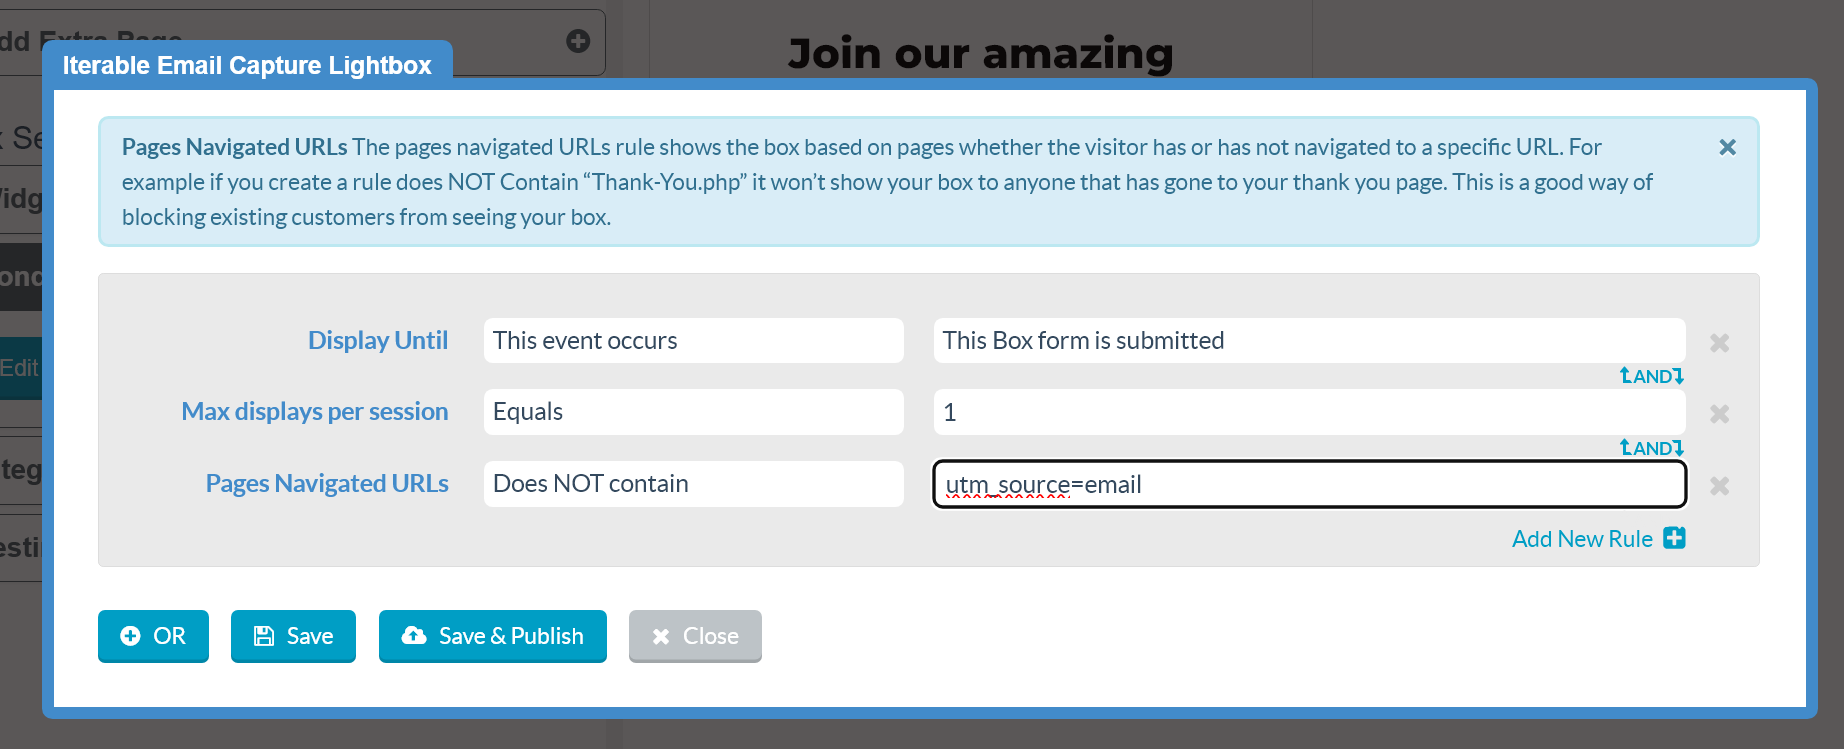
Here’s a set of rules you might want to use for a “welcome” lightbox – this campaign is set to appear once per session until the user has submitted the campaign’s form, as long as none of the pages they’ve visited while on site have contained the value “utm_source=email” in the URL:
- Display Until The Campaign Form is Submitted – This means that the campaign will stop displaying for anyone that has already submitted the campaign’s form. This is a good rule to use on most campaigns because you don’t want to show a pop up to anyone that has already filled it out and submitted their email
- Max Displays Per Session Equals 1 – This means the campaign will only show up once per browser session. This prevents an overly-aggressively pop up, so if the user has already seen the campaign and closed it, it won’t appear again during that browser session
- Pages Navigated URL Does NOT contain utm_source=email – This means the campaign won’t display for anyone that has previously browsed a page on your site with a URL that contained “utm_source=email”. With this rule, it helps ensure that if anyone has clicked through to your site from an Iterable email, the campaign won’t appear for them because Iterable automatically appends “utm_source=email” to links in an email
Iterable-Based Targeting
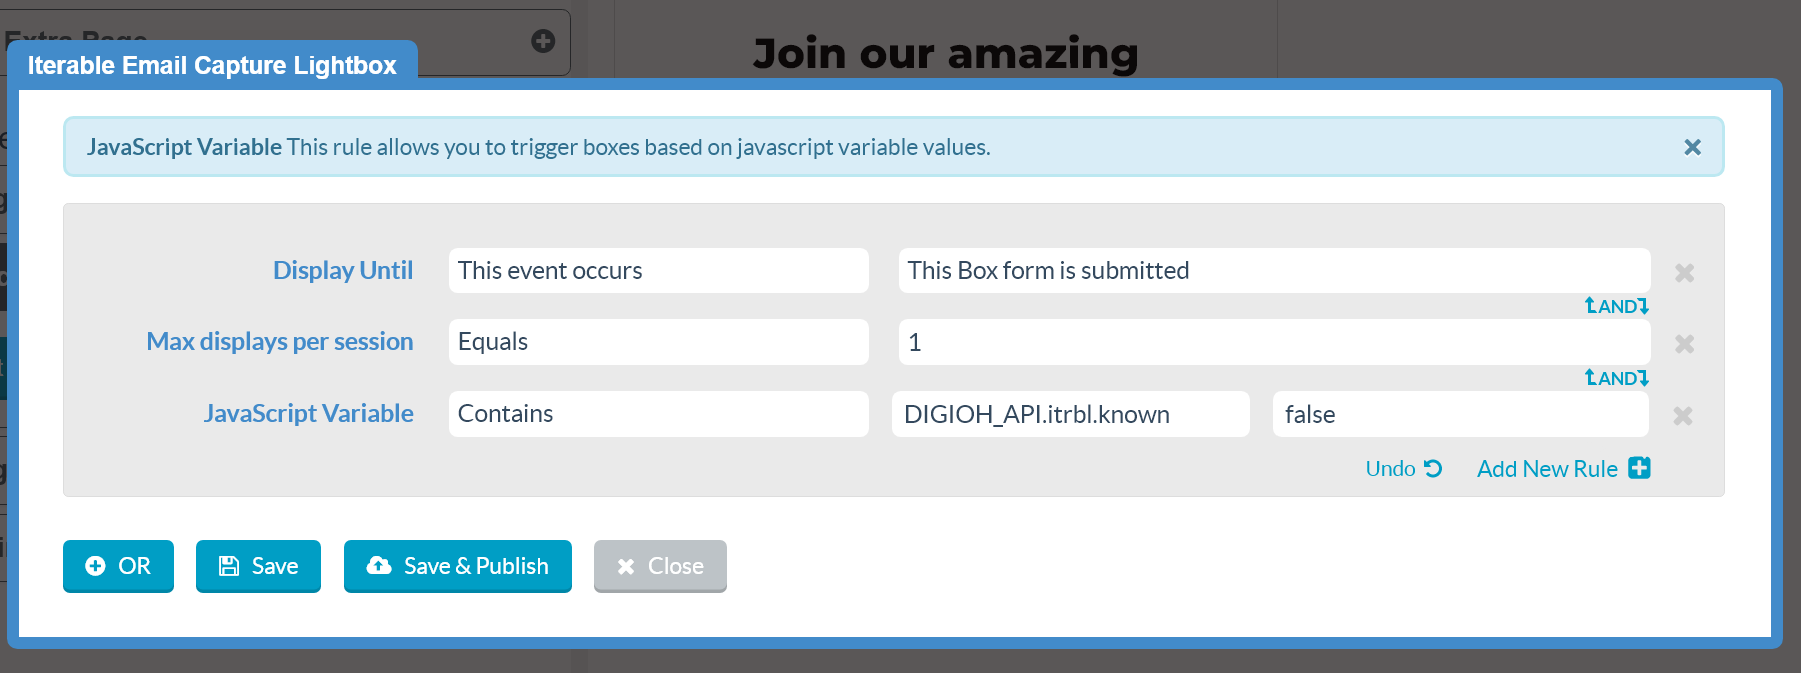
If you’re using our Iterable Owned Identification extension, you might want to use the following setup instead.
Using our DIGIOH_API.itrbl.known JavaScript variable, you can specifically target users that aren’t already “known” in your Iterable project:
Integrating with Iterable
Now, that we have our campaign created and its condition logic set up, we can create the integration to send the user’s email address to Iterable in real-time as they submit the campaign form.
Digioh offers several powerful ways to integrate with Iterable to allow you to easily configure forms to collect and pass data to your project. You can use one of our Iterable pipelines assigned to a Digioh form to do one (or more!) of the following:
- Subscribe the user to an Iterable Static List
- Add/Update a user’s Iterable Profile
- Update the user’s Iterable Subscriptions
- Trigger a custom Iterable Tracking event
Getting your Iterable API Key
Before creating a Digioh pipeline to integrate with Iterable, you’ll first need a server-side API Key from the Iterable project that you’re connecting to. If you don’t already have an API key, you can follow these steps to create one:
- Login to your Iterable account
- Select “Integrations” then “API Keys”

- Select “+ New API Key”

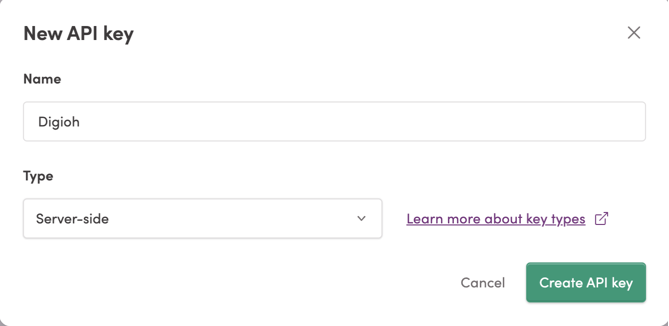
- Name your API Key and select Type: Server-Side, and then Create the API key
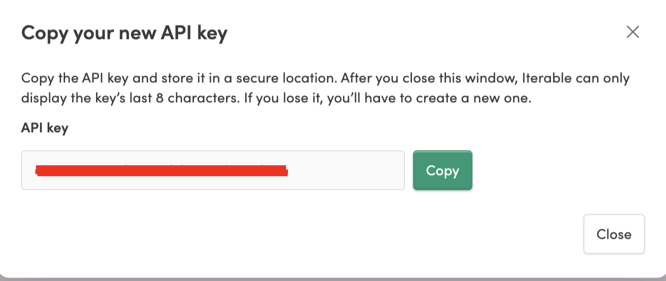
- Copy the API key shown and store it securely if needed, you’ll need this to integrate Digioh with Iterable. Please note: The API key is only ever shown once, so a new key will need to be created if this one is lost
Creating the Integration
To integrate the Digioh campaign you’ve created with Iterable, you’ll use a Digioh pipeline to send the submission data to the configured Iterable project.
Log into your Digioh account and select “Integrations” and then “New Integration”:

Select Iterable from the Integration dropdown menu:

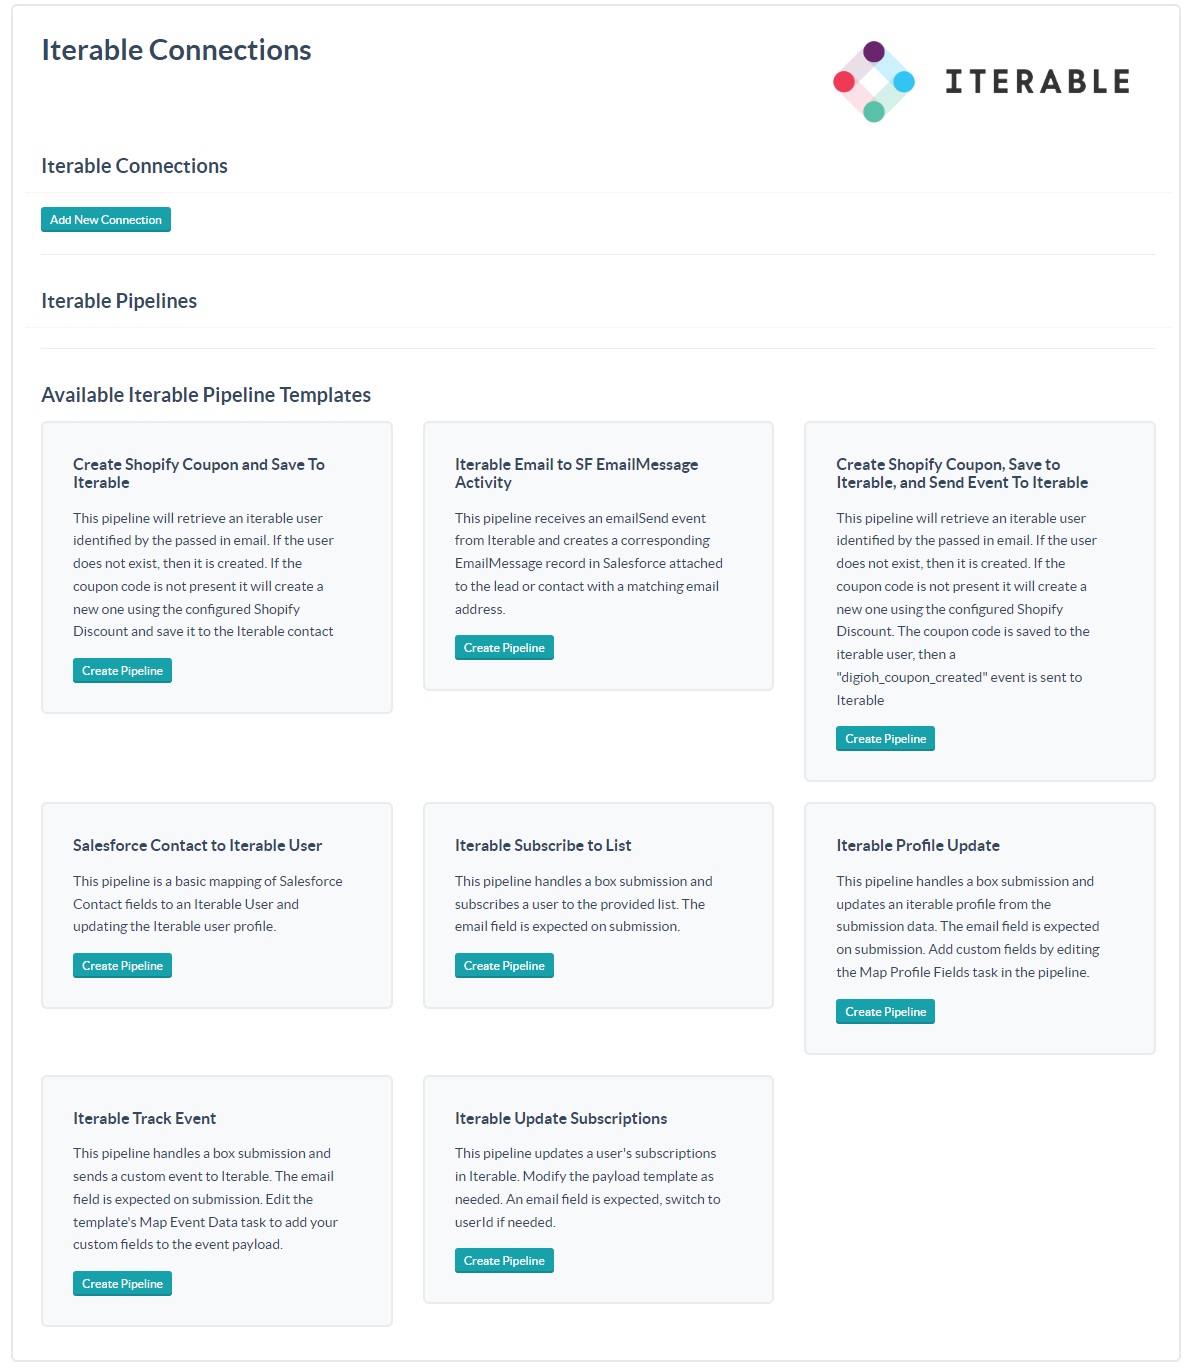
Once you do, you will be re-directed to see all of our available Iterable pipeline templates:
Creating an Iterable Connection
Before creating a pipeline, you’ll first want to add an Iterable Connection. This connection is what a pipeline uses to access the Iterable API key to then send submission data to the designated project. One connection can be used by multiple pipelines. If you have both sandbox and production projects in Iterable, we recommend adding a connection for both. Then you can test your pipelines in your sandbox environment before setting them live.
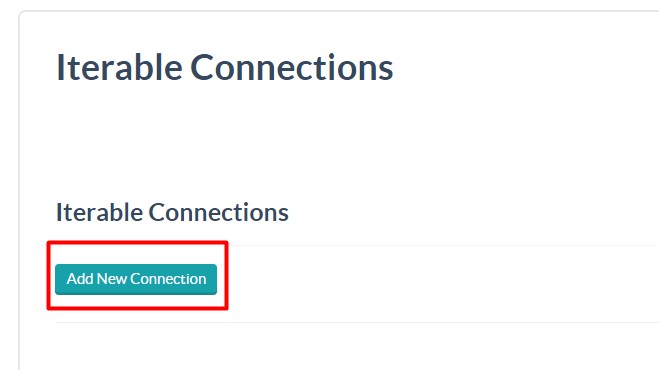
To add a new connection, select “Add New Connection”
Enter in a name for the connection (e.g. “Iterable Sandbox Connection”) and paste in the Server-Side API key from Iterable.
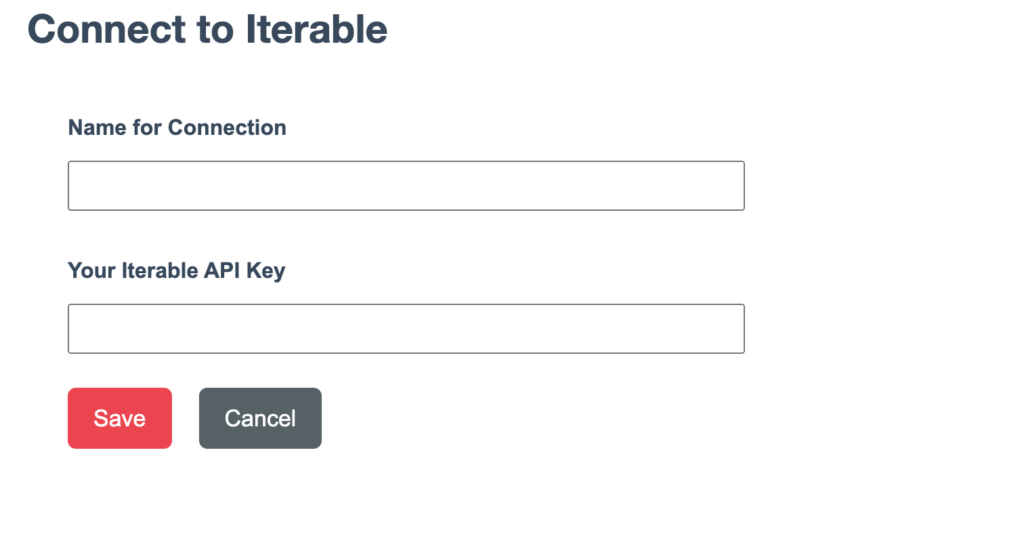
Now that you’ve got a connection, you’re ready to create a pipeline to send data to Iterable!
Creating a new Pipeline
To create a new pipeline, select “Create Pipeline” under the appropriate template. For this example, we’ll use “Iterable Subscribe to List” template. This type of pipeline is perfect for when you have a Static List in Iterable that you want to add users to. For example, you may have a monthly newsletter list that you want to add new users to when they first visit your site.
When creating this pipeline, you’ll first need to provide a name, select which connection should be used, and select which Iterable List you’ll be subscribing users to. You can also select the campaign that the pipeline should be used with.
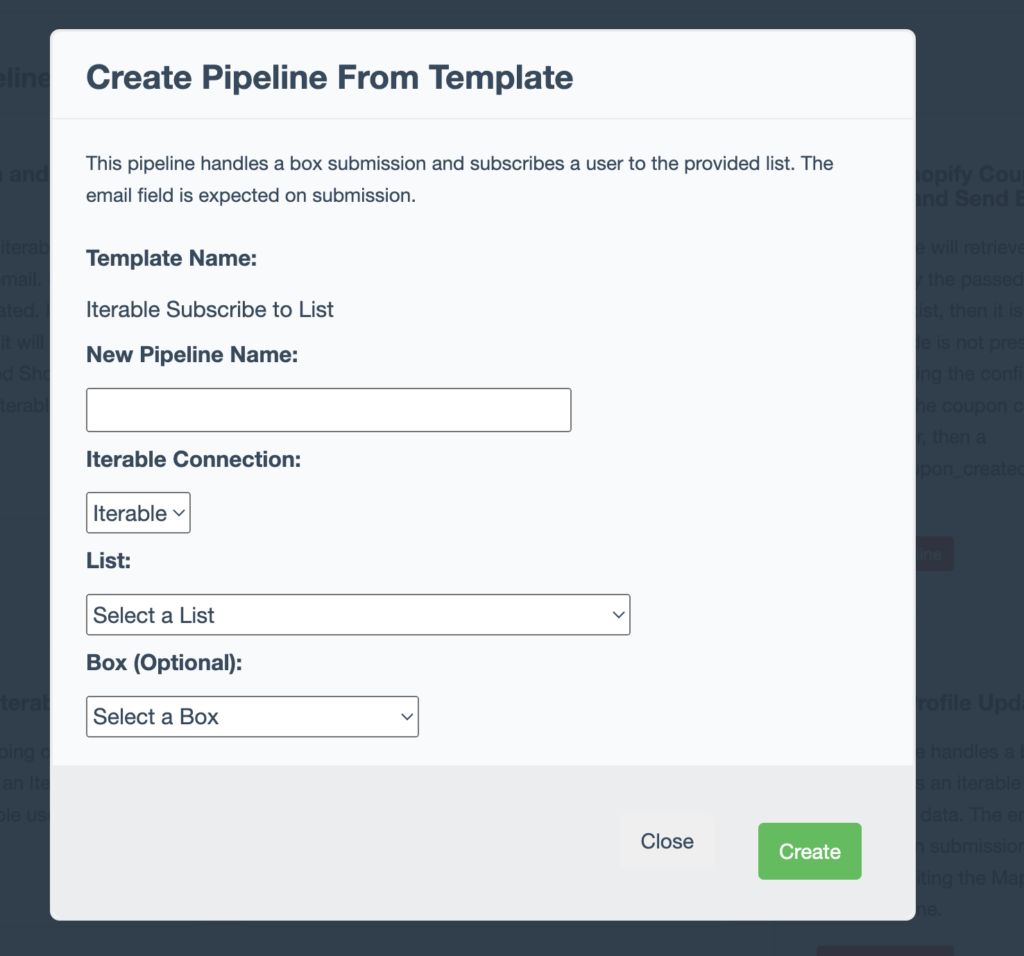
Once created, the pipeline will then appear under your Iterable Pipelines:
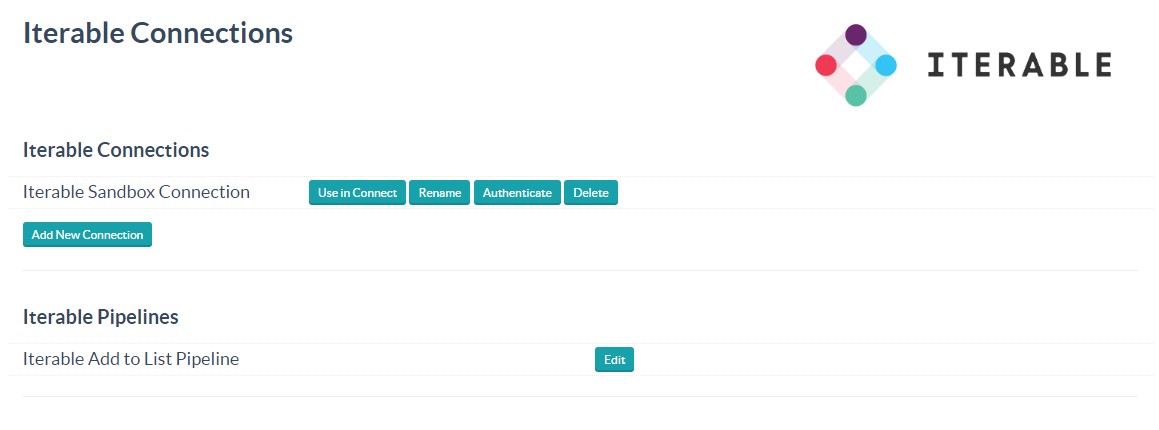
And that’s it – You’ve now created a pipeline to integrate with Digioh! If you need to add the pipeline to a campaign, you can do that by selecting “Add” under the Integration column in the Digioh Campaign List:

And selecting your newly created pipeline in the dropdown:

Additional Resources
- For a guide on how to update the connection that your pipeline is using, see this page: https://help.digioh.com/knowledgebase/how-to-update-an-iterable-pipelines-connection/
- For detailed information on how to expand the mapping in your pipeline to include additional form fields, see this page: https://help.digioh.com/knowledgebase/how-to-add-new-mappings-to-your-iterable-pipeline/
- For additional examples of how pipelines can be used to Integrate with Iterable, see this page: https://help.digioh.com/knowledgebase/iterable-pipeline-examples/
- For information on how to view a pipeline’s logs, see this page: https://help.digioh.com/knowledgebase/how-to-view-pipeline-logs/
- For adding a new task to the pipeline see this page: https://help.digioh.com/knowledgebase/how-to-add-a-new-task-to-a-pipeline/
Please let us know if you have any questions or run into any issues while creating your integration with Iterable. You can always email us via support@digioh.com and our Support Team will be happy to answer any questions you have and assist you with getting everything setup!
