Creatio is a Software as a service (SaaS) low-code solution for process management and CRM (customer relationship management. It can be used to automate business tasks, implement rules and develop third-party integrations.
Digioh’s Creatio integration allows you to capture leads with pop-up forms, lightboxes, surveys, and quizzes from Digioh to Creatio.
Creatio Integration Requirements
Before setting up your integration, you will need the following parameters from Friendbuy:
- Creatio_application_address (Creatio application address)
- Username (The user name of a Creatio user)
- Password (The user name of a Creatio password)
If you are setting up a Digioh integration by yourself, we first recommend reading about Digioh Integration Basics.
Follow these instructions to integrate with Creatio.
Setting up Integration
1: Add a New Integration
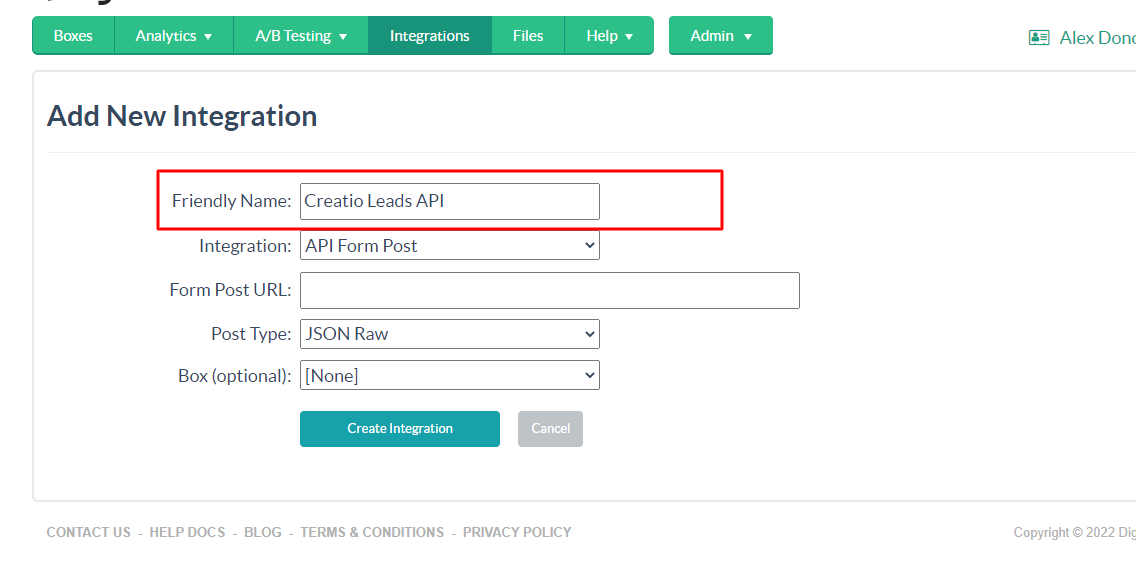
2: Set a friendly name in the Friendly Name field.
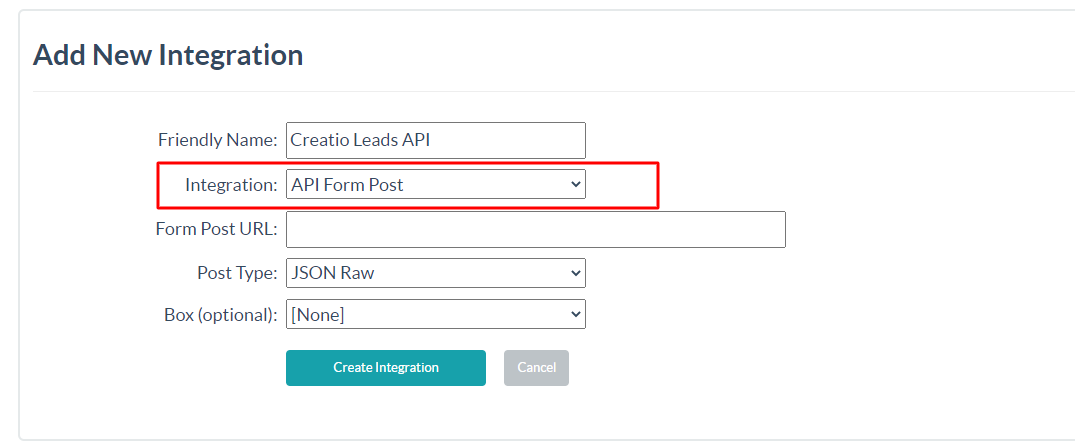
3: Select API Form Post in Integration options
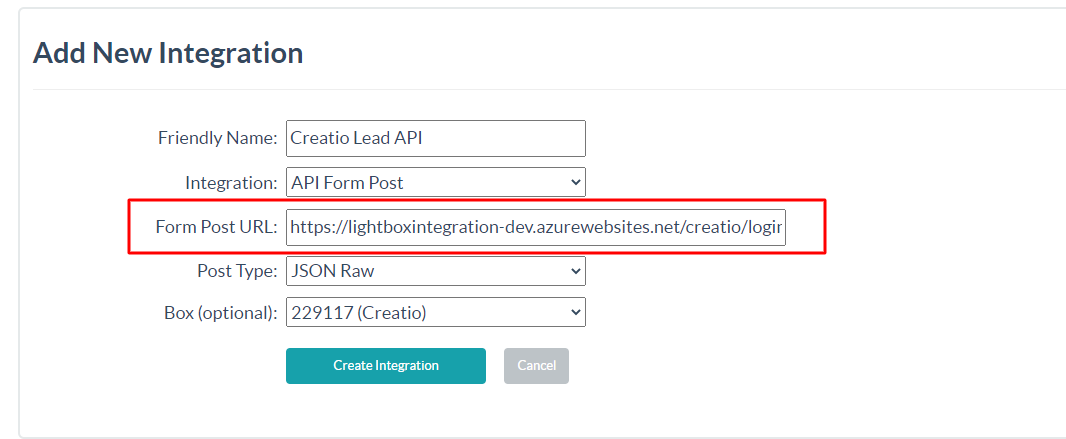
4: Form Post URL
Enter the following Endpoint.
https://lightboxintegration-dev.azurewebsites.net/creatio/login/index.php?creatioUrl=Creatio_application_address
Set Creatio Application Address in the URL: creatioUrl=Creatio_application_address
5: Select JSON Raw in Post Type.

6: Select Box
Select the box and click Create Integration.
7: Configure Advanced Integration Settings
Set up your payload in the Raw Data to Send section.
{
    "auth":  {
        "UserName":"Administrator",
        "UserPassword":"helloworld"
    },
    "data": {
        "Account": "[FIRST_NAME] [LAST_NAME]",
        "Contact": "[FIRST_NAME] [LAST_NAME]",
        "FullJobTitle": "Developer",
        "Email": "[EMAIL]",
        "MobilePhone": "[PHONE]",
        "LeadName": "Lead Form"
    }
}
All properties fields are optional. Modify the properties as needed.
Note: All the Hubspot fields are case-sensitive. firstname and FirstName will be considered as different fields in Hubspot.
You can also pass custom fields like Customer City, Region, Country, Country Code, etc to Hubspot. First, create the custom field in the HubSpot (Visit HubSpot custom properties documentation for creating the custom property in Hubspot). Then, add the field name and its merge tag value to the RAW JSON section. Check the example payload below.
{
"properties":[
  {
    "property":"firstname",
    "value":"[first_name]"
  },
  {
    "property":"lastname",
    "value":"[last_name]"
  },
  {
    "property":"phone",
    "value":"[phone]"
  },
  {
    "property":"age",
    "value":"[age]"
  },
  {
    "property":"customer_city",
    "value":"[city]"
  },
  {
    "property":"customer_postal_code",
    "value":"[POSTAL_CODE]"
  }
]
}
Note: customer_city and customer_potal_code are Hubspot custom fields and [CITY] and [POSTAL_CODE] are digioh analytics fields.
For additional Box metadata fields, see this list
That’s all Your Hubspot create or update integration is ready to go!
If you have any questions about setting up your Hubspot integration, send us an email, and we’ll be glad to help!
Related Reading: