What You’ll Learn in This Article:
- Build and Set up your Campaign
- Customize layout, forms, buttons, text, images, and more.
- Define form actions, button clicks, and overall display settings
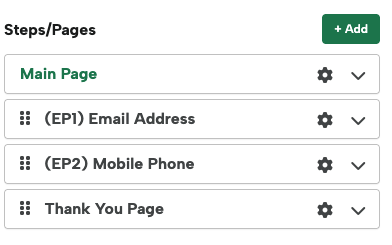
Steps/Pages
The Main Page is the first page that appears on your Campaign. After a form is submitted the user can then be brought to a Thank You page. You can also create multi-step pop-ups with Extra Pages.
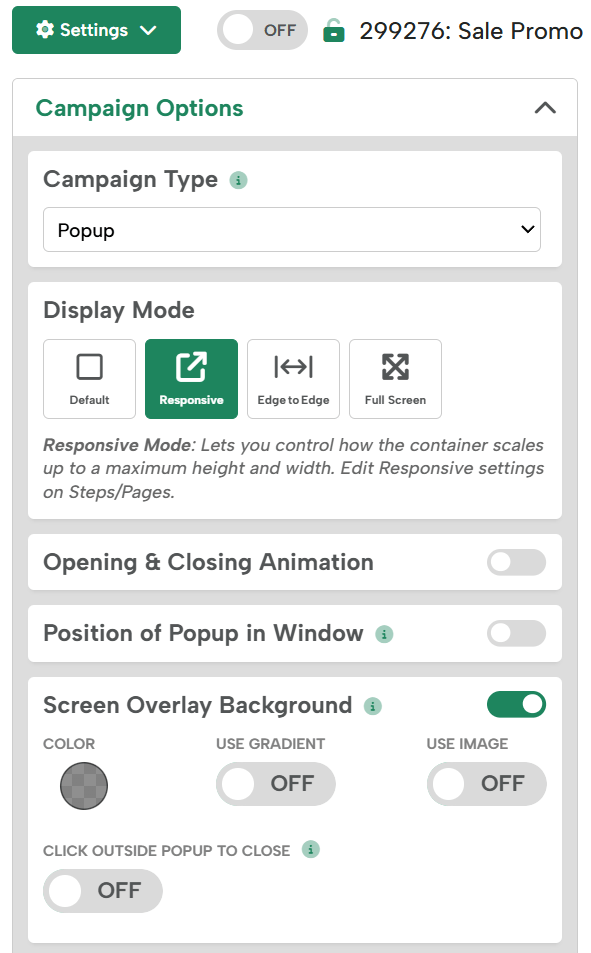
Campaign Options
Here is where you can change the campaign style (Popup, Sidebar, Inline, Banner), the display mode, add extra CSS and more.
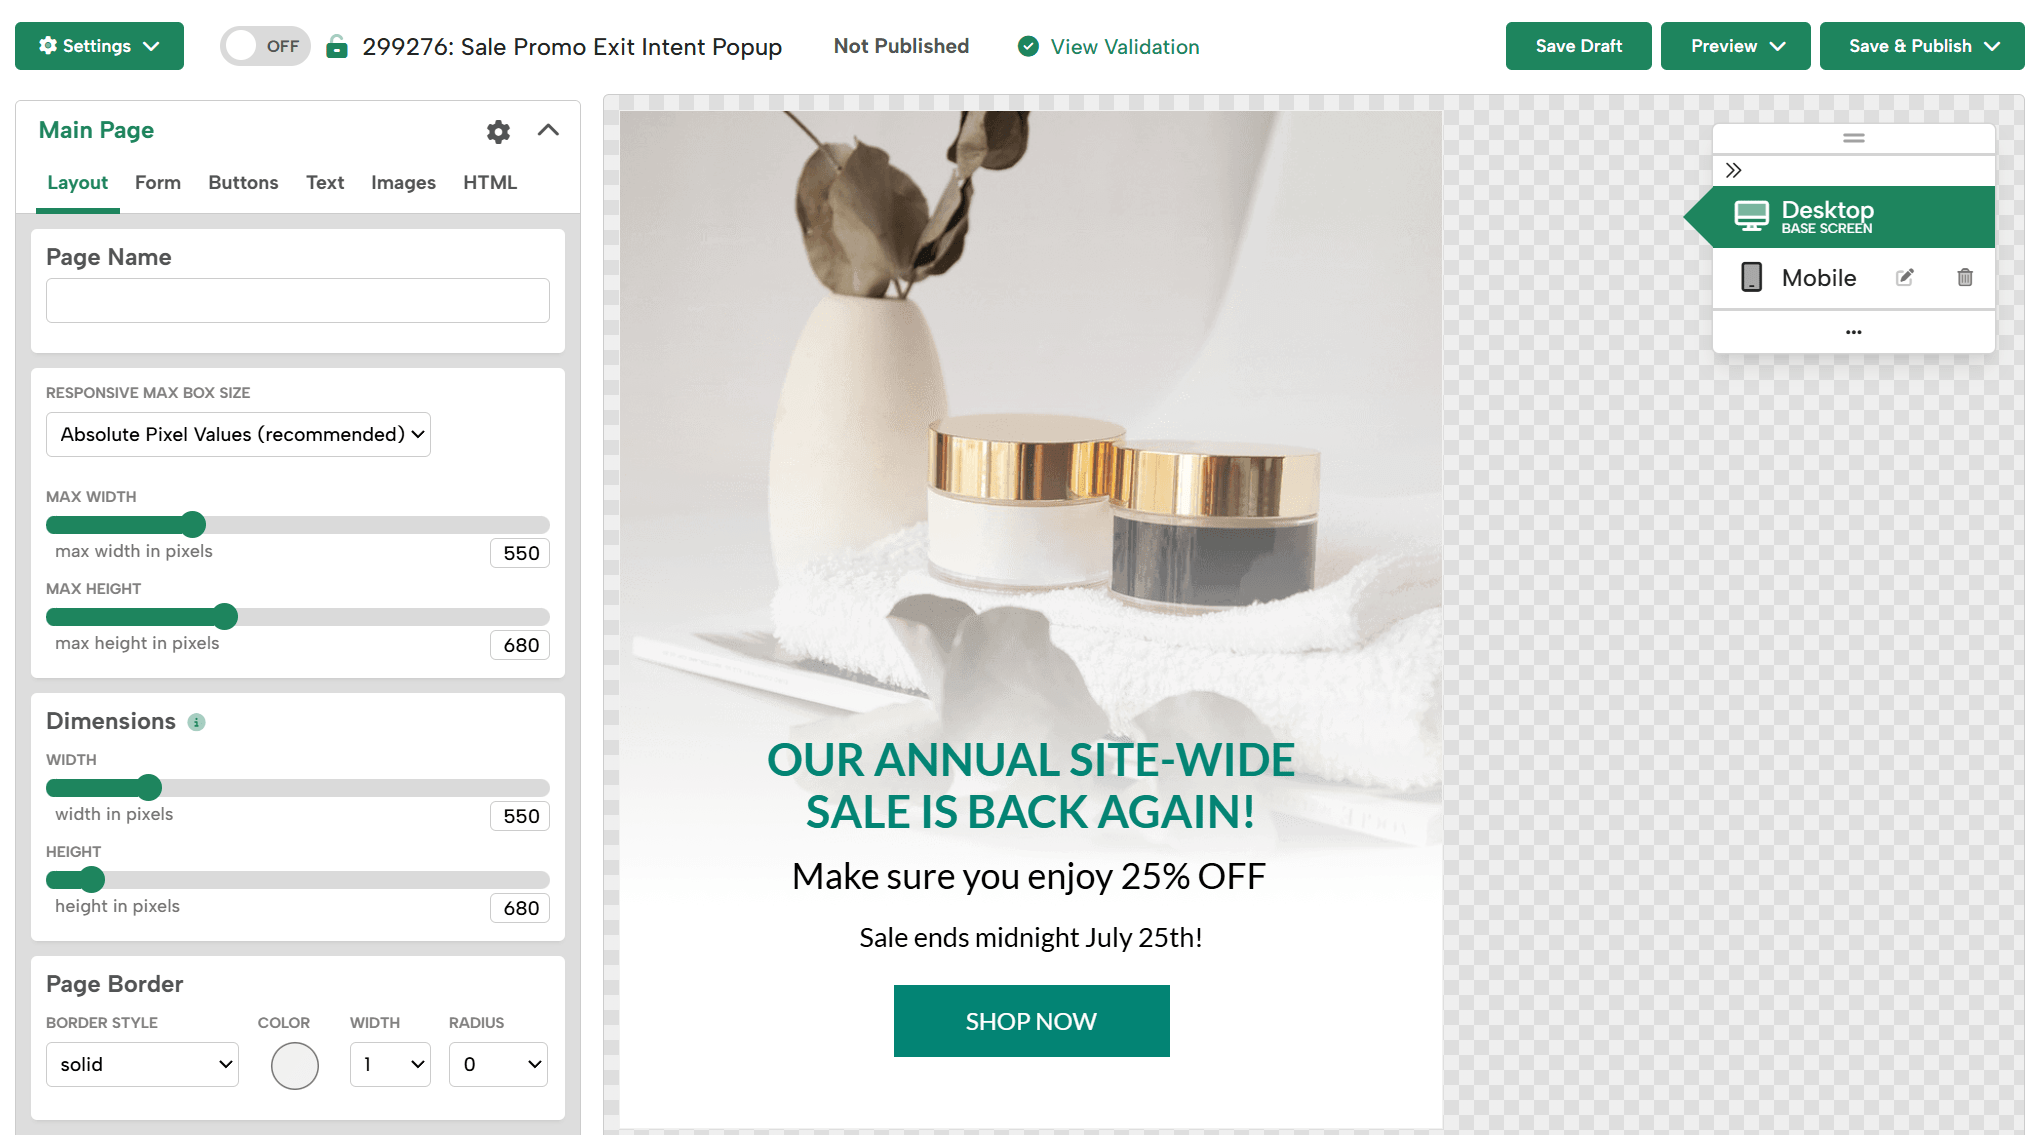
Layout
The Layout tab on each page is where you edit the campaign’s dimensions, border, and background.
Form
Under the form tab, you can add fields, style the labels and inputs.
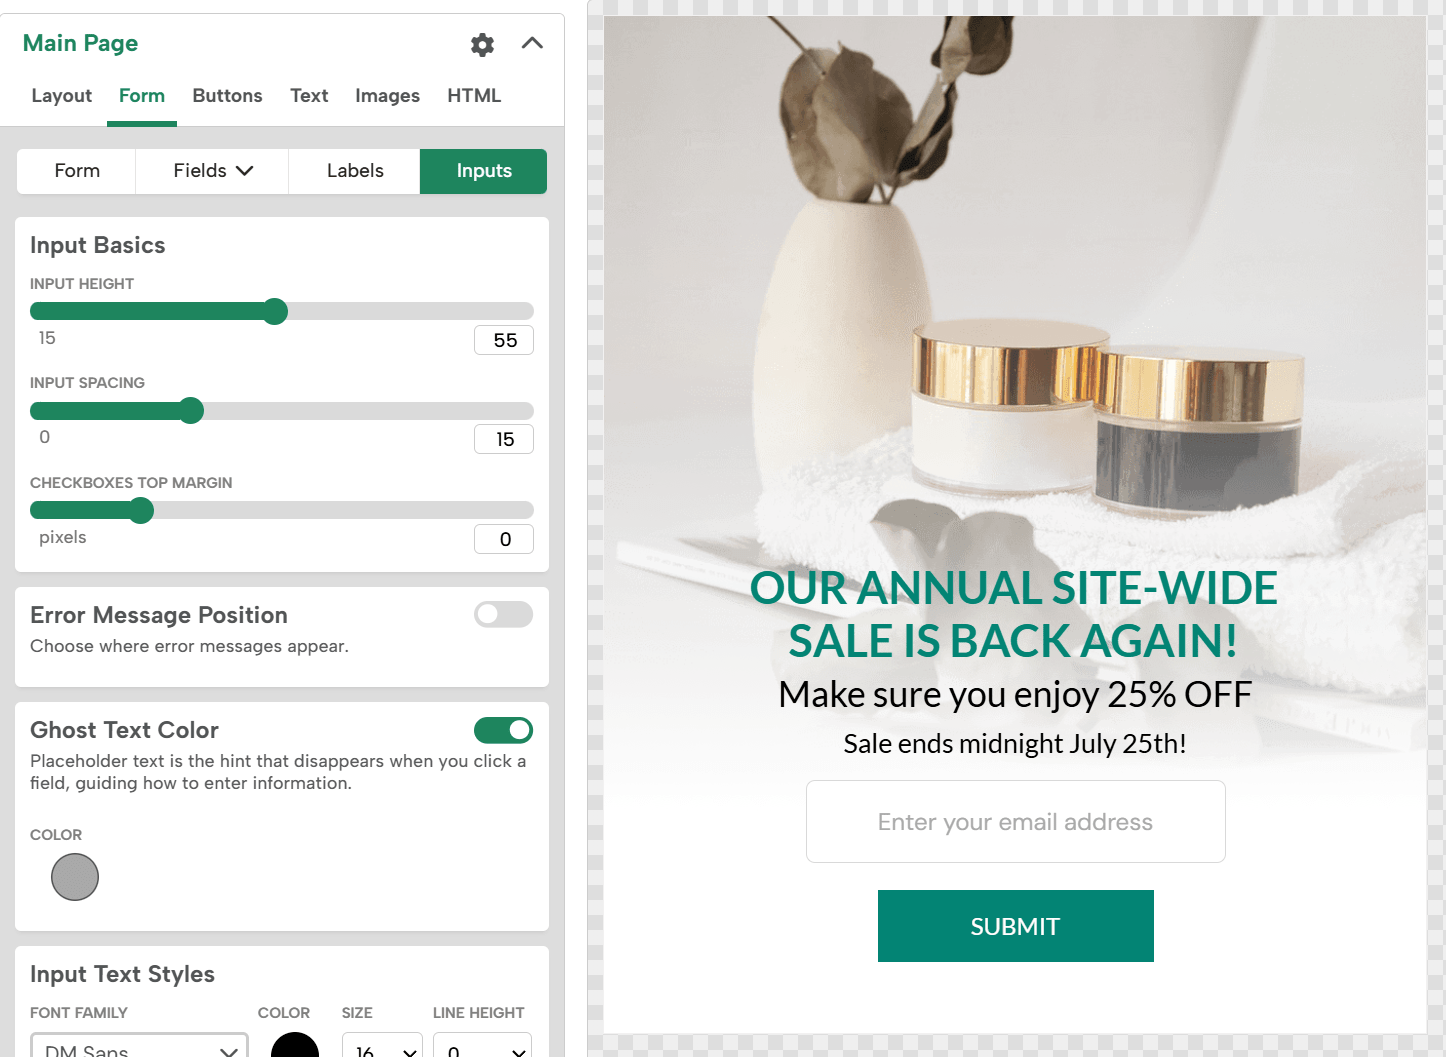
Here are the sections in the Form tab:
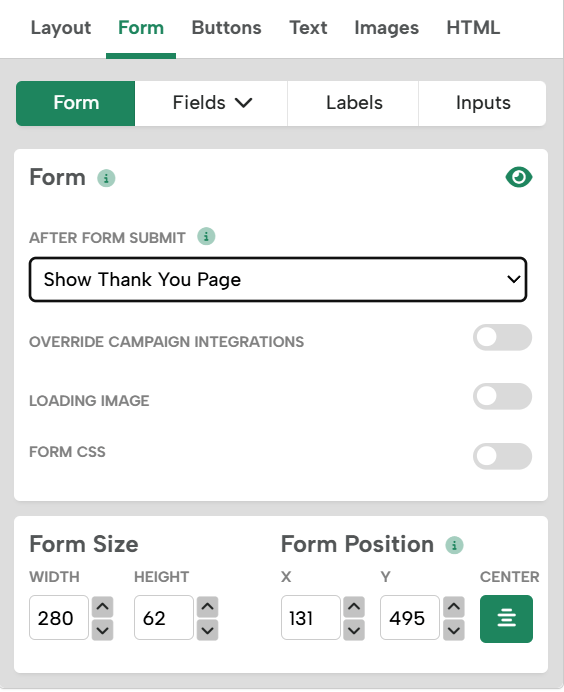
- Form: Turn the form on/off using the Eye icon, choose the action that happens after the form is submitted.
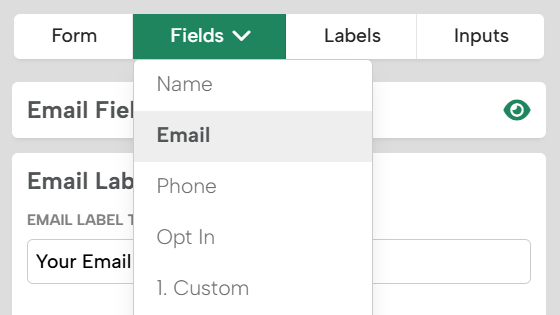
- Fields: Add and edit fields from the dropdown. Create custom fields and set them to Textbox, Dropdowns, Checkboxes, Radio Buttons, etc.
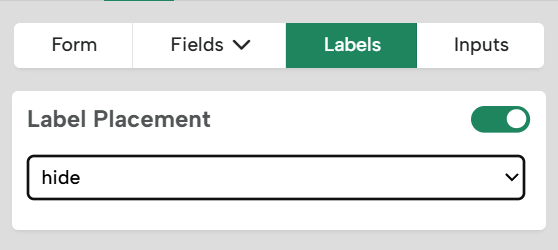
- Labels: Show/hide labels that appear above or in front of your fields. When Labels are toggled on, you will see settings to style the look of them.
Note: Labels for Radio Buttons or Checkboxes have their own show/hide toggle within their field options.
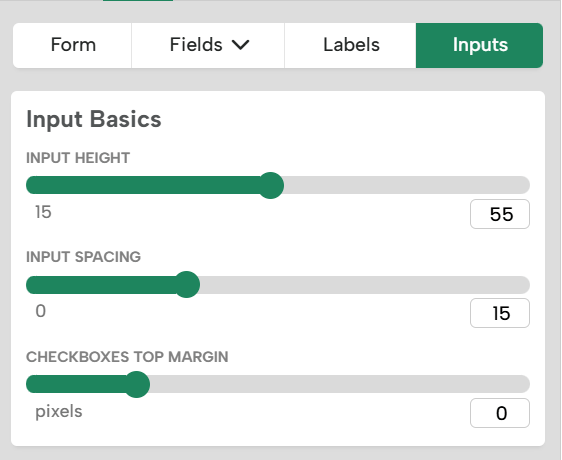
- Inputs: Control the height, spacing, font, border, and background of your form inputs.
Buttons
Add form submission buttons, download buttons, close buttons, and more in the Buttons tab.
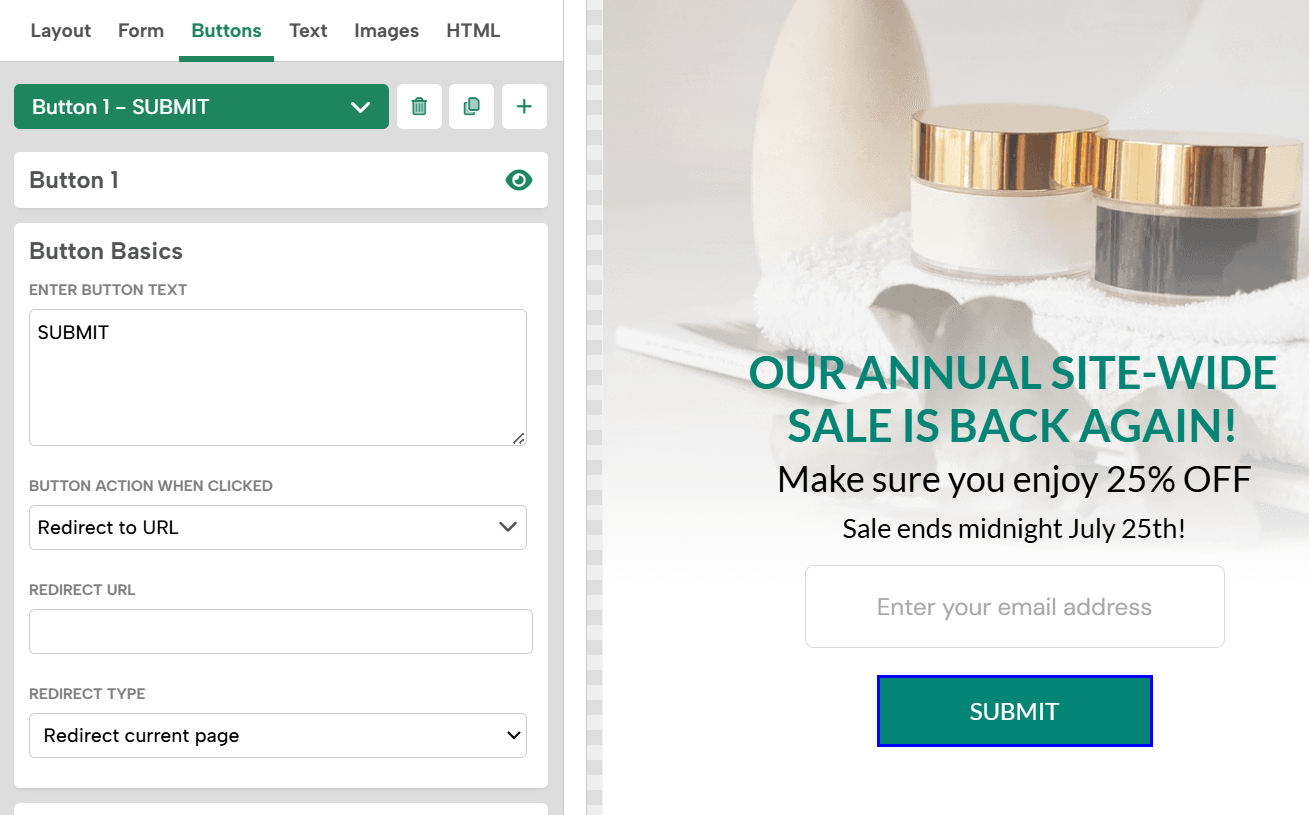
Drag and drop or resize buttons using the editor. You can also change colors, or use an image as a button.
Program buttons by setting the click action to:
- Submit Form
- Close Box
- Redirect to URL
- Do Nothing (so you can add custom JavaScript)
- Download File
- Open Another Box
- Show Thank You Page or Extra Pages*
If you choose to make a button show another page, it won’t submit the form. To show the Thank You Page after a user submits the form, you must go to the Form tab, and set “After Form Submit” to “Show Thank You Page.”
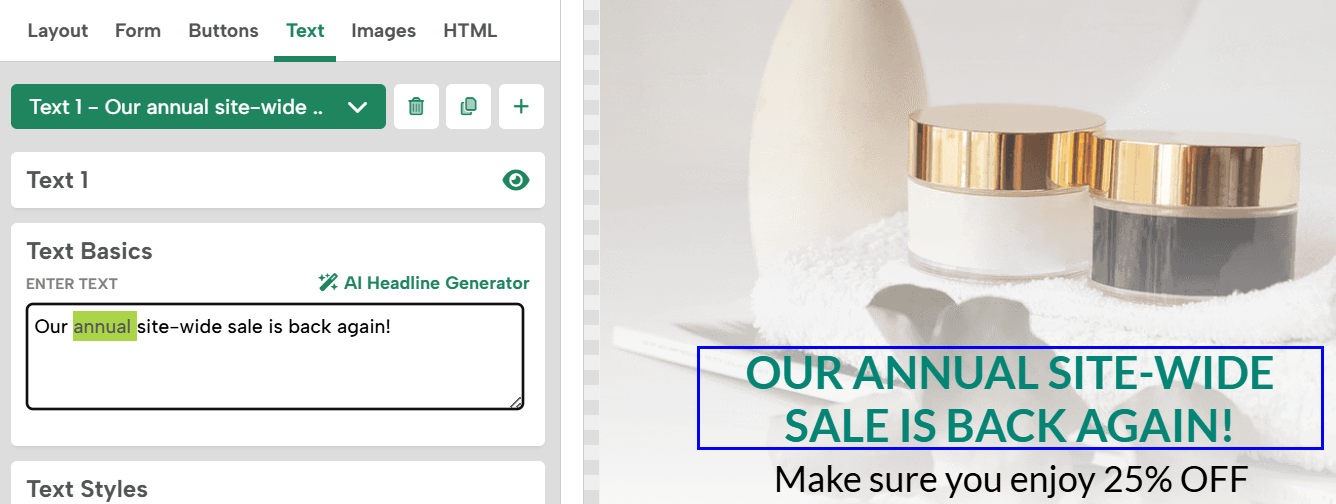
Text
Edit text, font family, size, alignment, and even add custom CSS. You can also upload your own Custom Fonts.
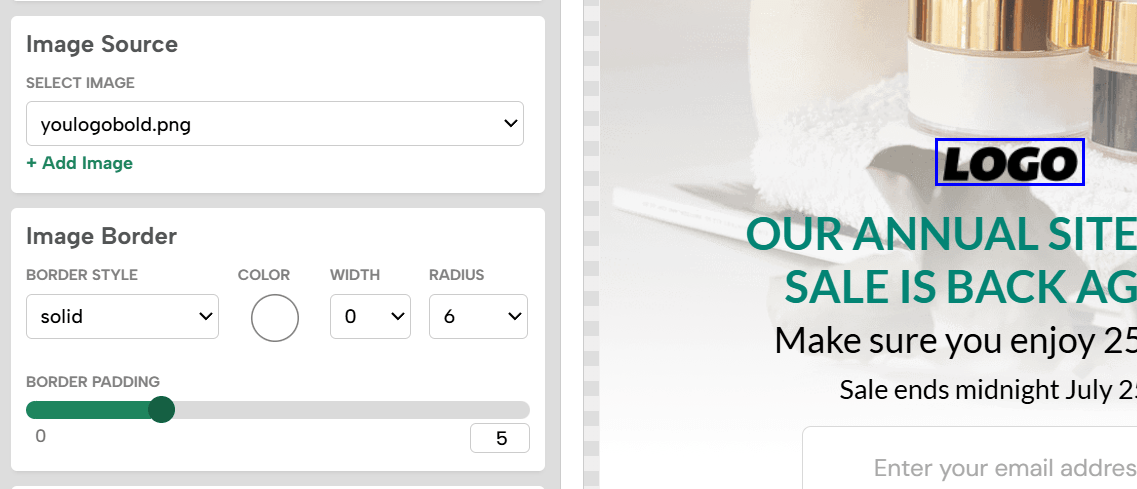
Images
Use the Images tab to add images, then control their size and position.
HTML
Add custom HTML blocks to create a more customized elements within your campaign, such as embedding a video.
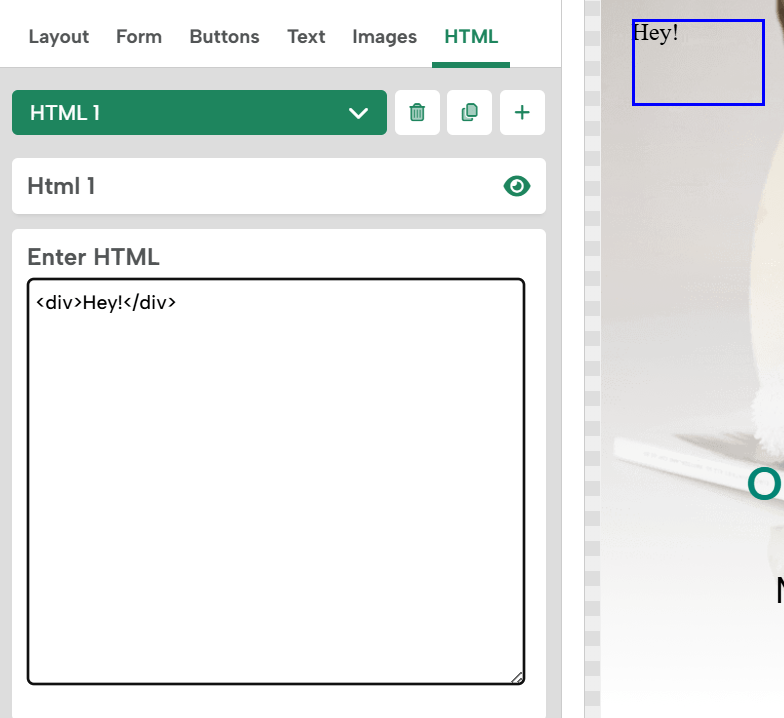
Important: HTML blocks are intended for visual and presentational elements only. Buttons that submit forms or navigate between pages, and form fields tied to integrations, must use Digioh’s native Button and Form elements. Custom HTML buttons and input fields cannot be connected to these types of interactions.
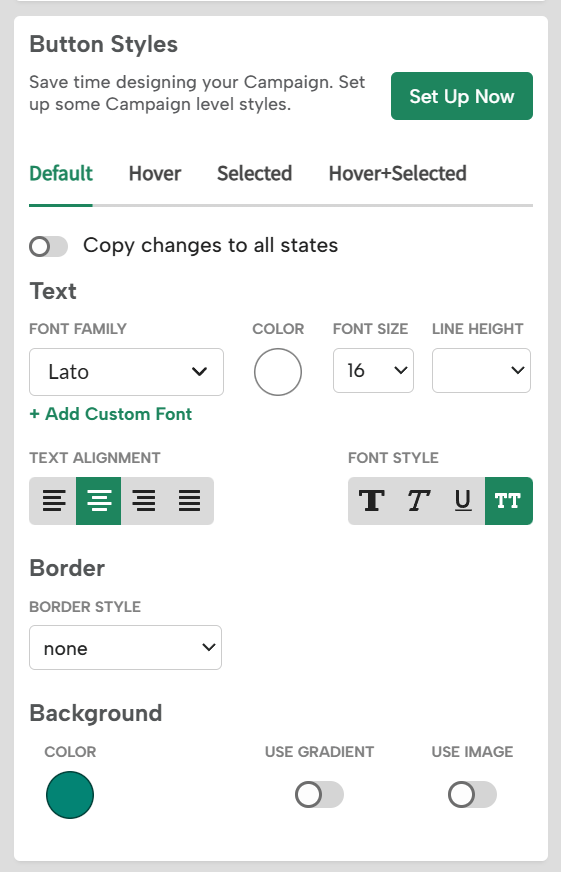
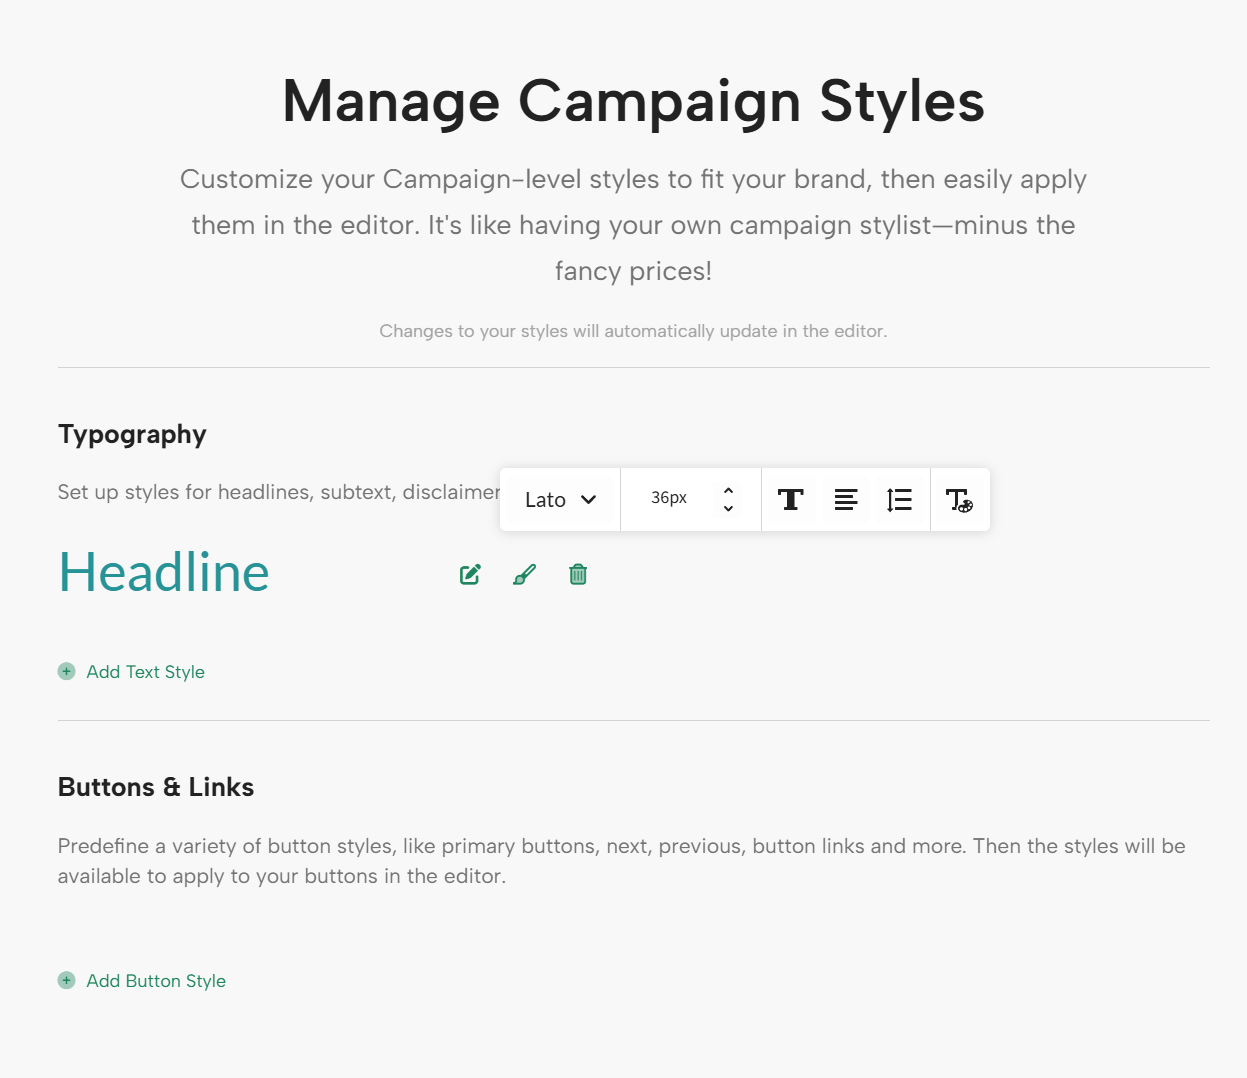
Campaign Styles
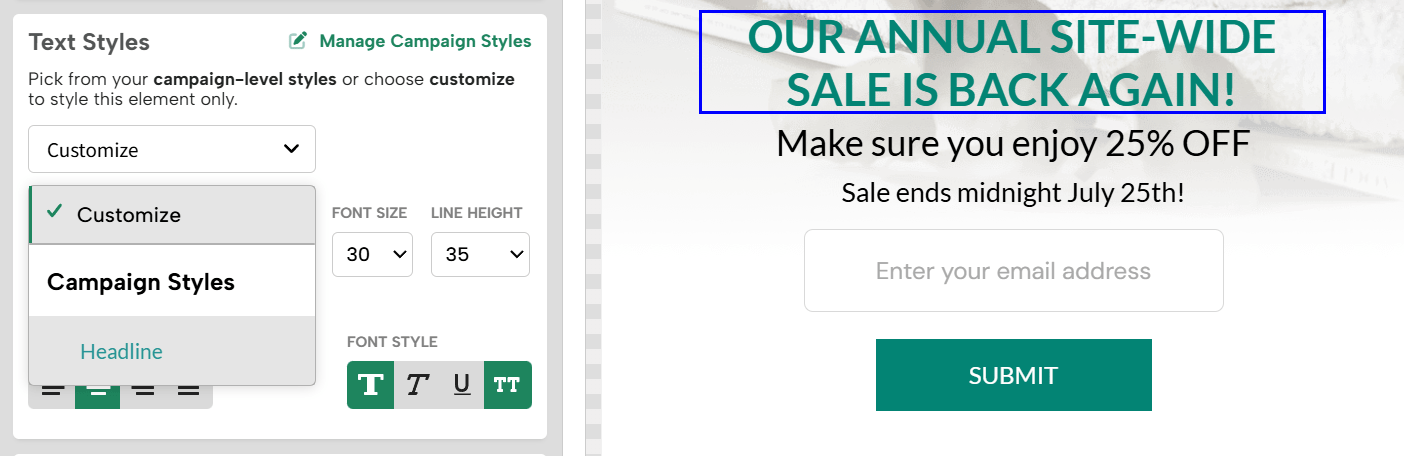
Click the Settings button at the top of the page to access Campaign Styles. There, you can define the styles you want for your text and buttons. Once you’re done, just click Apply and Close to save and exit.
And that’s it! Now simply select any text or button you want to style, and the campaign style you previously set.
Learn more about Campaign Style here.
Thank You Page
To display a Thank You Page, set your button or form to “Show Thank You Page.”
The Thank You Page has the same options as the Main Page. If you want to copy the style settings from the Main Page, go to Layout and choose “Main Page” from the “Duplicate Content From Another Page” Section, then hit the Apply button. Or just use your Campaign Styles.
Next, edit your text and turn off any forms or buttons not required for the Thank You Page.

Save Draft and then preview to see how your campaign will look.
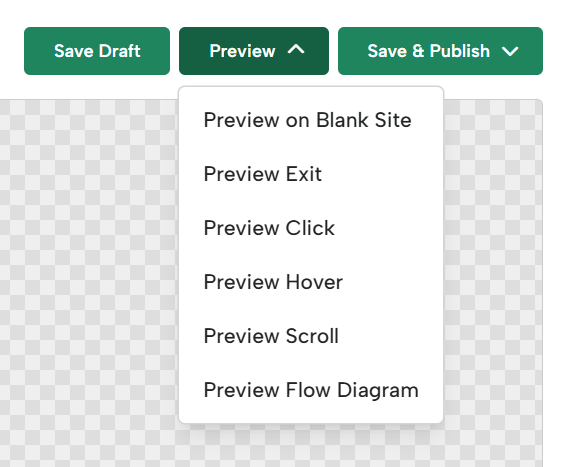
If everything looks good, publish your campaign by clicking Save & Publish. For it to show live on your site, ensure it has Conditions setup to determine how and where it will display.