Update: Digioh now has a WordPress plugin that makes installing Digioh on your site easier than ever. For more information, see our Digioh WordPress Plugin Help article.
To install Digioh on your WordPress site, follow these steps.
Note: This tutorial is for self-hosted WordPress sites only.
Step 1
Sign into your WordPress admin panel.
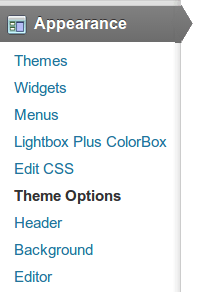
Step 2
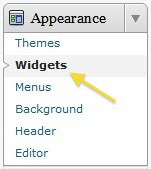
Go to Appearance > Widgets.
Step 3
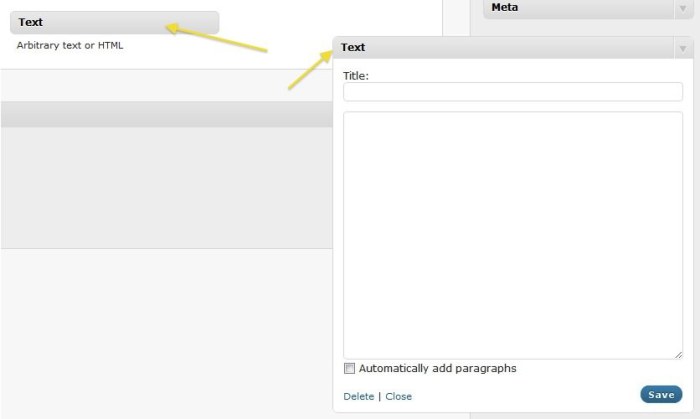
Add a text widget to one of the footer areas. You may need to drag the widget from the Primary Widgets area to the Available Widgets area.
Step 4
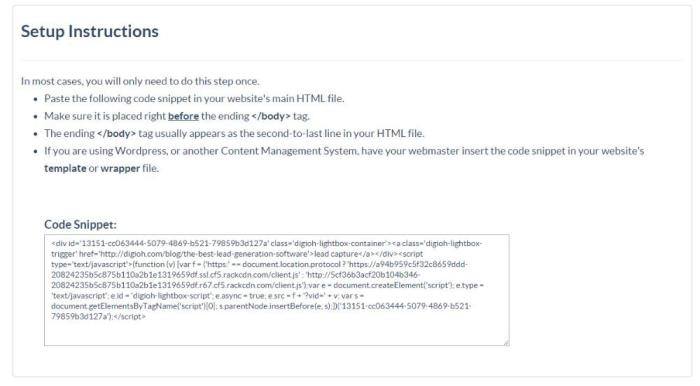
Log into Digioh. Click your name in the upper-right corner, then select Setup Instructions from the dropdown. Copy the desired version of Digioh JS code and paste it into your WordPress widget. Leave the title blank. Click the Save button.
Step 5
If you use an app to cache your site, clear your cache. The cached version of your site may not display the lightbox until you have cleared the cache.
Troubleshooting
Some WordPress themes override widget settings, and some won’t allow you to change them at all. Here are two more options for installing your lightbox code.
Go to Appearance > Themes. Look for an area to add custom code (like Google Analytics), and add the code there. If there’s a footer option, use that.
If all else fails, go to Appearance > Editor > footer.php and add the code just above the closing body tag.
Need any help? Send us an email, and we can walk you through it. We are also more than happy to install it for you.