What You’ll Learn in This Article
In just a few steps, you’ll learn how to install the Digioh script on your site using Google Tag Manager. This guide walks you through the setup clearly, even if you’re not a GTM pro. You’ll also gain insight into a key limitation of GTM with ad blockers—and what to do instead to ensure your campaigns always run smoothly.

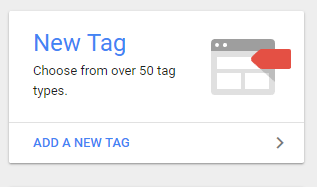
Step 1
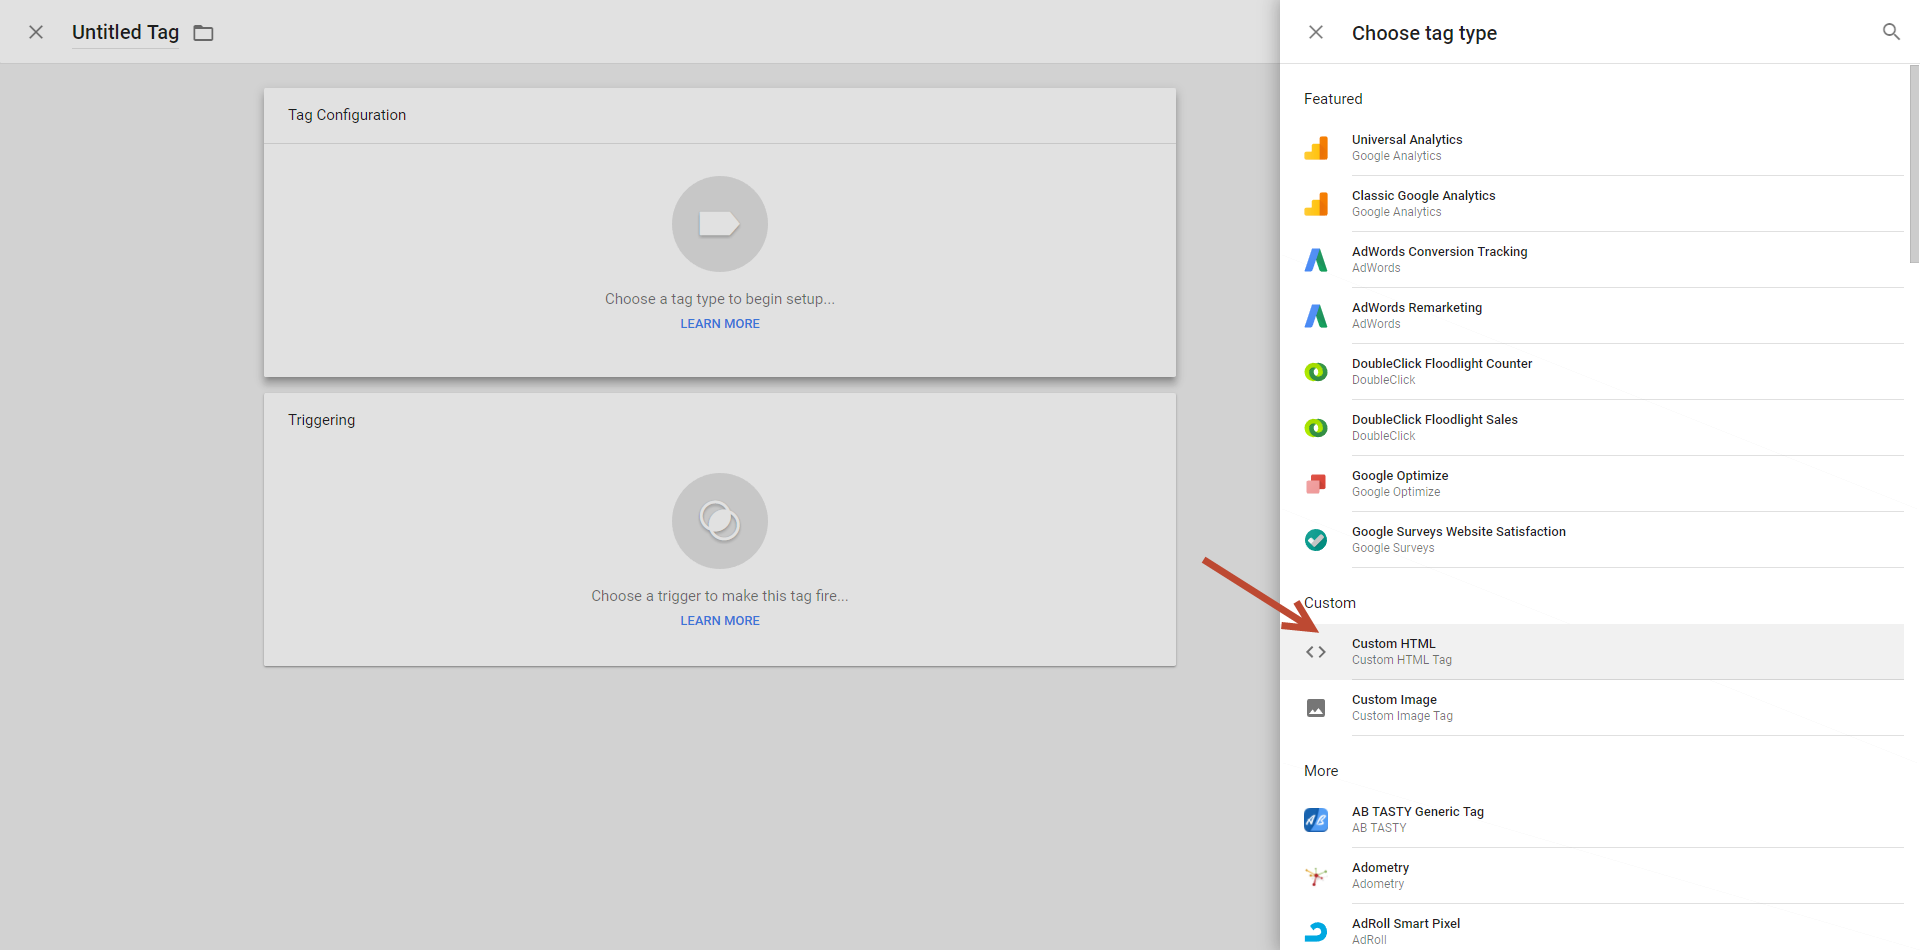
Step 2
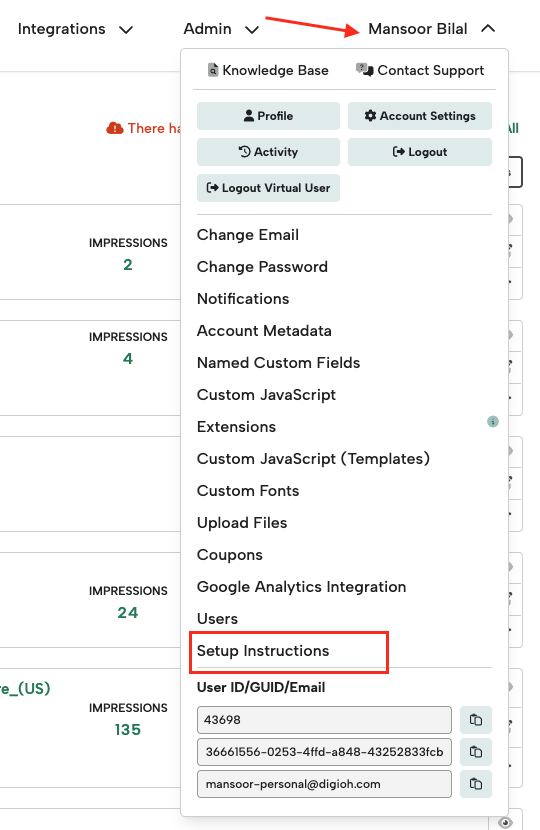
Step 3
Step 4
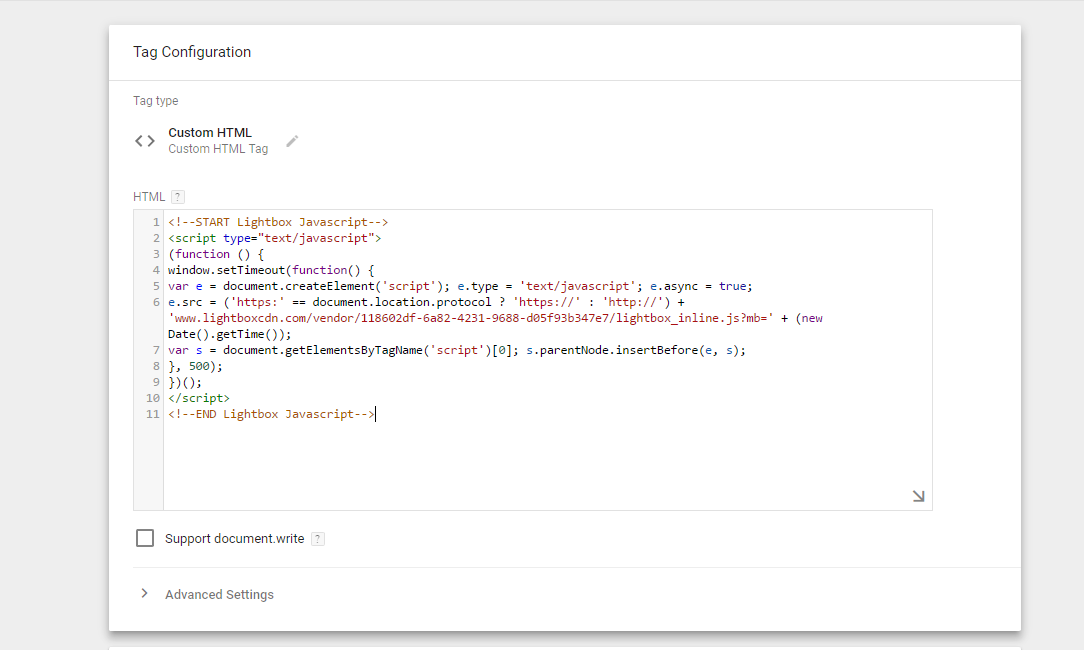
Step 5
Head back to Google Tag Manager, and paste your code into the custom HTML box
Step 6
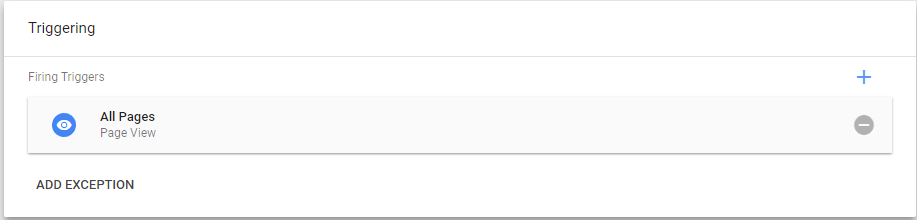
Step 7
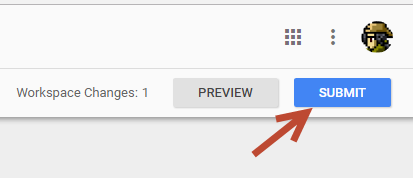
Step 8
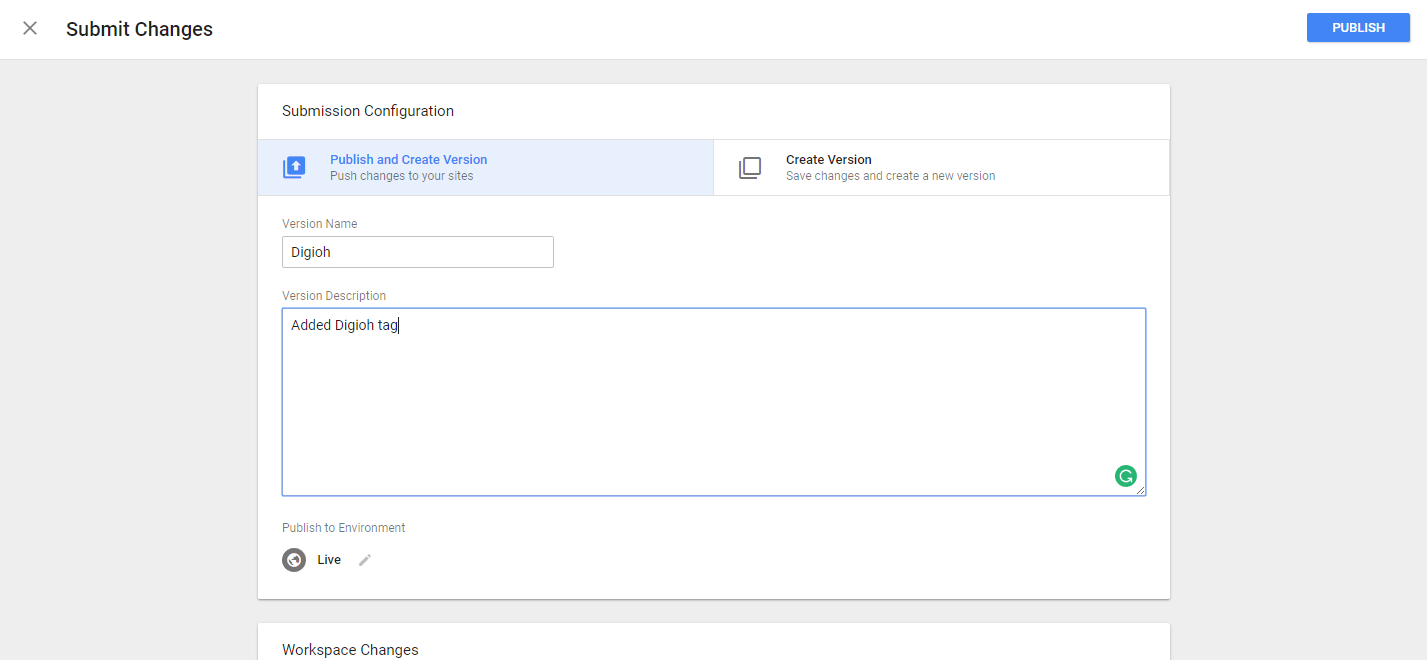
Your new tag is ready to go.
Note: Most Ad Blockers now block Google Tag Manager entirely, meaning that Digioh javascript cannot function if it is contained in Google Tag Manager. Digioh itself is not blocked by any known Ad Blockers, so we recommend directly embedding the script on your website instead if you are using Digioh to launch mission critical campaigns or a large percentage of your visitors are using Ad blockers.