With the release of iOS 26 and macOS Tahoe, Safari began automatically blocking most 3rd party tracking from properly running in the browser. Because of this, we recommend using your own domain without mention of Digioh (like forms.yourwebsite.com) for our JavaScript. This is a simple and easy process, and you will enjoy a visibility boost to all your campaigns. This will also prevent your Digioh campaigns from getting blocked by tools like AdBlock. This article explains how to configure and verify a custom domain in Digioh
Configuring your Custom Domain
- Create a CNAME Record: Point a subdomain of your choice (e.g., forms.yourwebsite.com or campaigns.yourwebsite.com) to customers.lightboxcdn.com
- You cannot use digioh or pushplanet as part of the custom subdomain. For example, digioh.mydomain.com will not work.
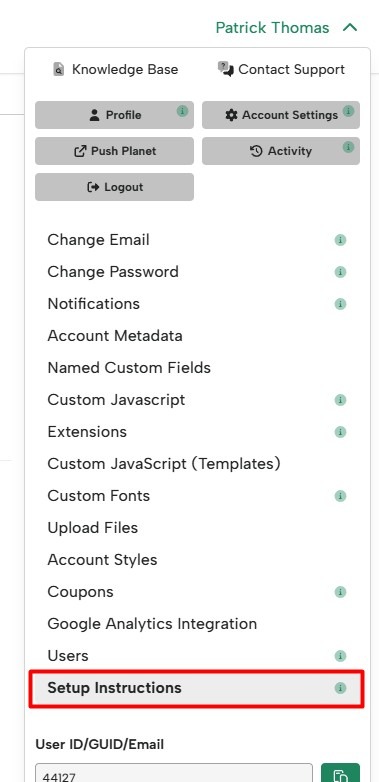
- In your Digioh Account, navigate to Setup Instructions under your account dropdown:
- Enter the subdomain you created in step 1 and hit save. You cannot use digioh or pushplanet as part of the custom subdomain. For example, digioh.mydomain.com will not work.

- After saving your custom domain, you’ll be able to see the status while the SSL certificate is generated:
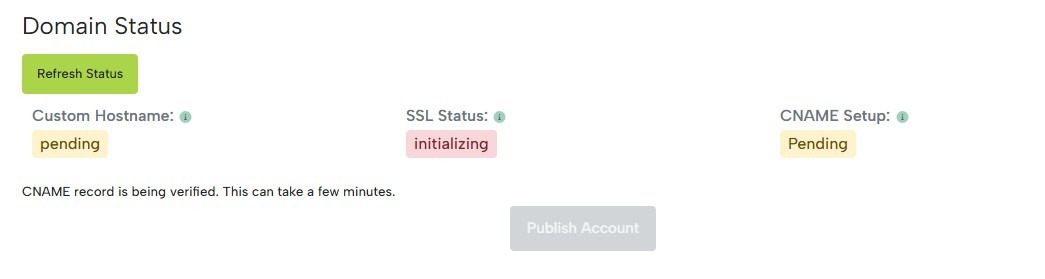 This can take a few minutes to complete. You can hit Refresh Status periodically to check on it. Once complete, the Custom Hostname, SSL Status, and CNAME Setup will all show as Active/Verified:
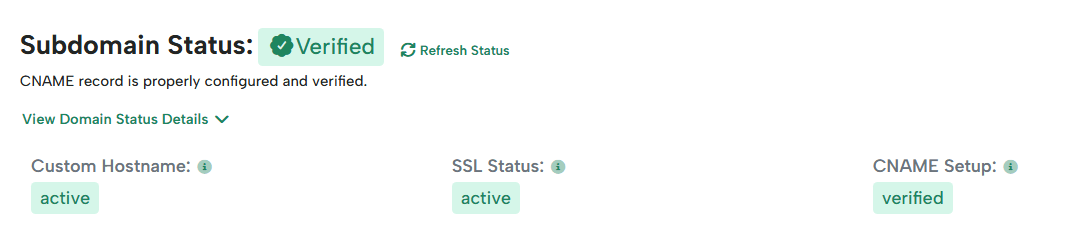
- Once the SSL certificate has been generated, you need to perform an account publish to make sure the changes are live.
This publish can be done directly from the setup page by clicking Publish Account next to the Domain Status:
Even though your Digioh campaigns will work once the custom domain is configured, we recommend updating the Digioh install script on your site to use the new domain. Below the custom domain settings, you’ll find your updated JS tag – Replace the existing install script on your site with this new one.
You must test your site after you’ve published your custom domain. While uncommon, it is possible that your site may generate CORS (Cross-Origin Resource Sharing) errors related to the new domain. To check for CORS errors, navigate to your site after publishing the custom domain and check your browser console (unsure how to do that? Click here to learn how!) for errors that look something like this:
 If you see similar errors, your site’s Content Security Policy will need to be updated to include your new domain. We recommend that you remove the custom domain and republish the account until your CSP has been updated.
Additional notes:
-
DNS settings vary by provider. In some cases, you’ll enter the full domain (
forms.yourdomain.com), while in others only the subdomain (forms).
Please see this help doc for our guide on adding a CNAME via GoDaddy -
As best practice, use non-branded generic terms in subdomains, like forms or campaigns.
-
If you manage multiple Digioh accounts, you can use one custom domain across multiple accounts.
- The custom domain configured for the account does not need to match your website’s domain exactly – As long as the custom domain is different from lightboxcdn.com, that will help resolve the issue on iOS.
- If you are using Cloudflare:
- You will want to check and confirm that the CNAME record you are creating is not associated with a held zone. If it is, you will need to have the hold removed.
- You will need to bypass the proxy on the record and ensure the CNAME you are adding is set to DNS Only.
- CAA Records: If your domain has CAA records, you will need to take additional steps. If your CAA records do not allow the certificate authority Digioh uses, SSL issuance will fail and the domain won’t go live securely. To move forward, you must add letsencrypt.org to your CAA records before setting up the custom domain.
Alternate Runtime Domain
If it will take you some time to create the CNAME record, or you are unable to for any reason, Digioh now also supports the ability to configure your account to use an alternate runtime domain to prevent lightboxcdn.com from being blocked by Apple.
If you need to configure your account to use an alternate runtime domain, please reach out to our team via support@digioh.com, and we’ll be happy to assist.