Digioh allows you to add custom fonts to your boxes, including fonts from Adobe Creative Cloud.
To use fonts from your Creative Cloud account in your Digioh pop-up forms and lightboxes, follow these instructions.
Step 1: Find Your Desired Adobe Font
Head to the Adobe fonts page to find the font you want to use.
Step 2: Add Your Font to a Web Project
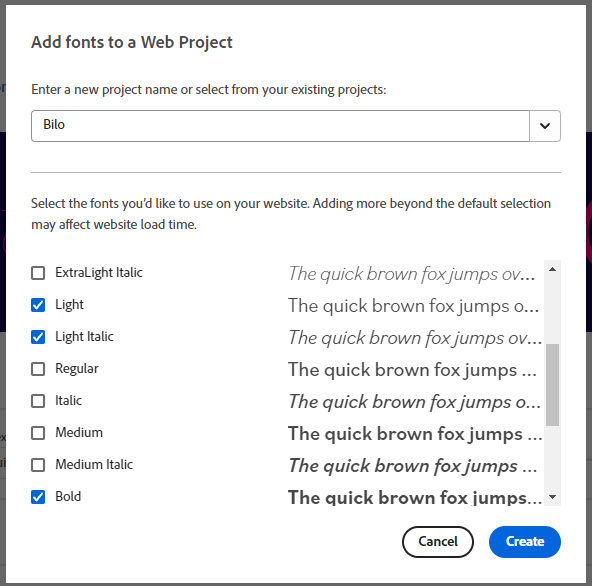
Click “Add to Web Project.”

Select the versions of the font you’d like to use, such as Light, Medium, Bold, etc.
Name your project. We recommend using the name of the font.
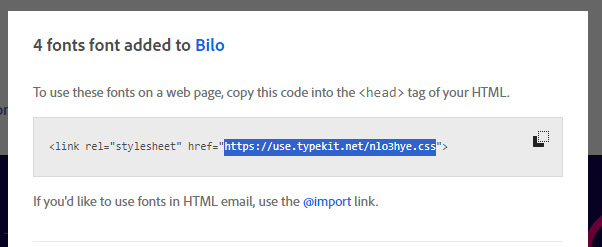
Step 3: Copy the URL
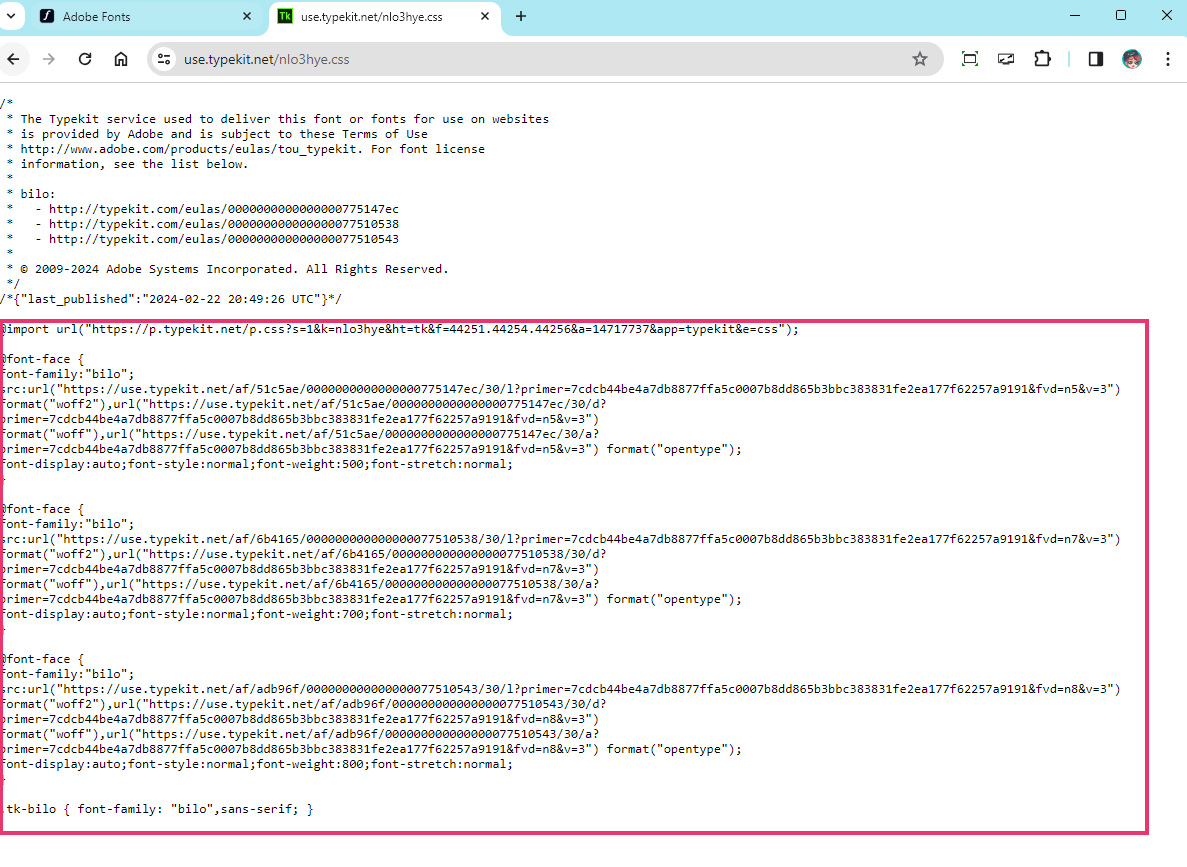
Copy only the URL from the embed code provided by Adobe. It will look something like this: https://use.typekit.net/nfe0kfq.css
Step 4: Add New Font to Digioh
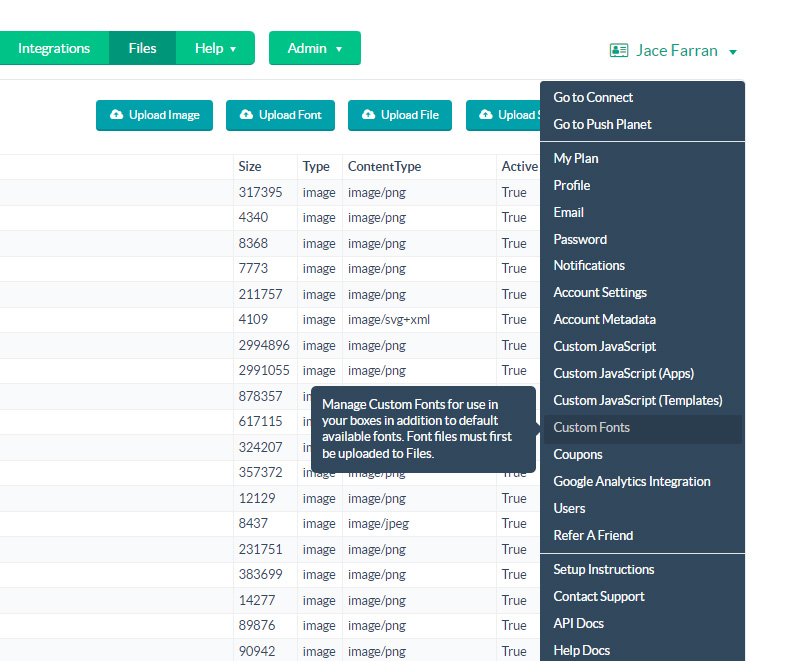
Open a new tab (while keeping your current Adobe tab open) and log into Digioh. Click the account name in the upper-right corner, and click Custom Fonts in the dropdown.
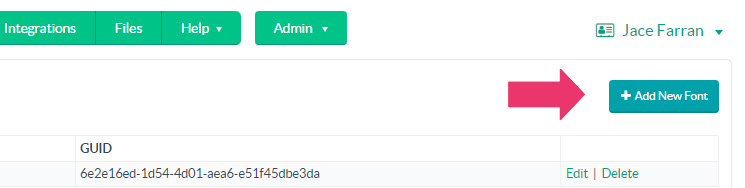
Click Add New Font.
Step 5: Manually Add Your Adobe Font’s CSS to Digioh
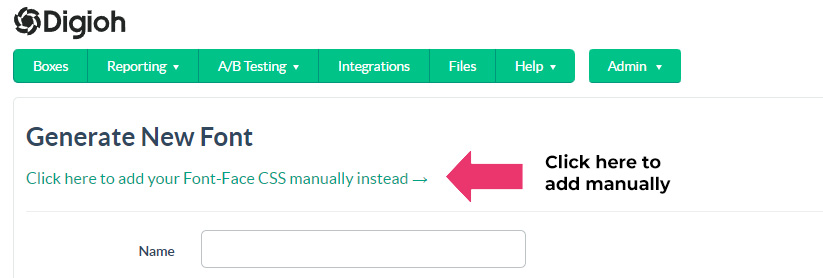
Click “Click here to add your Font-Face CSS manually instead →”
Back in the Adobe tab, open the URL of the CSS file provided in their embed code. Copy the Import URL and Font Face from the CSS.
In Digioh, paste this code into the Font Face CSS section.
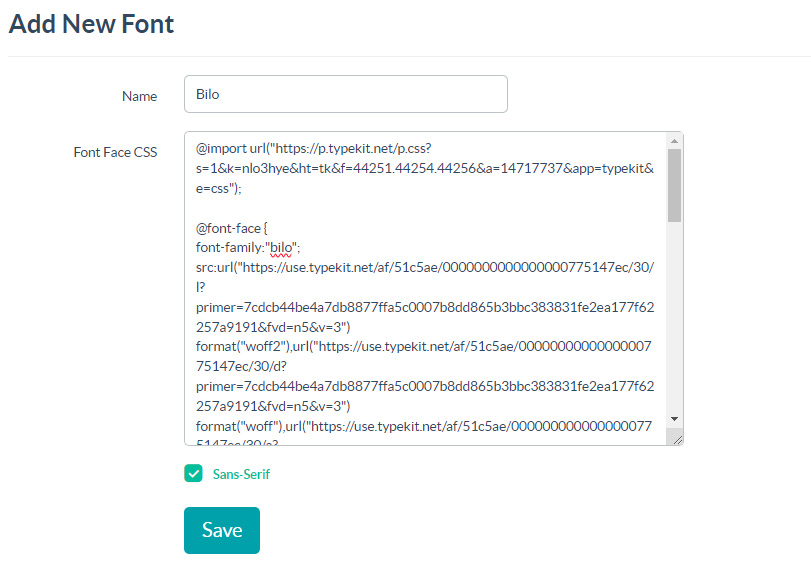
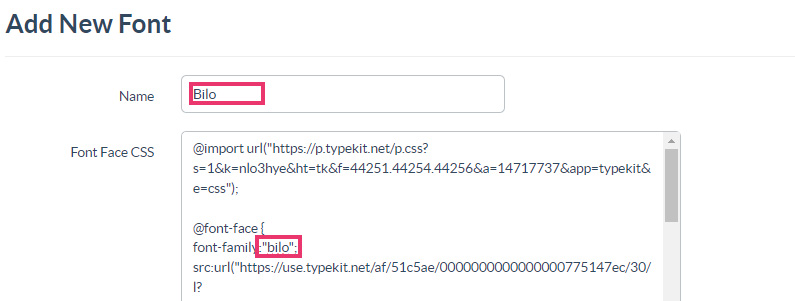
Now, add the Font Name. IMPORTANT: The font-family name in the CSS must be identical to the name in Digioh here.
If the font isn’t a Sans-Serif font, uncheck the “Sans-Serif” checkbox.

Click Save to add the font to your account. Your Adobe font is now available in the editor!
Step 6: Add Your Adobe Font to a Box
Once you add your font to Digioh, you can use it in a box design by selecting it from the font dropdown menu, under the “Custom Fonts” section.
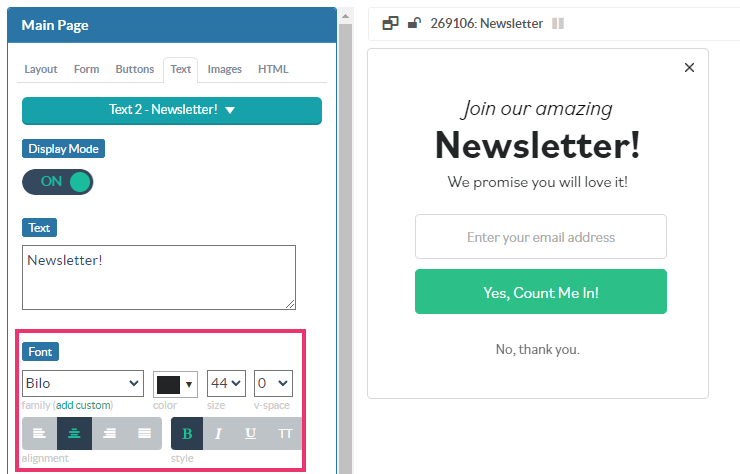
Bonus: Custom Font Weight
If your font has multiple weights listed in the CSS, you can use specific font weights in Digioh as well.
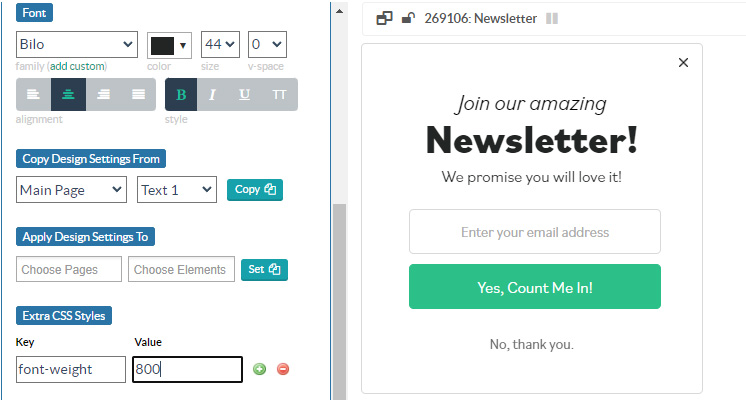
For example, the Extra Bold version of Bilo has a font-weight of 800. This is even heavier than the bold version. So to use that inside of Digioh, we can add Extra CSS styles.
Key: font-weight
Value: 800
If you have any questions about adding Adobe fonts or other custom fonts to Digioh, send us an email, and we’ll be glad to help!
Related Reading: