Gorgias (pronounced ‘gorgeous’) is a customer support platform built for e-commerce companies! Connect all of your customer service channels: email, chat, phone, Messenger, Facebook, Instagram, and SMS and manage all of them from inside one Gorgias dashboard.
Use Case
Digioh’s Gorgias integration allows you to push leads as Customers, Tickets, Events, or Tags to your Gorgias Dashboard with pop-up forms, lightboxes, surveys, and quizzes. For example, when a user submits Digioh Lightbox (Form) on your website it will create a Real-time Customer or Ticket in Gorgias using this integration. We will integrate Gorgias Rest API with Digioh to pass the leads.
Gorgias Integration Requirements
Before setting up your integration, you will need the following parameters from Gorgias :
- Your Gorgias Domain You can retrieve this from the URL after you have logged in to Gorgias. For example: if the URL is https://acme.gorgias.com, then “acme” is your Gorgias domain.
Digioh
Follow these instructions to integrate with Gorgias.
1. From within Digioh Add a New Integration.
2. Select Gorgias from the Integration drop down
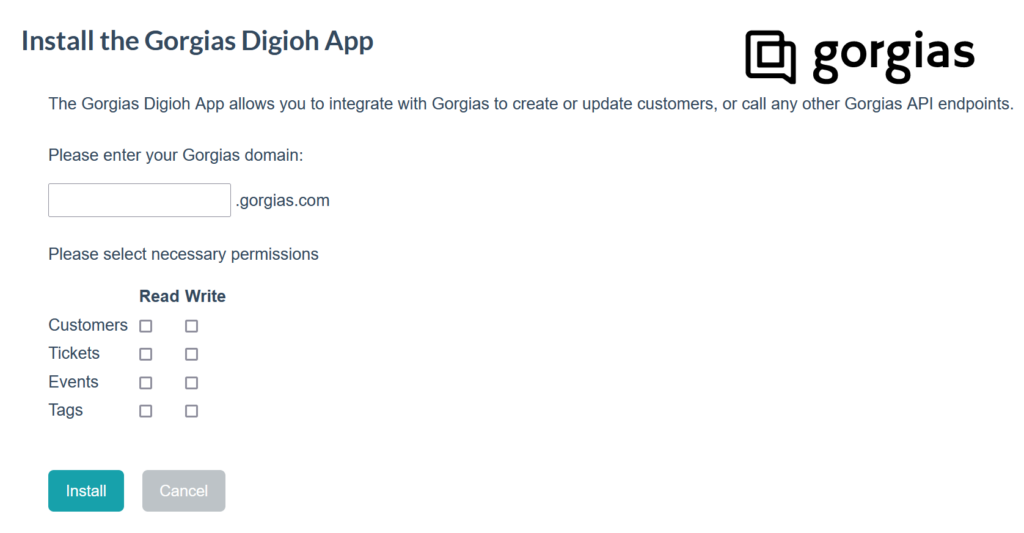
3. You will be redirected to the Gorgias Install Page
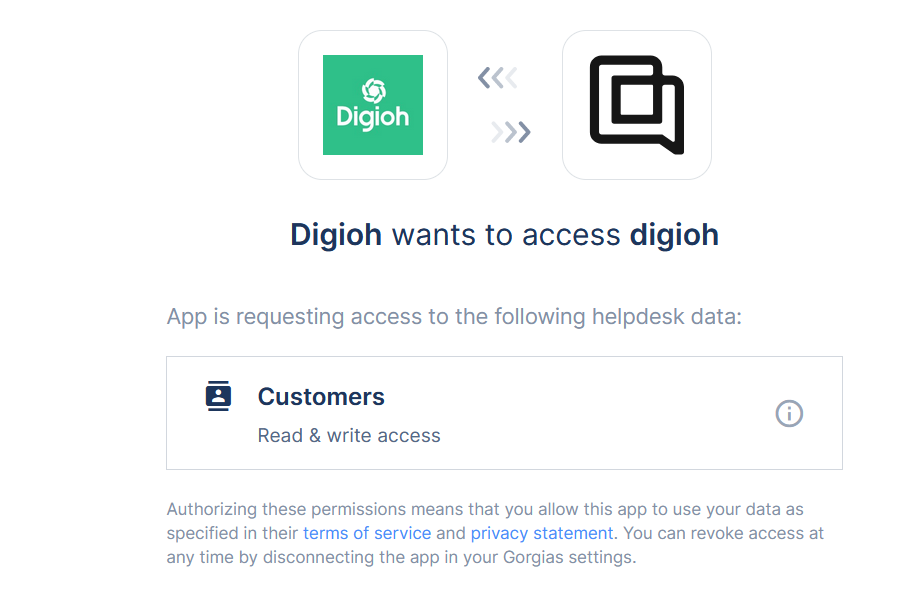
4. Enter your domain and necessary permissions. You will be redirected to Gorgias to authorize the app install.

5. Authorize the app and you will be redirected back to Digioh

6. You can now use the Gorgias Connection in a Digioh Connect Pipeline
Within a pipeline add a task to map data from your data source, such as a box submission. You can use a Render task to format the payload with a liquid template such as this one:
{
  "channels": [
    {
      "type": "email",
      "address": "{{model.form.email}}",
      "preferred": true
    }
  ],
  "email": "{{model.form.email}}",
  "external_id": "{{model.form.email}}",
  "language": "en",
  "name": "{{model.form.first_name}} {{model.form.last_name}}",
{% if model.attributes.box_id == 99999 %}
    "data": {
        "myCustomData1": "{{model.form.custom_1}}",
        "myCustomData2": "{{model.form.custom_2}}",
        "myCustomData3": "{{model.form.custom_3}}",
        "myCustomData4": "{{model.form.custom_4}}"
    }
{% endif %}
}
NOTE: Update the payload according to your requirements.
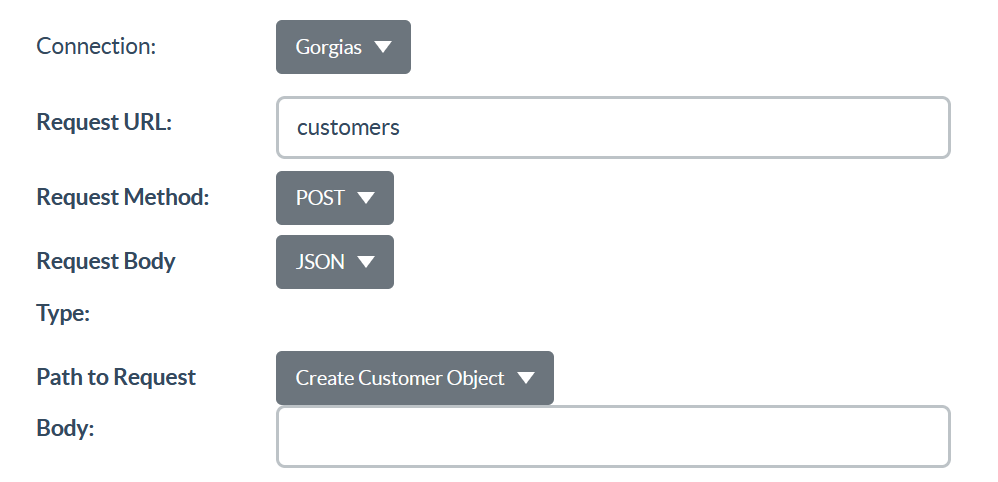
Then add an Http Request task to send the mapped data to Gorgias. Select Gorgias from the Connection drop down, enter in the request parameters, select the data mapping task as the path to the request body. It should look something like this:

For more details you can review the Gorgias API Documentation
For more on using Digioh Connect Pipelines see here
If you have any questions about setting up your Gorgias integration, send us an email, and we’ll be glad to help!

