Digioh has built-in integrations with many popular ESPs and CRMs.
If you are setting up a Digioh integration by yourself, we first recommend reading about Digioh Integration Basics.
If you’re not using one of our integrated partners, you can still pass form submission data to any database you like. Just follow the instructions below.
Step 1
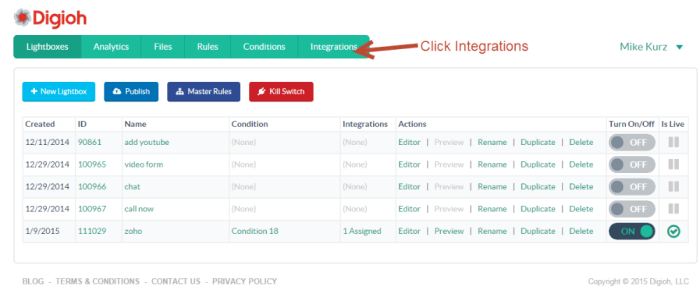
Click Integrations.
Step 2
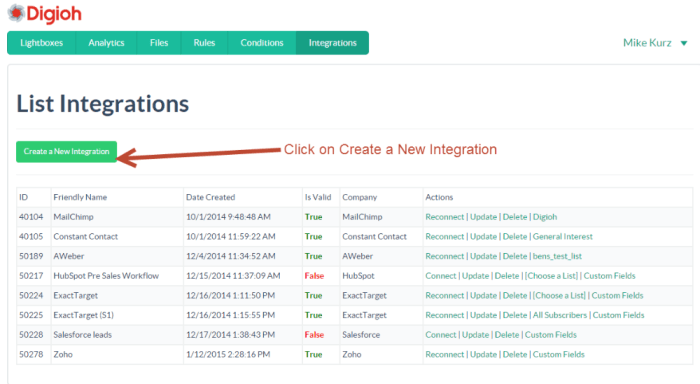
Click Create a New Integration.
Step 3
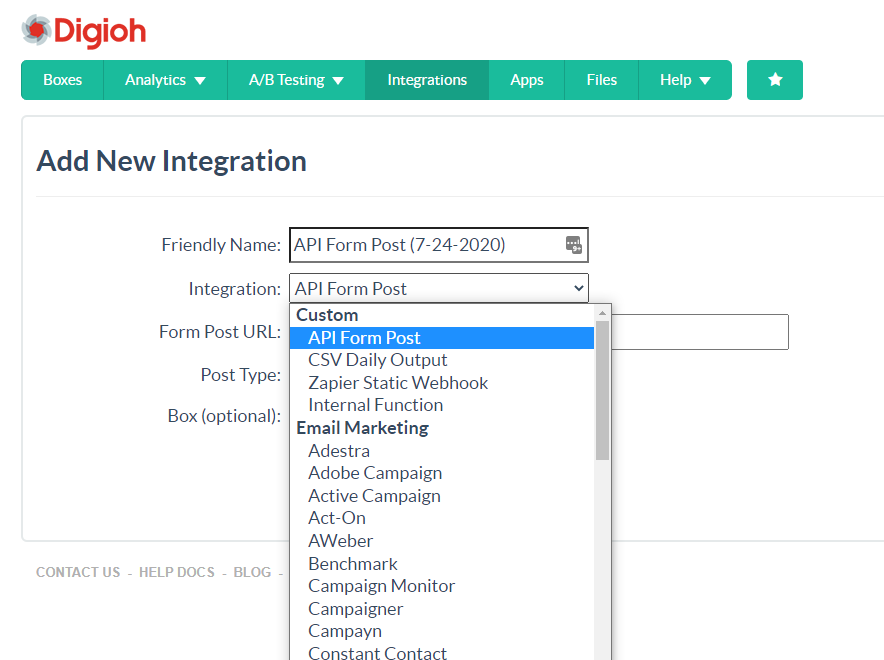
Select “API Form Post” from the Integration dropdown menu.
Step 4
Name your new integration. Choose a lightbox to add the integration to (you can also do this later in the lightbox editor). Then, add your form post URL. Your screen should look something like this:
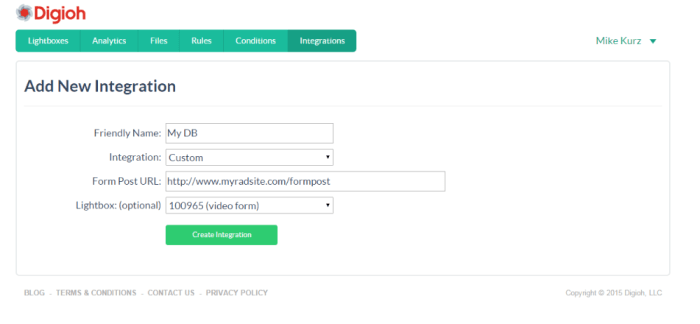
When you’re done, click Create Integration.
Step 5
In the top field, enter your Field Name. This is the name of your field as it appears in your form code. In the field value field, enter the Digioh designation for the field in question. So, if you have a field named “email” and you want the email field on your lightbox to send data to that field, set things up like this:
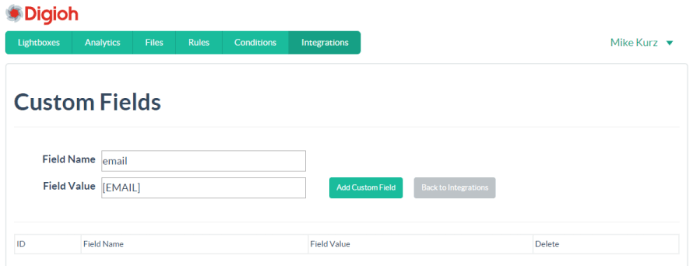
If you don’t know the field name, find it in the HTML code for your form.
![]()
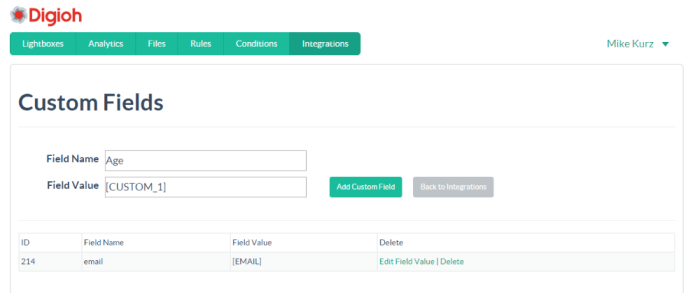
Once your field is configured correctly, click Add Custom Field.
NOTE: Please note, these fields are case sensitive.
Step 6
Repeat this for any additional fields you want to add to your lightbox.
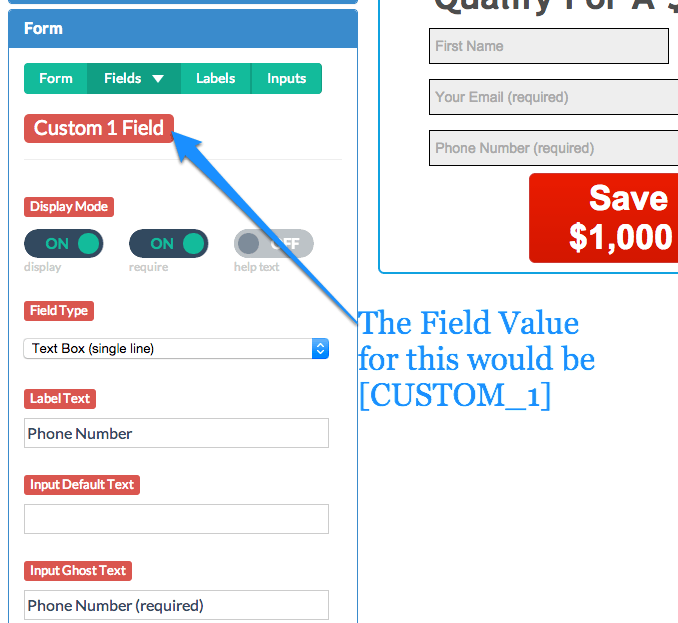
To figure out what custom field this should be mapped to, open your box in the Editor, go into your form setting, and see which custom field it is.
Step 7
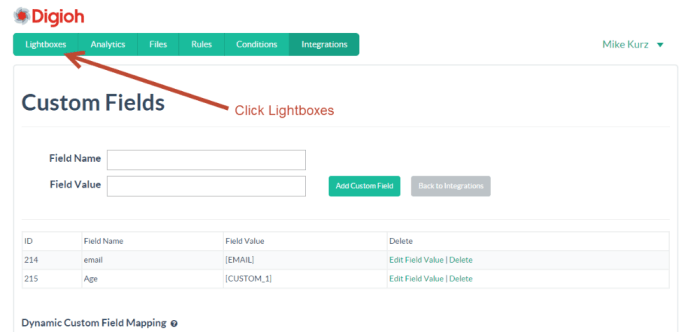
If you added a lightbox to this integration during Step 4, then you’re all done!
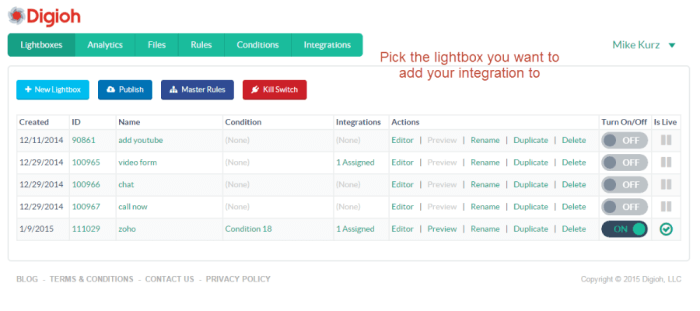
If not, click Lightboxes in the top nav bar.
Step 8
Open the lightbox you want to add your integration to.
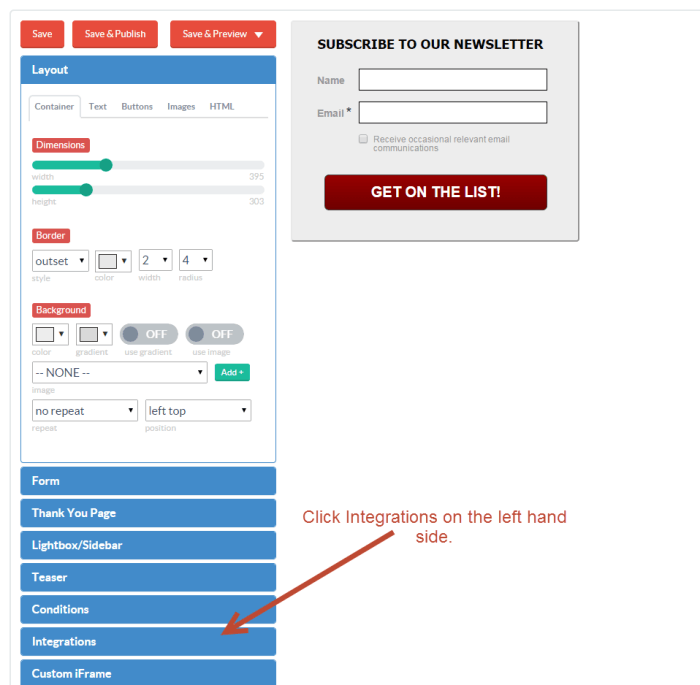
Step 9
Click Integrations on the left side.
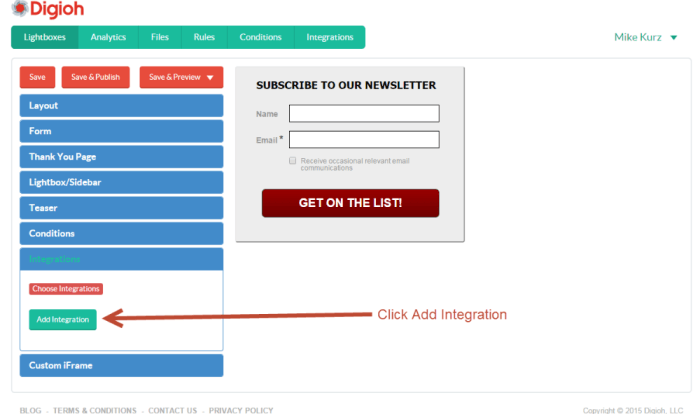
Step 10
Click Add Integration.
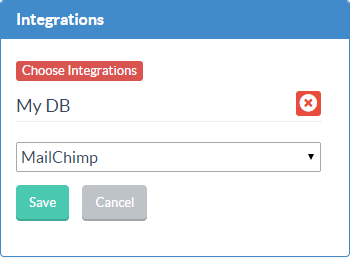
Step 11
Select your custom integration from the dropdown menu, then click Save.
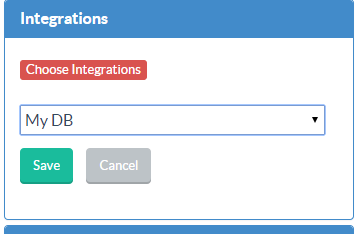
Your new integration has been added to your lightbox!
NOTE: Make sure the fields on your lightbox match the fields you mapped in Step 5. Any fields on the lightbox that haven’t been mapped will not be imported to your database.
Your custom integration is now up and running, and the data submitted via your lightbox will be imported to your database!