What You’ll Learn
- Customize the appearance of outlines around inputs and buttons in your Digioh forms
- Remove Outlines from Buttons
- Eliminate the outline from all text input fields when selected using CSS
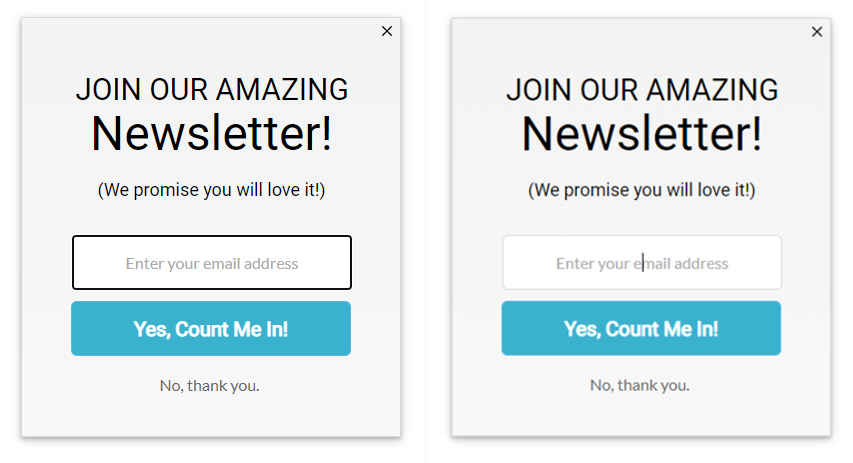
By default, most browsers will add a thick outline around any input fields that are currently highlighted. If you’d like to remove that or make changes to it, you can with CSS.
Important Accessibility Note
It’s generally a good idea for accessibility to include some kind of outline. That way the user knows which field or button is currently selected. It can be especially difficult for people to see which field is active without a strong visual indicator. It also allows you to tab between options and have a visual representation of which option is currently selected. This is important for users who may not be able to use a mouse easily.
If the concern is that the outline doesn’t match your design there are ways to style the outline color and radius that still compliment your design and meet accessibility guidelines.
Removing the Outline from Input Fields
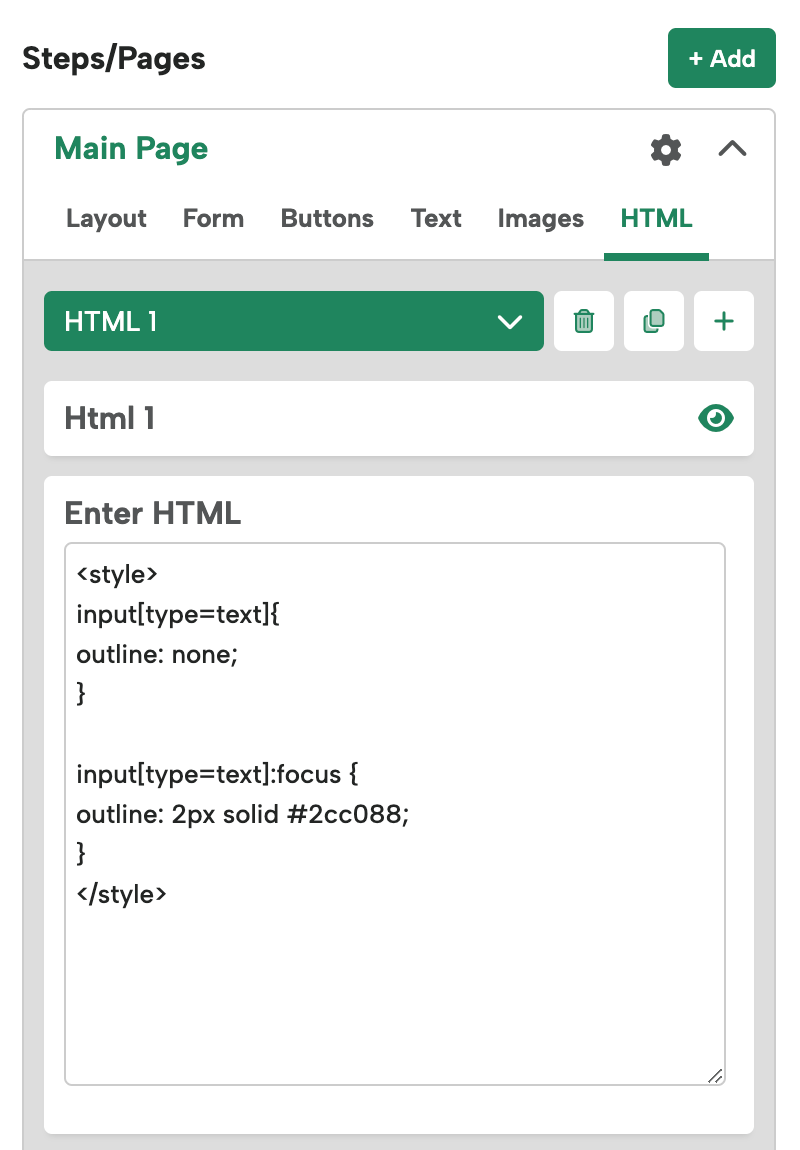
To remove the outline of all text fields when selected, add this code to an HTML block:
<style>
input[type=text]{
outline:none;
}
</style>
If you’re concerned about taking outlines away from users that rely on them, instead, you can style the outline to compliment your design better while still using a visible, high contrast color.
Modifying the Outline Color
If you’re worried that outlines don’t fit the look of your design, another solution is to simply change the color of outlines. That way users who rely on those visual cues can still benefit from their use.
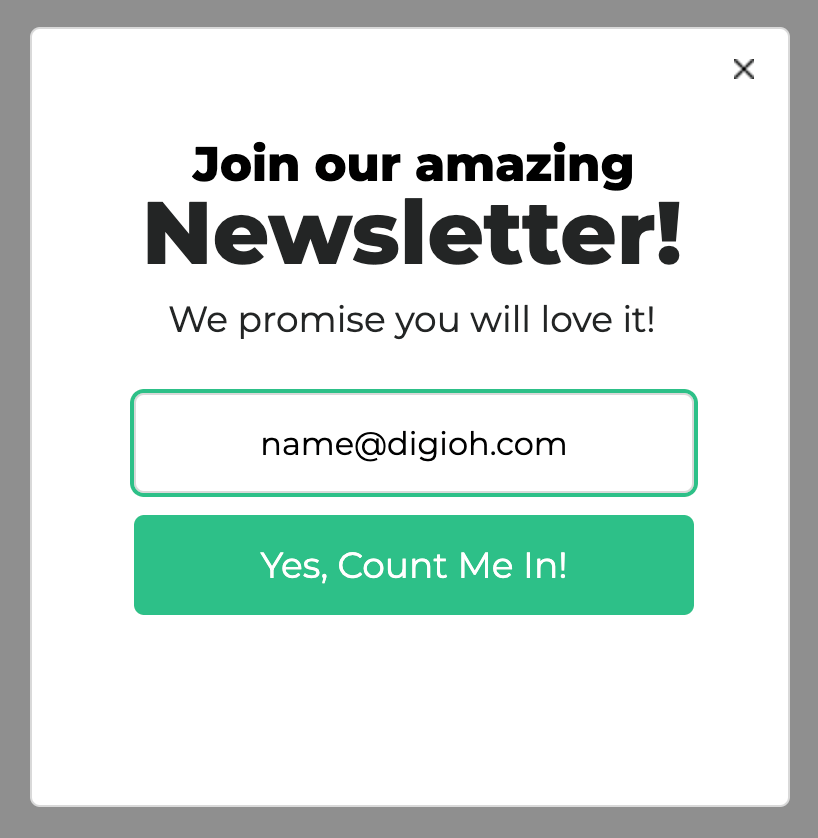
To add a colored outline when the field is selected, you can use the focus state.
In this example, we’re changing the outline to not appear by default, and display as a green (#2cc088) 2px border.
Code below:
<style>
input[type=text] {
outline: none;
}
input[type=text]:focus {
outline: 2px solid #2cc088;
}
</style>
Removing the Outline from Buttons
You can do the same thing with buttons. If you know the CSS ID of the button you can apply the same code there as well.

In this case, it’s button 1 on the main page, and if you inspect the code you’ll see that the button ID is #button1.
<style>
#button1 {
outline: none;
}
</style>
Note: if it was button 3 on Extra Page 1, it would be #ep1_button3. Make sure you inspect the element in dev tools to get the element’s ID.
![]()
Edit Outline Radius
In this case, you might just want to change the border radius of the outline instead of removing it. Your outline will automatically match the border-radius you give the element.

This example is using a background image to “fake” that round shape. So we also have to give the button a round shape to make sure the outline matches.
<style>
#button1 {
border-radius: 100px;
}
</style>