Requires a Pro DriveUploader Account.
If you want to configure a campaign to allow users to upload files, that’s now possible using DriveUploader! Using DriveUploader, you can configure a button that users can use to select their file, which will then be uploaded and the URL to the file will be included in the final campaign submission.
To get started, you’ll first need a Pro DriveUploader account. The uploader itself will need the following settings configured:
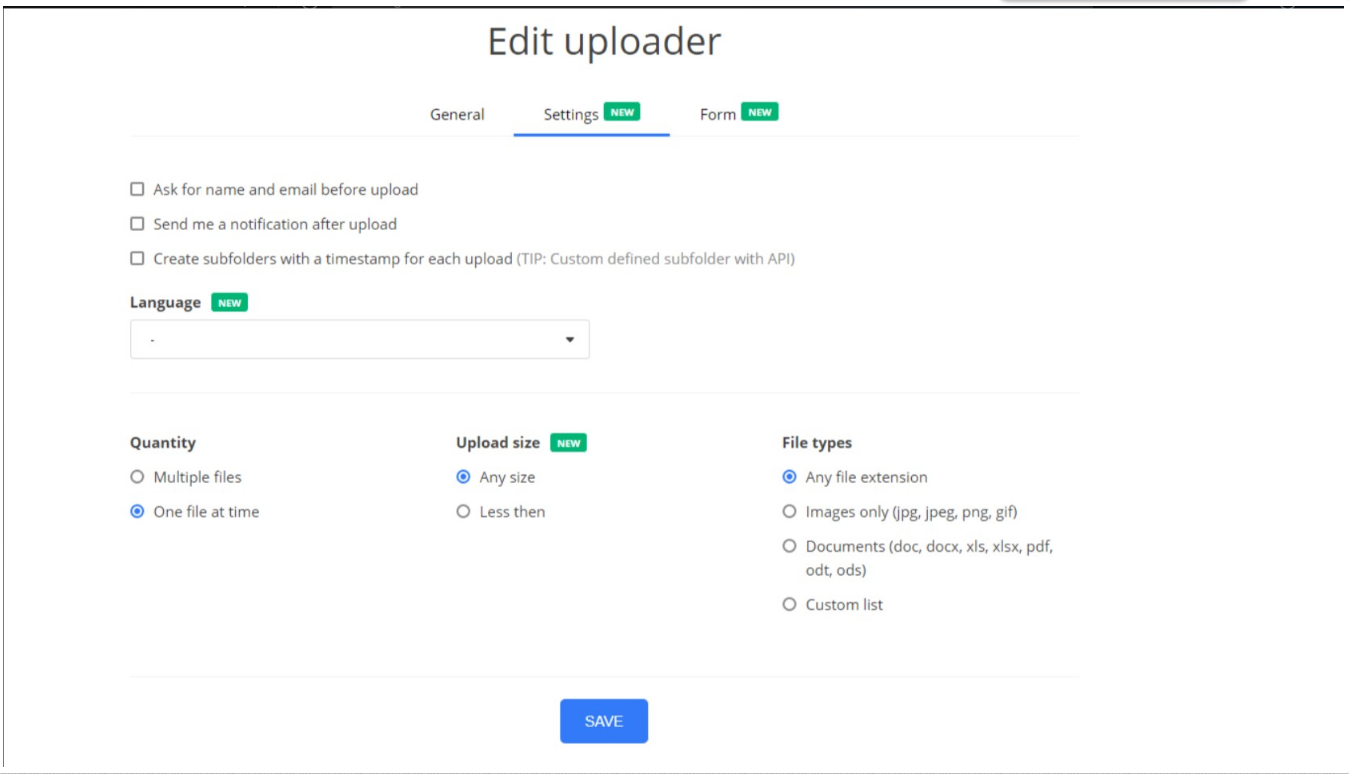
You should then have an upload URL that looks something like this: https://driveuploader.com/upload/abcdefg/ – Note down the final value after /upload/ (“abdefg” in this case) – You will need this key in Digioh.
And finally, make sure that the API option is enabled for the uploader.
In Digioh, once you have the Campaign created, you can add DriveUploader by:
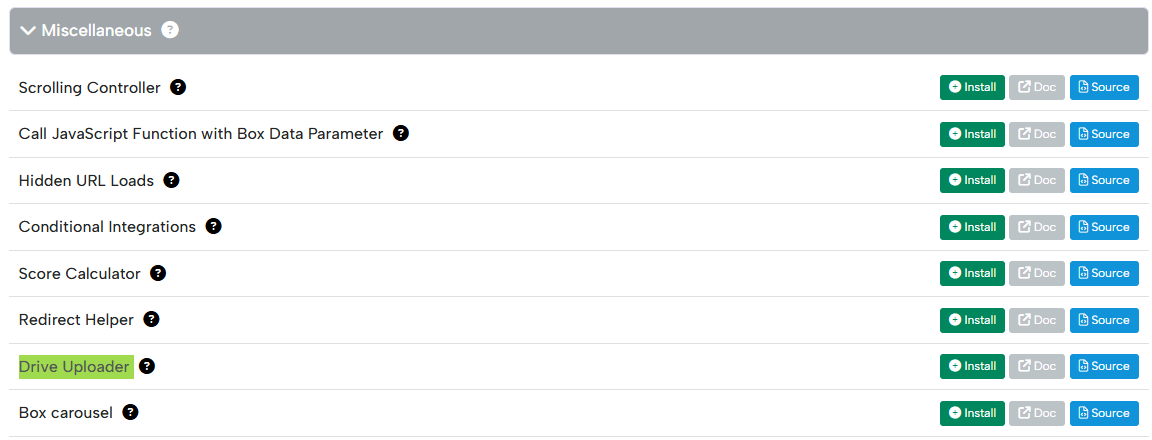
- Install the necessary Digioh extension by going to Extensions under the account dropdown.
- Search for “Drive Uploader” under the Miscellaneous section and install the template.
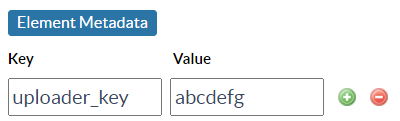
- In the campaign itself, on the Button that users will use to select their file add Element Metadata uploader_key : <the key from the upload URL>
- Still on the button, configure which form field will hold the URL to the file by adding Element Metadata uploader_link : <custom field>:

Make sure this field is not in use in any other forms on the campaign.
- If you want the upload to be required, also add Element Metadata uploader_required : true:

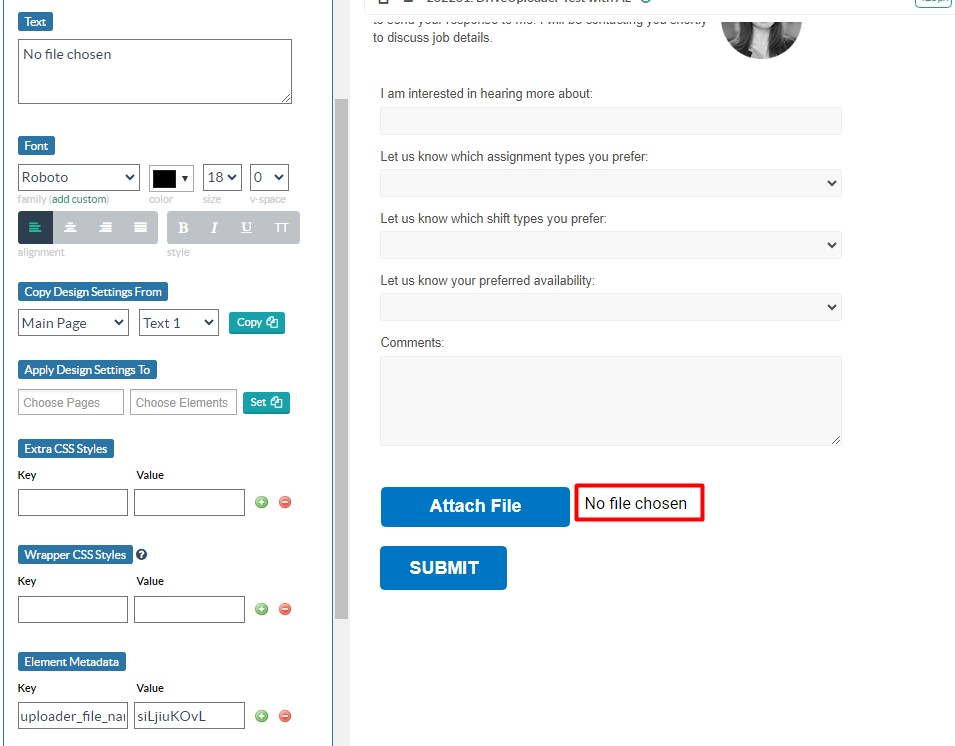
- You can also add a text element with Element Metadata uploader_file_name : <uploader key> – This will automatically replace any entered text for the element with the file name:
If you want to have additional upload buttons, you will need a separate Upload URL for each. They will then each be configured the same as above using their respective uploader keys.
Please Note: For testing the new campaign that you’ve created, you’ll need to test live on site — The DriveUploader functionality does not function in Digioh’s preview mode.
Any questions? Feel free to email us at support@digioh.com!