Instead of firing Facebook pixels directly from the page, we recommend installing Google Tag Manager on your pages instead.
If you prefer to add the Facebook pixel to your page directly, first, open the custom JS editor for the page you’re working on:
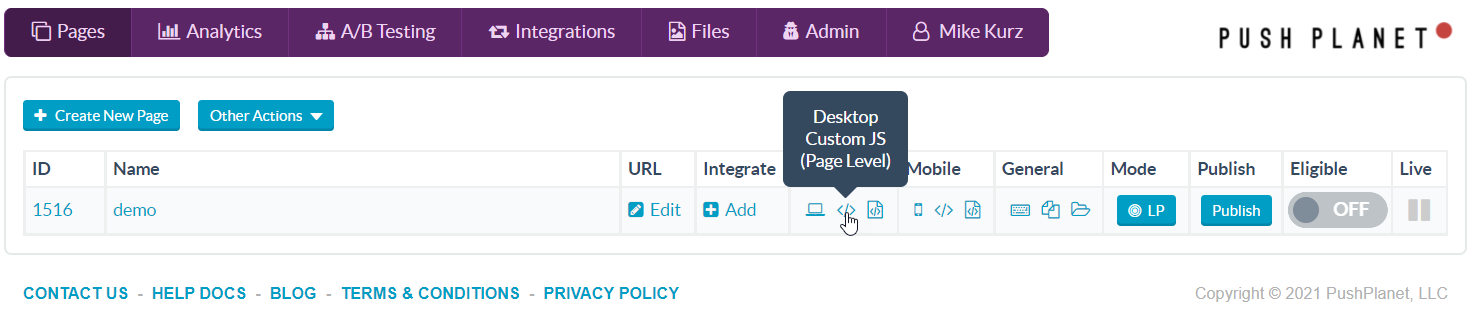
Paste the following code in to the JS editor. Be sure to add your pixel ID in the first line.
let FaceBookPixelId = "add your pixel ID here";

//Facebook Pixel
try {
    ! function(f, b, e, v, n, t, s) {
        if (f.fbq) return;
        n = f.fbq = function() {
            n.callMethod ?
                n.callMethod.apply(n, arguments) : n.queue.push(arguments)
        };
        if (!f._fbq) f._fbq = n;
        n.push = n;
        n.loaded = !0;
        n.version = '2.0';
        n.queue = [];
        t = b.createElement(e);
        t.async = !0;
        t.src = v;
        s = b.getElementsByTagName(e)[0];
        s.parentNode.insertBefore(t, s)
    }(window, document, 'script',
        'https://connect.facebook.net/en_US/fbevents.js');
    fbq('init', FaceBookPixelId);
    fbq('track', 'PageView');

} catch (err) {
    console.log("Facebook Pixel Error: " + err);
}
Save and publish the code, and you’re all set – the FB pixel will now fire a Page View on that page.
To trigger an event on form submission, or if you have any questions about setting this up generally, send us an email and we’ll be glad to help!