What You’ll Learn in This Article:
-
How to add new data mappings to a Klaviyo pipeline.
-
How to connect input fields from Digioh forms to their corresponding Klaviyo profile fields.
-
Get tips on using transformations to match the data formats Klaviyo expects.
As you continue building out campaigns and finding ways to interact with your users, you may want to collect additional information (e.g. their name & phone number) to include in submissions to Klaviyo so that you can start to build a more personalized user experience. That’s possible (and easy) to do with pipelines!
To start, you’ll need to edit the appropriate pipeline by going to the Current Integrations page and selecting “Edit Pipeline”:

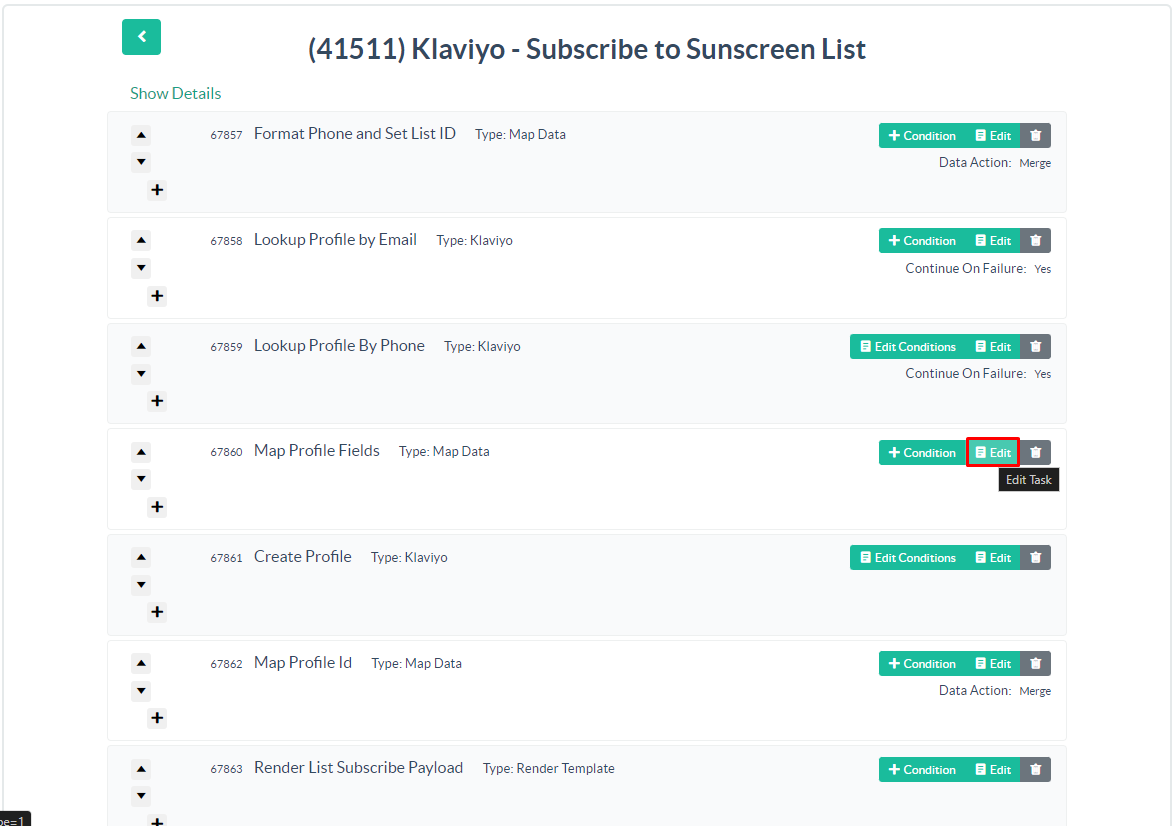
Within the pipeline itself, you’ll see each of the steps that are executed by the pipeline. To send additional data to Klaviyo, select “Edit” on the ‘Map Profile Fields’ step:
To add additional field mappings, select “+Mapping”, you will then be able to map where the data is coming from in Digioh (the Input Field) to where it is going in Klaviyo (the Output Field):
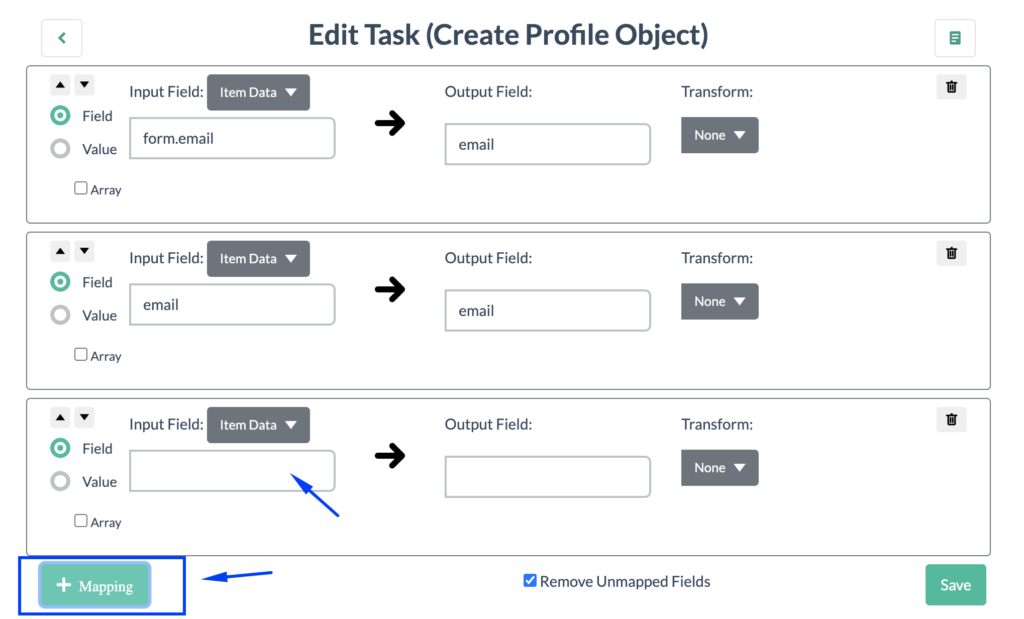
Along with adding Custom Fields from a Digioh form, you can also use the Value option to add hard-coded values.
Here you can find Available Fields in Digioh Pipelines. It contains a list of all of the available fields that can be referenced in a pipeline.
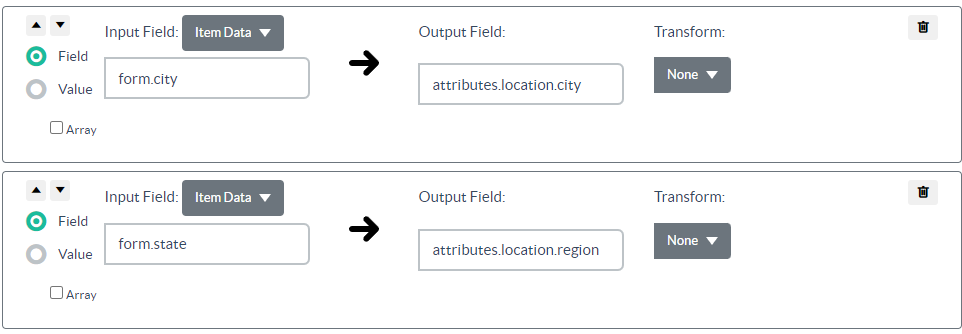
Here is an example where we’ve mapped the default First and Last Name fields from Digioh to Klaviyo.
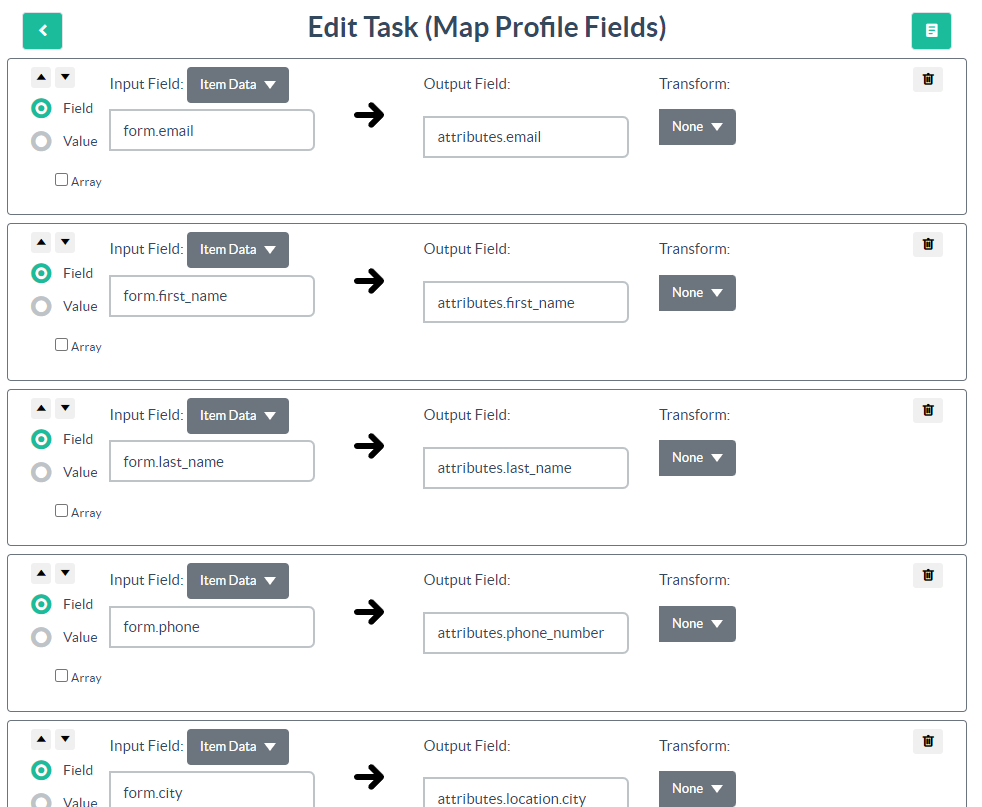
In the screenshot above, form.email the default Email field from our Digioh forms, form.first_name is the default First Name field, and form.last_name is the default Last Name field.
If you are referencing custom fields from a form, the syntax will always be form.custom_X where X is the Custom Field number. For example, field Custom 5 will be written as ‘form.custom_5’. Be sure to map every field on your form to a field in Klaviyo so all the data the user submits makes it though to their Klaviyo profile.
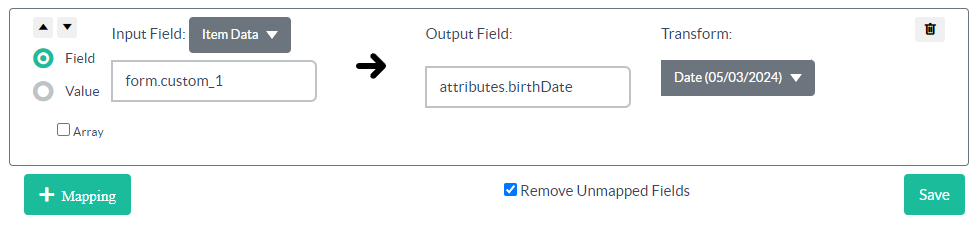
As you add mappings, if the Klaviyo field being mapped to isn’t a plain String field, you can select the appropriate Transformation from the dropdown:
![]()
For Boolean (true / false) fields in Klaviyo, you’ll want to select “BOOL” for the Transform. The custom field being mapped must also pass values of “true” or “false”.
To map server-side merger tags, You’d have to use attributes.{Your_desired_merge_tag} i.e. “attributes.box_name”
Please Note: Some precautions should be taken here if the Klaviyo attribute does not already exist. When Klaviyo receives a submission, it will automatically create attributes that do not already exist using the provided data type from the payload. This means that if the String value “true” is sent, the attribute would be created as a normal text field in Klaviyo rather than a Boolean. This can make using the field for making decisions in Flows more difficult.
Once you’ve finished adding your new mappings, you can select “Save” and then the back button to navigate back to the pipeline:
After making changes to the pipeline be sure to publish the pipeline for those changes to be reflected:
