Push Planet lets you upload custom font files and apply them across your preference centers and landing pages to match with your existing style guide.
What You’ll Learn in This Article
This guide will walk you through the process of adding custom fonts to your Push Planet account.
- How to upload a font file to Push Planet
- How to configure a font so it’s available in the editor
- How to apply a font to text in the editor
Step 1: Upload the font file
- Select Files in the Push Planet navbar
- Select Upload Font at the top of the page
- Click Upload File and choose your font file
- Push Planet supports .eot, .woff, .woff2, .ttf, .otf, and .svg files
Step 2: Configure the font
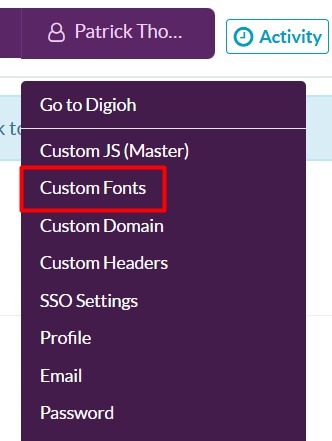
- Click Custom Fonts under the Account Dropdown
- Click Add New Font at the top of the page
- Provide a name for your font
- Select the file you uploaded in Step 1 from the dropdown for the appropriate file type
- Configure the additional settings (weight, italics, sans-serif) as needed
That’s it – your custom font is ready to use! Select it from the font dropdown when configuring any text element on your pages.