Metadata means “data about data”, and is most commonly used for configuring campaigns with parameters to control the behavior of Custom JS. This allows you to configure and maintain custom campaign behavior without revisiting Custom JS. Best practice with Digioh JS is to avoid hard coding parameters in Custom JS, and instead use Metadata where possible. We also recommend avoiding use of the Campaign JS “include/exclude” by Campaign ID feature, and instead write your Custom JS to be always on for all campaigns, while activating only when certain metadata is present. Metadata is key-value pairs that can be configured throughout Digioh:
- At the Digioh Account level, e.g. for “global” configuration like a text-to SMS number or your API endpoint URL.
- At the Campaign level, for data parameters that applies to an entire campaign, e.g. a Campaign ID, or to enable/disable tracking.
- At the Campaign Page level, to configure page-specific behavior e.g. special form processing.
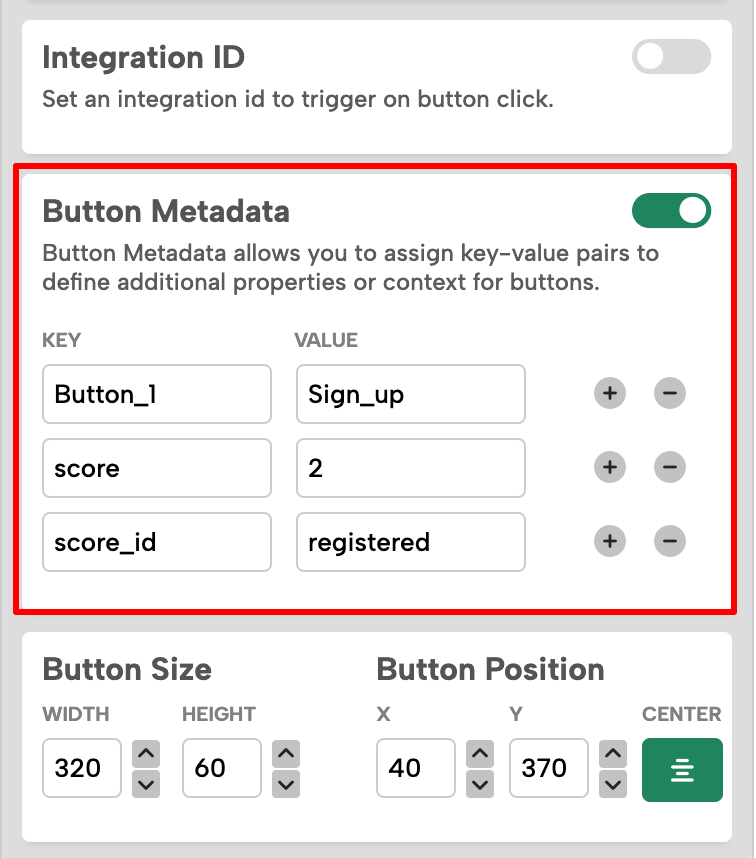
- At the Element level: text, button, image, html, e.g. to dynamically show or hide certain elements, or change button behavior dynamically.
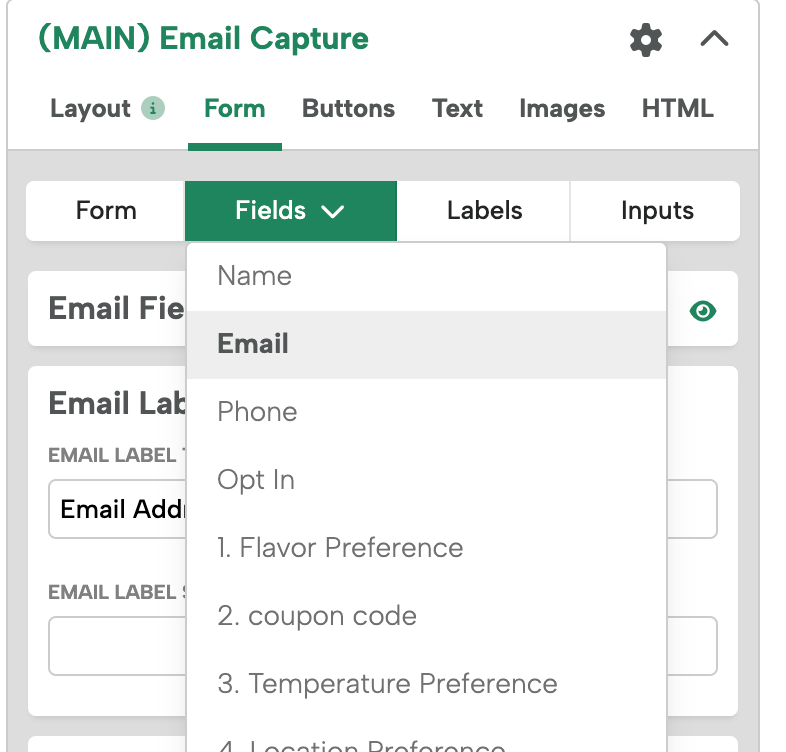
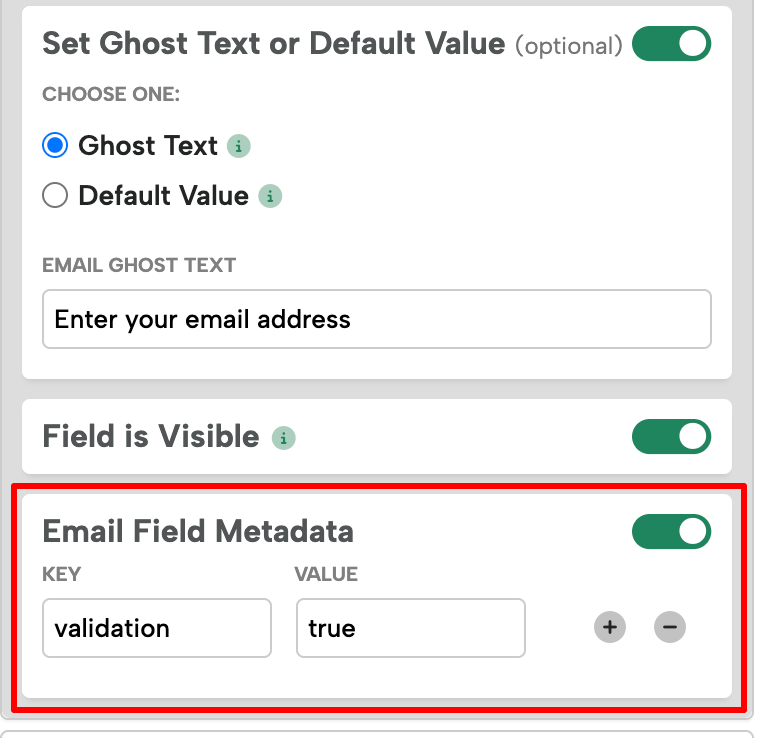
- At the Field level: name, phone, opt_in, custom_1, …, e.g. to define a property name for CUSTOM_1 to pass to your integrations.
Note that all metadata is included in the Digioh HTML that injects onto your page, so do not put any sensitive information such as secret keys into metadata.
Here’s where to configure metadata:
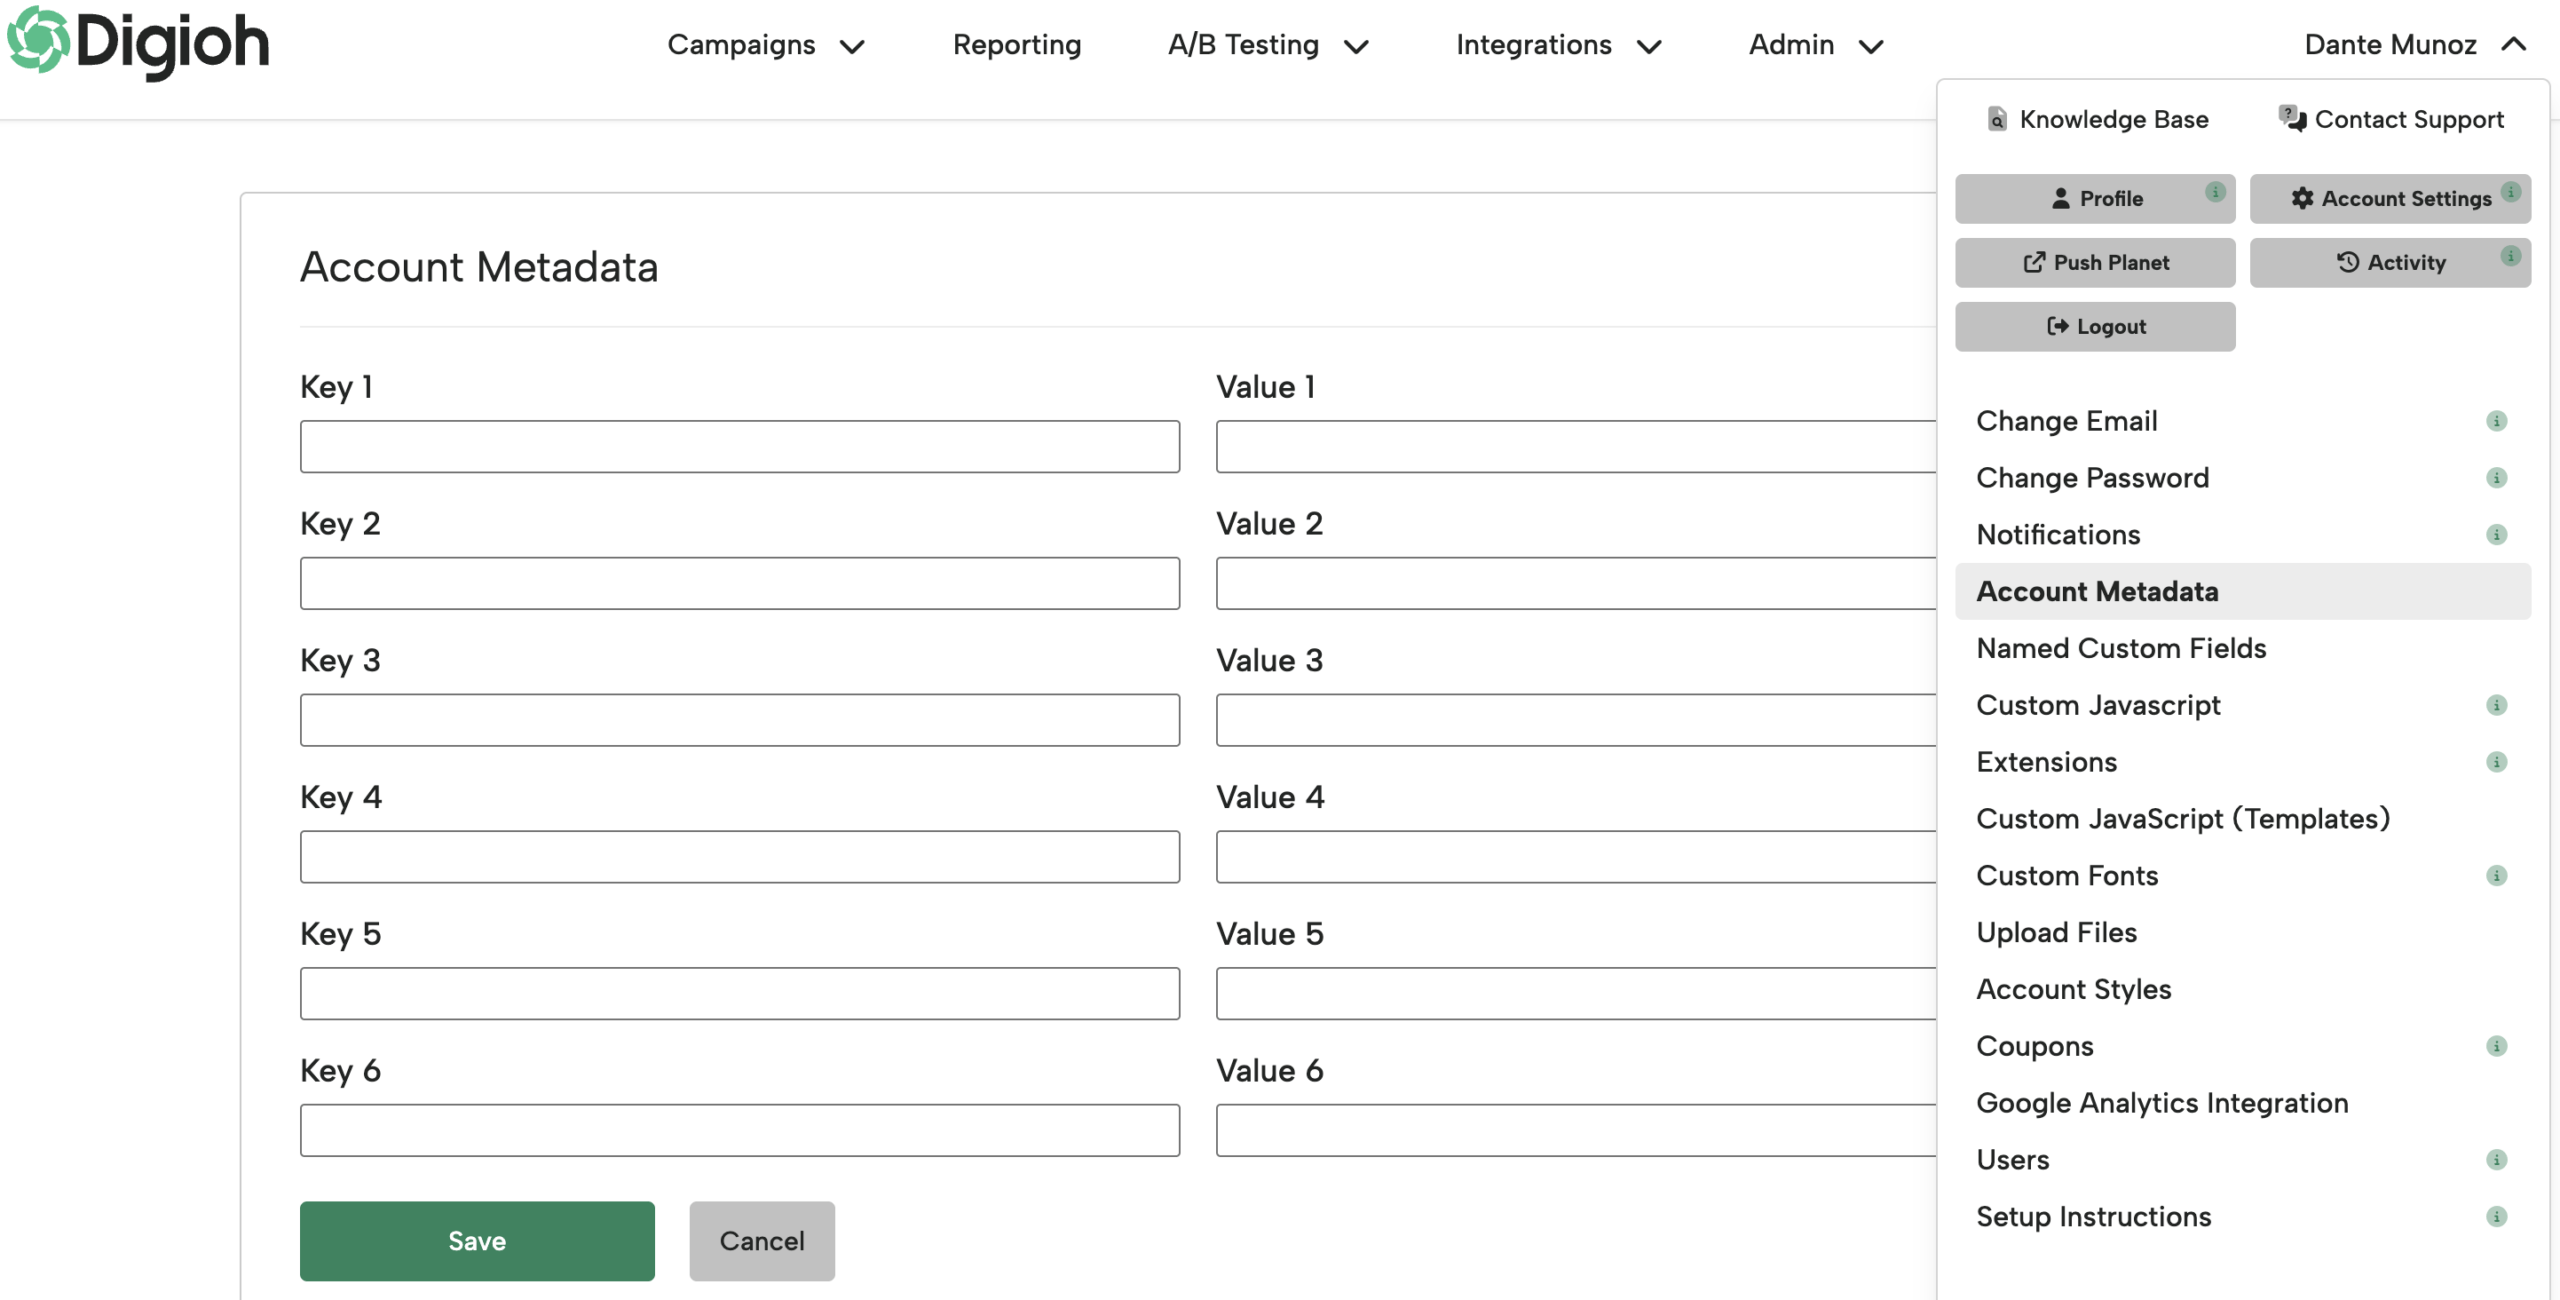
Account-level: Admin > Account Metadata
Campaign-level: Campaign Editor > Settings>Campaign Settings:

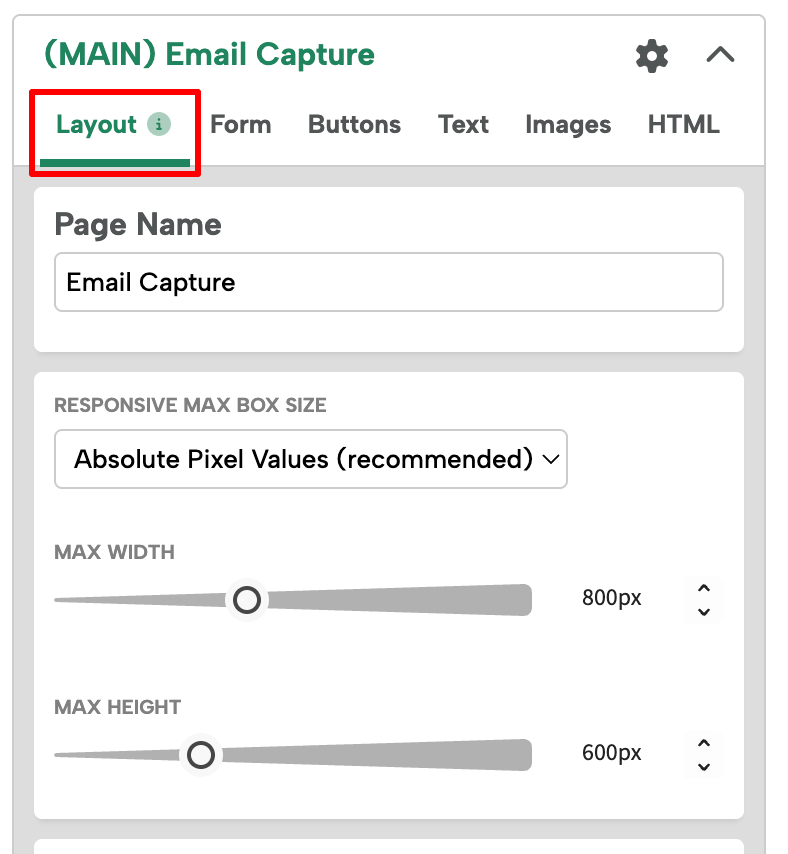
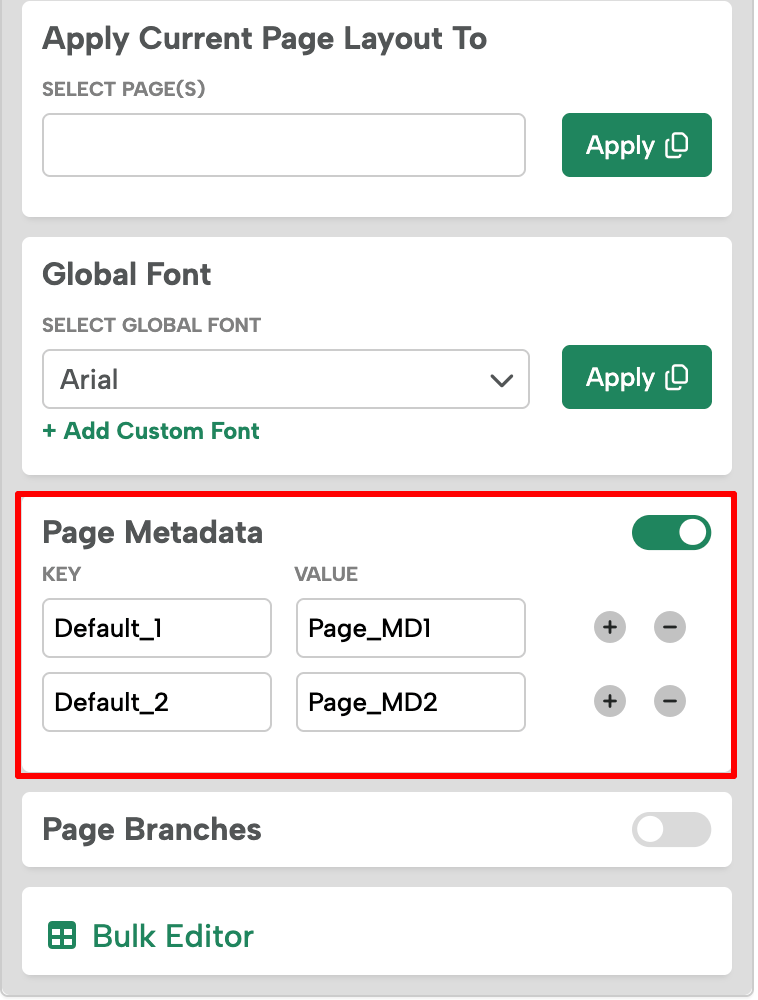
Campaign Page-level: Campaign Editor > Page > Layout:
… scroll down …
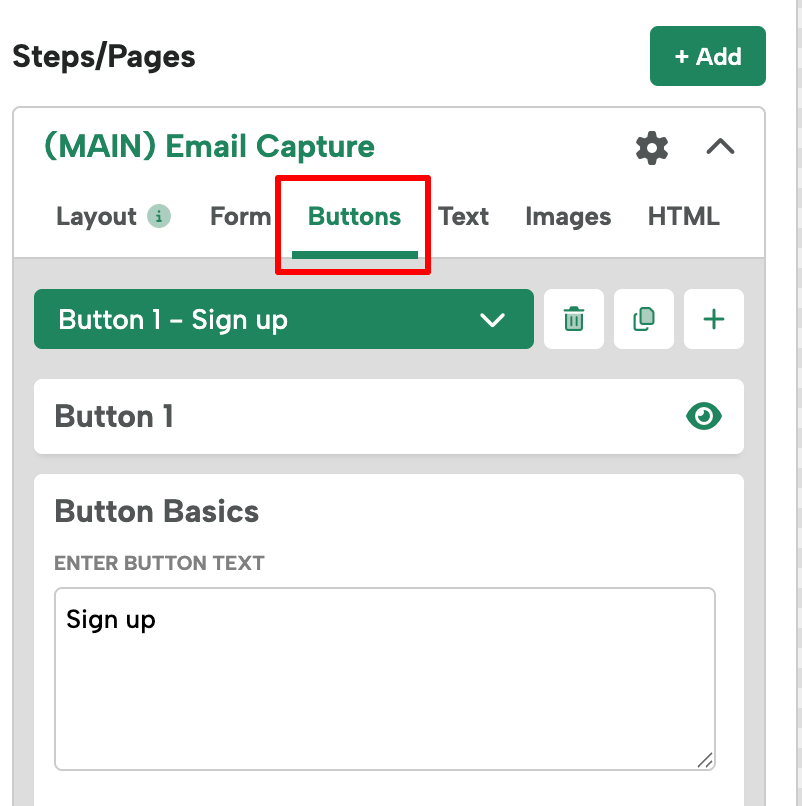
Element-level: Campaign Editor > Page > Element:
… scroll down …
Field-level: Campaign Editor > Page > Form Tab > Fields > Field:
… scroll down …
Using Metadata
Metadata is intended for use in Custom JS, and access functions are documented in the Digioh JS API under Campaign Metadata Functions.
Tips and Tricks:
- Metadata configured on your Default breakpoint will act as the source of truth. When metadata is updated on the default breakpoint and saved, it propagates downstream to all breakpoints.
- Metadata is case sensitive.
- Duplicate key names are allowed across different metadata types (e.g. page and element).
- Duplicate key names are not allowed in the same metadata section.
- Configured Metadata is converted into HTML element attributes and so keys must be syntactically valid HTML attribute names. The HTML specification if very forgiving, but we recommend sticking to lower case, underscore (_) separated key names.
- You may find it more convenient to access metadata using jQuery, e.g. $(‘[my_metadata_key]’), but be aware that this will return values for metadata anywhere on the campaign, so you may need to restrict the query to a specific campaign page, e.g. $(‘#ep1layout’).find(‘[my_metadata_key]’)