What you’ll learn
- Set up a Checkbox
- Customize text and value of a Checkbox
- Style your Checkbox
Checkboxes can be added to your form and configured in various ways.
Follow the instructions below to set up a checkbox on your form.
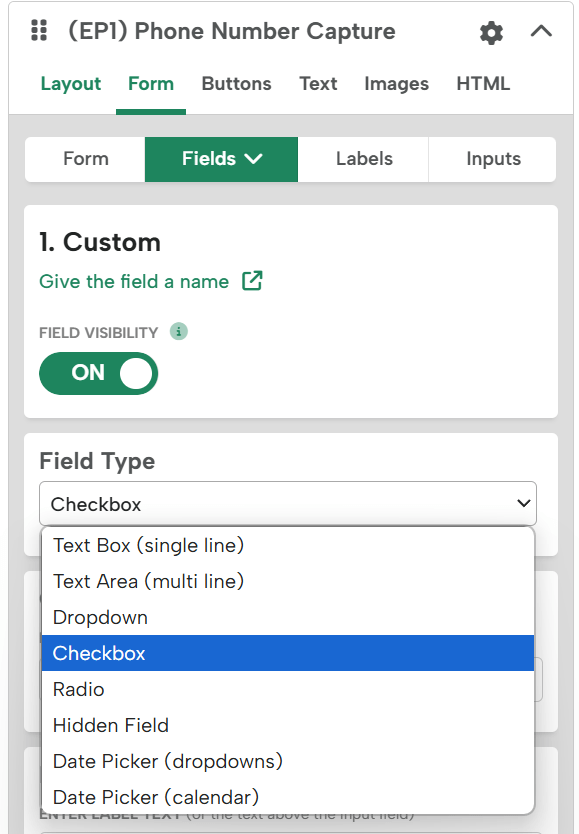
In the main page section of the editor under the form tab, click on inputs and select an input to edit. Then select “checkbox” from the field type dropdown menu.
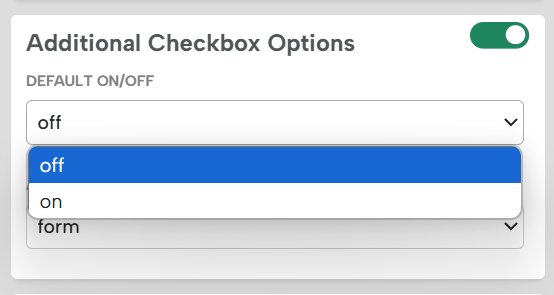
You can set the checkbox to be checked (on) or unchecked (off) by default from the default on/off dropdown menu.
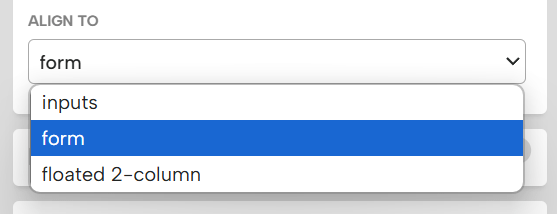
The “align to” dropdown menu provides several options for placing your checkbox. Selecting “inputs” aligns the lightbox to the label test for your inputs. Setting it to “form” aligns it to the edge of your form. Selecting “floated 2-column” puts your checkboxes side-by-side, allowing you to set up a grid of checkboxes.
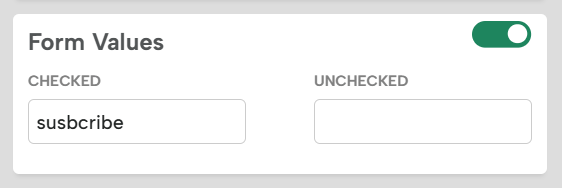
The text field sets the text displayed for the checkbox, and the form value field dictates the value that will be output by the form.
Other Notes about Form Value:
- If you leave it blank, the default string values of “true” and “false” will be used respectively (for “checked” and “unchecked” states).
- If you actually want the form value to be left blank, then use [BLANK] as the “Form Value” to pass an empty string.
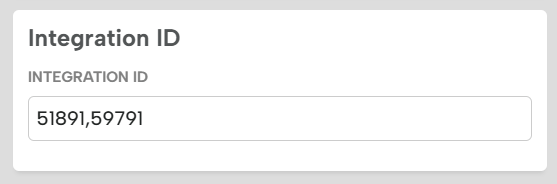
The integration ID field lets you specify which of your integrations the checkbox will push data to. Enter the ID number for the integration you want to use, and you’ll be all set. You can send the checkbox data to multiple integrations by separating their ID numbers with commas. If you don’t enter anything in this field, the checkboxes will default to the integrations specified for the lightbox itself.
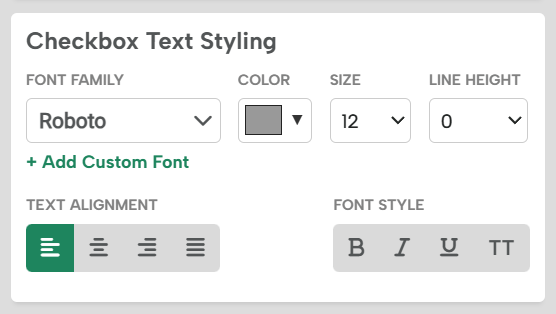
You can also change the font, font color, and font size for each of your checkboxes.
If you need help configuring your checkbox, send us an email, and we’ll be glad to help you out!